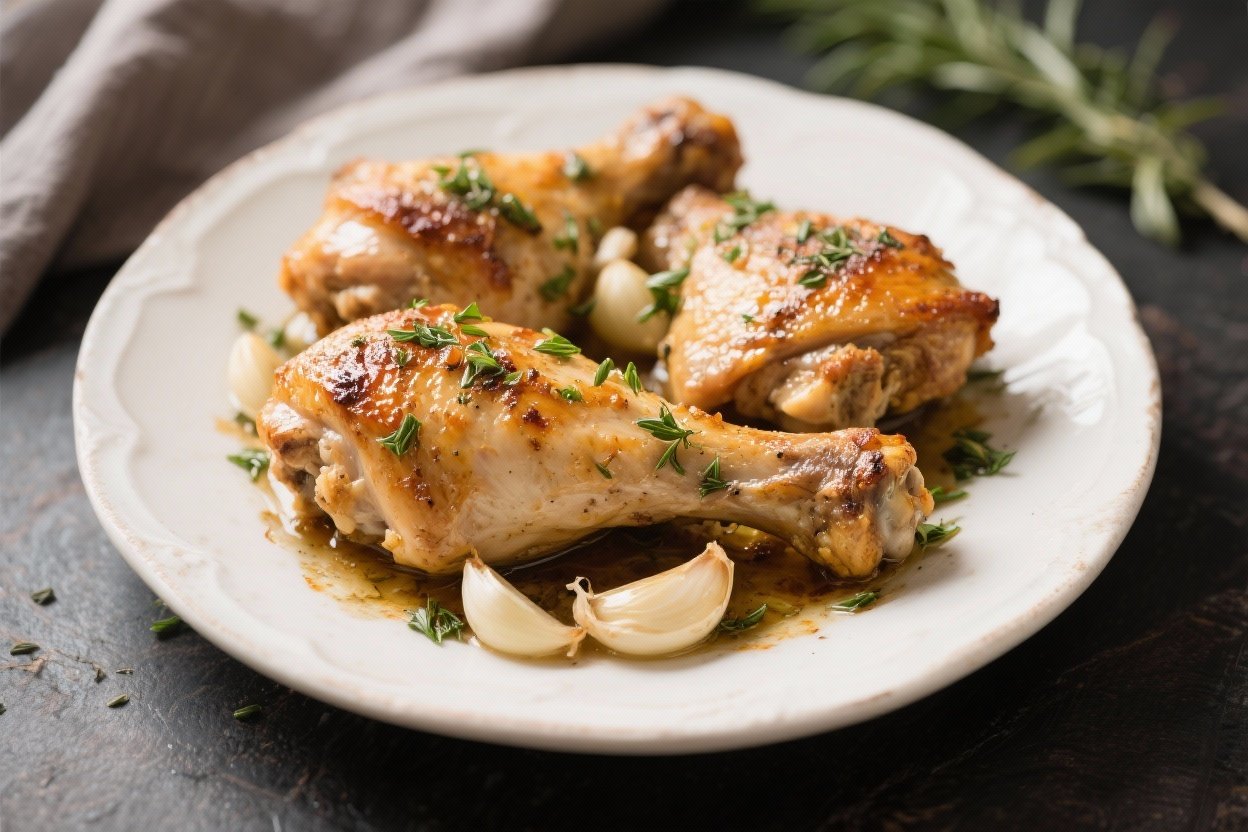
Garlic Herb Baked Chicken Thighs – Simple, Juicy, and Full of Flavor
If you love a dinner that tastes like you fussed but really didn’t, these Garlic Herb Baked Chicken Thighs are for you. They’re juicy, well-seasoned, and come out of the oven with crisp, golden skin. The prep is quick, the ingredients are simple, and the results are reliable every time.
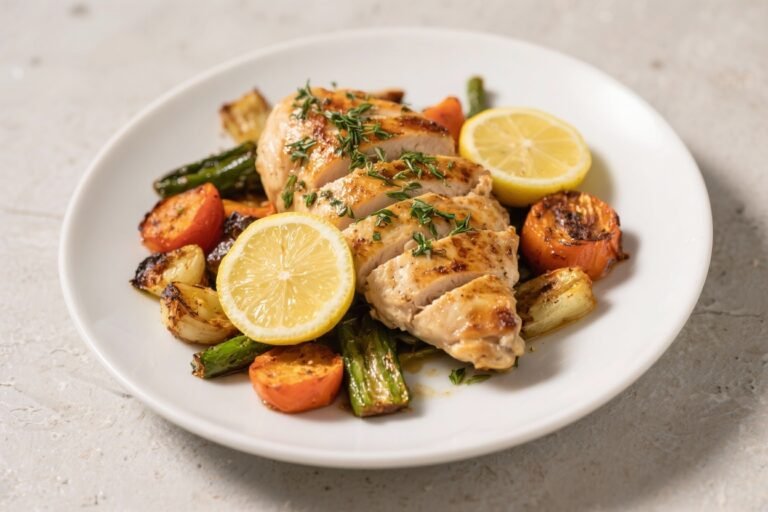
Serve them with roasted veggies, rice, or a bright salad, and you’ve got a meal that feels both homey and special. This is an easy weeknight staple that still works for guests.
Ingredients
Method
- Preheat the oven to 425°F (220°C). High heat gives you crackly skin and juicy meat. Place a rack in the middle position.
- Prep the pan. Line a sheet pan with foil or parchment for easier cleanup, and set a wire rack on top if you have one. The rack helps air circulate for crispier skin.
- Pat the chicken dry. Use paper towels to remove surface moisture, especially on the skin. Dry skin = better browning and crispiness.
- Mix the seasoning. In a small bowl, combine minced garlic, chopped herbs (about 2 tablespoons total if fresh, or 2 teaspoons if dried), lemon zest, 2 tablespoons olive oil, 1 teaspoon kosher salt, 1/2 teaspoon black pepper, 1 teaspoon paprika, and 1/2 teaspoon onion powder. Stir to form a paste.
- Season under the skin. Gently loosen the skin on each thigh with your fingers and rub a small amount of the paste directly onto the meat. Then spread the rest on top of the skin and all around the sides.
- Optional butter upgrade. Dot a tiny pat of butter under the skin of each thigh. It melts as it bakes, adding richness and browning.
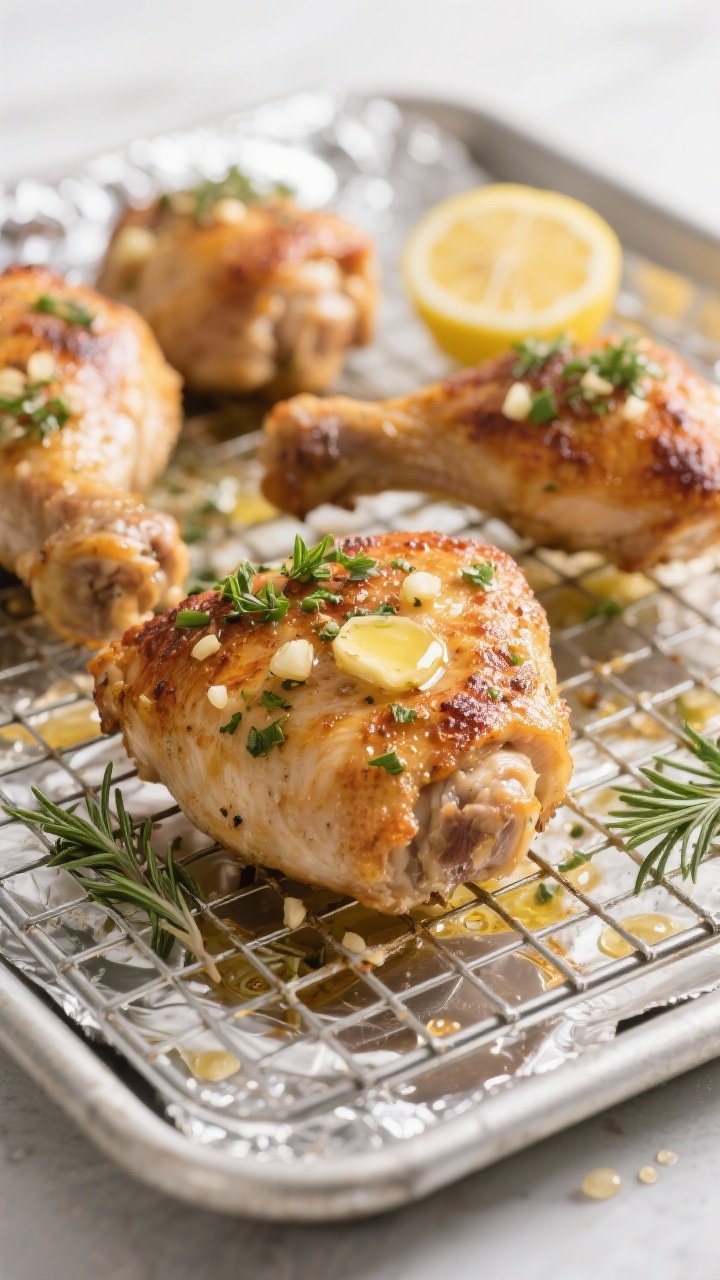
- Arrange and roast. Place the thighs skin-side up on the prepared pan. Roast for 30–40 minutes, depending on size, until the skin is deep golden and the internal temperature hits 175–195°F in the thickest part.
- Finish with lemon. Squeeze a bit of fresh lemon juice over the hot chicken for brightness. Let rest for 5 minutes before serving so the juices settle.
- Optional broil. If you want extra-crispy skin, broil for 1–2 minutes at the end. Keep a close eye to prevent burning.
Overeating is a pattern. This helps you fix that problem. A quick reset for cravings, snacking, and “I’ll start tomorrow” moments.
Built for busy home cooks who want real-life structure. Simple steps that fit meal prep, family dinners, and late-night snack attacks.
Why This Recipe Works
Chicken thighs stay juicy thanks to their higher fat content, so you get tender, flavorful meat without much effort. The garlic-herb blend creates a savory crust that pairs beautifully with the natural richness of the thighs.
Baking at a higher heat encourages crispy skin while sealing in moisture. A touch of lemon adds brightness, and olive oil helps the herbs cling to the chicken. It’s simple seasoning, done right.
Shopping List
- Bone-in, skin-on chicken thighs (6 to 8 pieces, about 2.5–3 pounds)
- Garlic (4–6 cloves, finely minced)
- Fresh herbs: parsley, thyme, and rosemary (or use dried if needed)
- Lemon (zest and juice of 1 lemon)
- Olive oil (2–3 tablespoons)
- Salt (kosher salt preferred)
- Black pepper (freshly ground)
- Paprika (optional, for color and warmth)
- Onion powder (optional, adds depth)
- Butter (1–2 tablespoons, optional, for richness)
Step-by-Step Instructions
- Preheat the oven to 425°F (220°C).
High heat gives you crackly skin and juicy meat. Place a rack in the middle position.
- Prep the pan. Line a sheet pan with foil or parchment for easier cleanup, and set a wire rack on top if you have one.
The rack helps air circulate for crispier skin.
- Pat the chicken dry. Use paper towels to remove surface moisture, especially on the skin. Dry skin = better browning and crispiness.
- Mix the seasoning.
In a small bowl, combine minced garlic, chopped herbs (about 2 tablespoons total if fresh, or 2 teaspoons if dried), lemon zest, 2 tablespoons olive oil, 1 teaspoon kosher salt, 1/2 teaspoon black pepper, 1 teaspoon paprika, and 1/2 teaspoon onion powder. Stir to form a paste.
- Season under the skin. Gently loosen the skin on each thigh with your fingers and rub a small amount of the paste directly onto the meat.
Then spread the rest on top of the skin and all around the sides.
- Optional butter upgrade. Dot a tiny pat of butter under the skin of each thigh. It melts as it bakes, adding richness and browning.
- Arrange and roast.
Place the thighs skin-side up on the prepared pan. Roast for 30–40 minutes, depending on size, until the skin is deep golden and the internal temperature hits 175–195°F in the thickest part.
- Finish with lemon. Squeeze a bit of fresh lemon juice over the hot chicken for brightness.
Let rest for 5 minutes before serving so the juices settle.
- Optional broil. If you want extra-crispy skin, broil for 1–2 minutes at the end. Keep a close eye to prevent burning.
Storage Instructions
Let the chicken cool to room temperature, then store in an airtight container in the fridge for up to 4 days.
Reheat in a 375°F oven for 10–12 minutes to revive the skin, or microwave gently if you don’t mind softer skin. For longer storage, freeze for up to 3 months. Thaw overnight in the fridge and reheat as above.

Health Benefits
- Protein-rich: Chicken thighs provide high-quality protein for muscle repair and satiety.
- Healthy fats: Thighs contain more fat than breasts, which helps with flavor and keeps you full.
Using olive oil adds heart-healthy monounsaturated fats.
- Herbs and garlic: Fresh herbs bring antioxidants, and garlic may support heart health and immune function.
- Customizable: You can control sodium, skip butter, and adjust portion sizes to meet your goals.
What Not to Do
- Don’t skip drying the skin. Wet skin steams and turns rubbery instead of crisp.
- Don’t under-season. Thighs are flavorful but need enough salt and herbs for balance.
- Don’t cook at low heat only.
Without a hot oven, the skin won’t render and brown properly.
- Don’t take them out too early. Thighs taste best above 175°F; that extra time breaks down connective tissue for tenderness.
- Don’t crowd the pan. Give each piece space so hot air can circulate and crisp the skin.
Variations You Can Try
- Smoky Paprika and Citrus: Add smoked paprika and orange zest to the mix.
Finish with orange juice instead of lemon.
- Italian-Style: Use basil, oregano, thyme, and a sprinkle of grated Parmesan in the last 5 minutes.
- Spicy Garlic: Add red pepper flakes or a bit of cayenne for heat.
- Honey Mustard Glaze: In the final 10 minutes, brush on a mix of Dijon, honey, and a splash of apple cider vinegar.
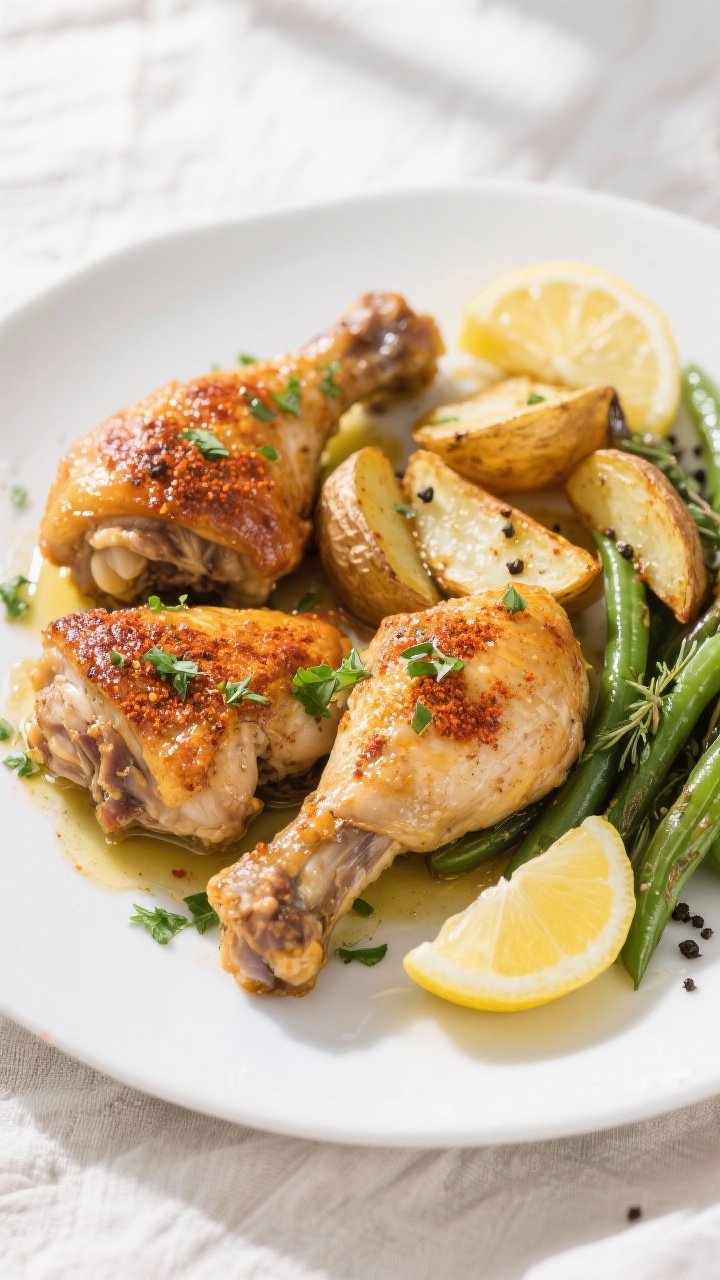
- Lemon-Garlic Sheet Pan: Add potato wedges and green beans to the pan. Toss with olive oil, salt, pepper, and extra garlic. Roast alongside the chicken, extending veggie time as needed.
- Dried Herb Swap: If you only have dried herbs, use 1 teaspoon each of dried thyme and rosemary, plus 2 teaspoons dried parsley.
FAQ
Can I use boneless, skinless thighs?
Yes, but reduce the baking time to about 18–25 minutes at 425°F.
They won’t get the same crispy skin or deep flavor, so add a bit of extra olive oil and don’t overcook. Aim for 170–175°F internal temperature.
What if I don’t have fresh herbs?
Dried herbs work well. Use about one-third the amount of fresh, since dried are more concentrated.
Rub them between your fingers first to release their oils.
Do I need to marinate the chicken?
No. The garlic-herb paste acts like a quick marinade. If you want to marinate, you can let it sit for 30 minutes or up to 12 hours in the fridge for deeper flavor.
How do I know the chicken is done?
Use an instant-read thermometer.
Insert it into the thickest part without touching bone. You’re looking for at least 175°F for thighs, though they’re forgiving even if they go a bit higher.
Can I make this ahead?
Yes. Season the chicken up to a day in advance and keep it covered in the fridge.
Bake just before serving. Leftovers reheat well in the oven.
What should I serve with it?
Try roasted potatoes, rice pilaf, garlic mashed cauliflower, or a simple salad with lemon vinaigrette. The flavors are versatile and pair with most sides.
How do I keep the skin crispy for serving?
After baking, rest the chicken on a wire rack instead of a plate so steam doesn’t soften the skin.
If needed, a quick 1–2 minute broil refreshes the crispness.
Is this recipe gluten-free?
Yes, it’s naturally gluten-free as written. Just ensure your spices and add-ins are certified gluten-free if you’re sensitive.
Wrapping Up
These Garlic Herb Baked Chicken Thighs hit that sweet spot between easy and impressive. With a handful of everyday ingredients, you get juicy meat, crisp skin, and bold flavor that works for any night of the week.
Keep the method the same and adjust the herbs and finishers to make it your own. Once you try it, it’s likely to become a regular in your dinner rotation.
Printable Recipe Card
Want just the essential recipe details without scrolling through the article? Get our printable recipe card with just the ingredients and instructions.