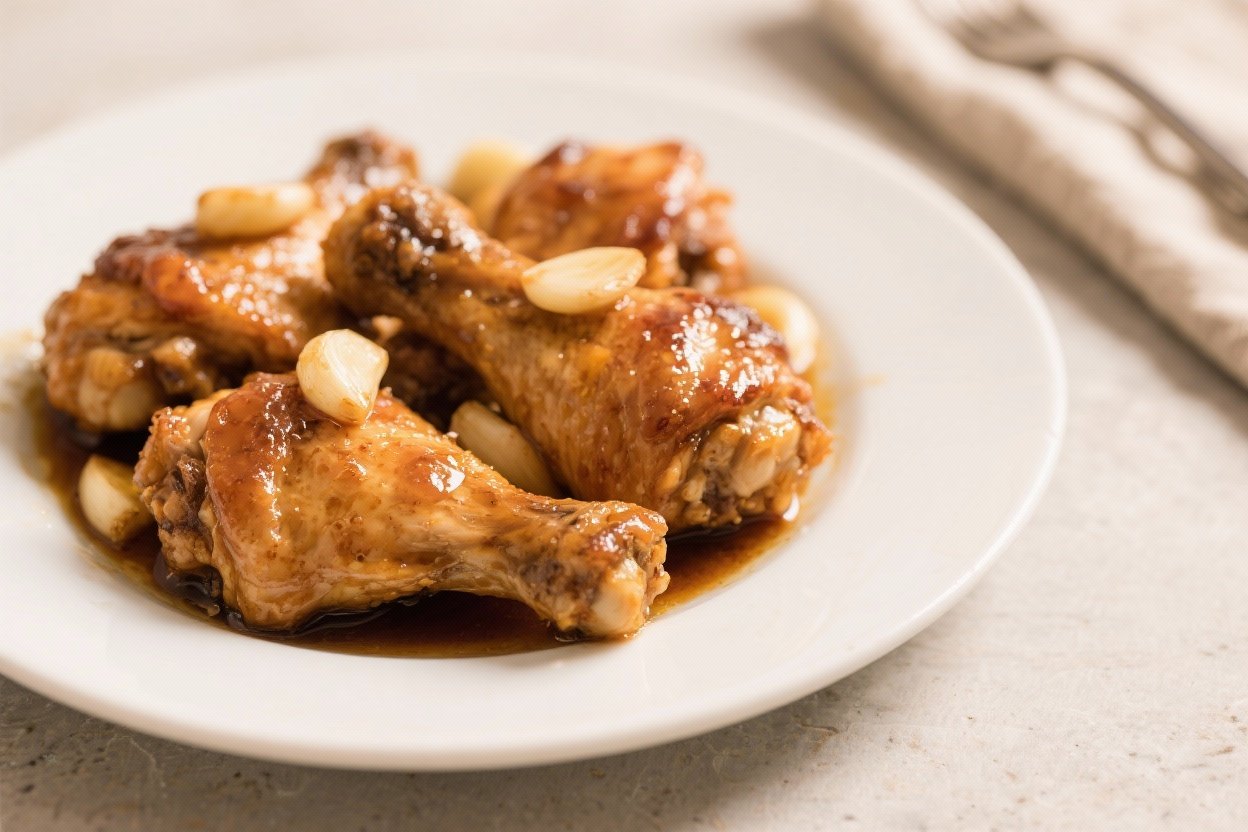
Honey Garlic Chicken Thighs (Healthy) – Simple, Saucy, and Satisfying
This is the kind of weeknight dinner that makes you feel like you’ve got it together. Juicy chicken thighs, a glossy honey garlic sauce, and a short ingredient list you probably already have. It’s fast, cozy, and tastes like takeout—but lighter and fresher.
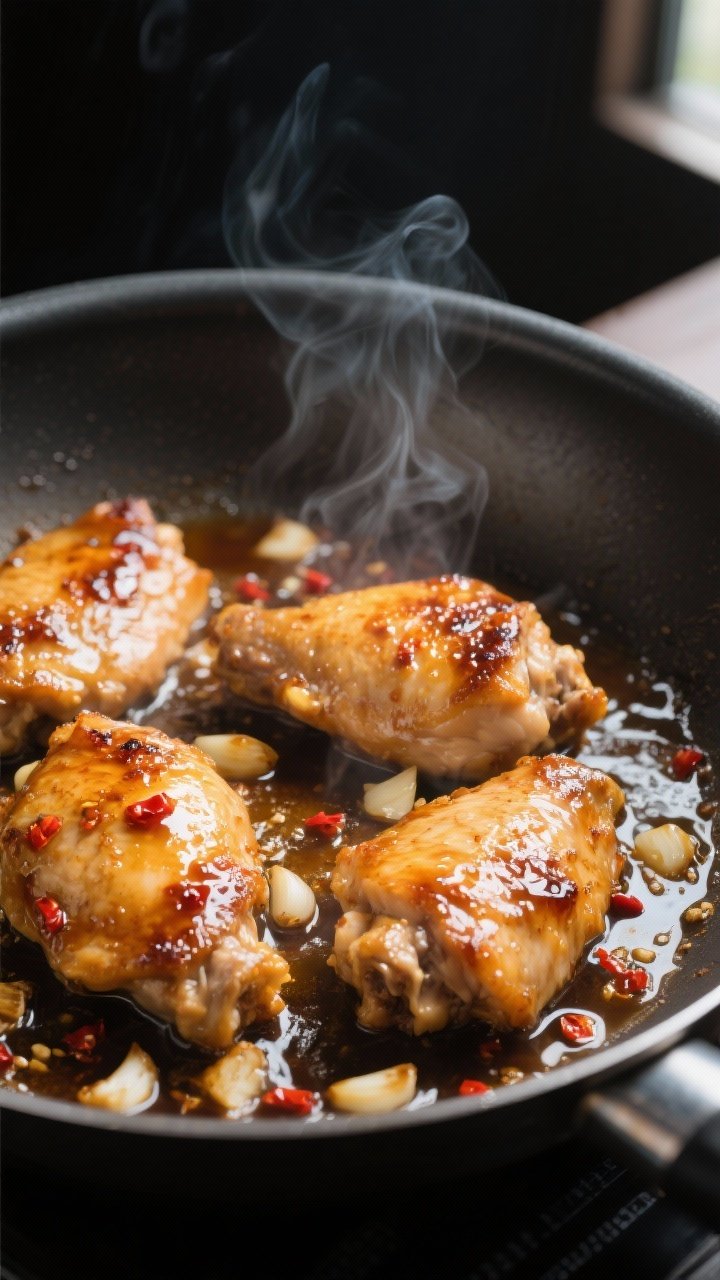
You’ll get crisp edges, sticky-sweet flavor, and a garlicky punch without a pile of dishes. Make it once and it’ll hit your regular rotation.
Ingredients
Method
- Pat dry and season: Blot chicken thighs dry with paper towels. Season both sides with salt and pepper. Dry chicken browns better and gets that nice sear.
- Whisk the sauce: In a small bowl, combine soy sauce, honey, rice vinegar, sesame oil, and red pepper flakes. Stir until smooth.
- Heat the pan: Warm a large skillet over medium-high heat. Add oil and swirl to coat.
- Sear the chicken: Add thighs in a single layer. Cook 4–5 minutes per side until golden and nearly cooked through. Remove to a plate and tent with foil.
- Sauté the garlic: Lower heat to medium. Add minced garlic to the pan and cook 30 seconds, stirring, until fragrant. Don’t let it burn.
- Deglaze and simmer: Pour in the honey-soy mixture. Scrape up browned bits from the pan. Simmer 1–2 minutes.
- Thicken the sauce: Stir together cornstarch and water. Pour into the skillet and stir. Simmer 30–60 seconds until glossy and slightly thick.
- Finish the chicken: Return thighs and any juices to the pan. Spoon sauce over the top and simmer 2–3 minutes until cooked through (internal temp 165°F).
- Garnish and serve: Top with sliced green onions and sesame seeds. Serve with steamed rice, quinoa, or cauliflower rice and a side of veggies.
Overeating is a pattern. This helps you fix that problem. A quick reset for cravings, snacking, and “I’ll start tomorrow” moments.
Built for busy home cooks who want real-life structure. Simple steps that fit meal prep, family dinners, and late-night snack attacks.
What Makes This Recipe So Good
- Balanced flavor: Honey brings sweetness, soy adds umami, garlic gives warmth, and a splash of vinegar keeps it bright.
- Healthy swaps: Minimal oil, no deep frying, and a sauce built from pantry staples with better-for-you tweaks.
- Quick cook time: About 25–30 minutes from start to finish.
- Family-friendly: Savory-sweet flavor that works for picky eaters and spice lovers (you can add heat if you like).
- Meal prep friendly: Reheats beautifully and keeps its flavor all week.
Shopping List
- 1.5 to 2 pounds boneless, skinless chicken thighs (about 6–8)
- Salt and black pepper
- 1–2 tablespoons avocado oil or olive oil
- 4 cloves garlic, minced (or 1 tablespoon garlic paste)
- 1/3 cup low-sodium soy sauce (or tamari for gluten-free)
- 3 tablespoons honey
- 1 tablespoon rice vinegar (or apple cider vinegar)
- 1 teaspoon sesame oil (optional but great for flavor)
- 1/2 teaspoon red pepper flakes (optional for heat)
- 1 tablespoon cornstarch (or arrowroot) + 1 tablespoon water
- 2 green onions, thinly sliced (for garnish)
- Sesame seeds (optional garnish)
- Lemon or lime wedges (optional, for serving)
How to Make It

- Pat dry and season: Blot chicken thighs dry with paper towels. Season both sides with salt and pepper.
Dry chicken browns better and gets that nice sear.
- Whisk the sauce: In a small bowl, combine soy sauce, honey, rice vinegar, sesame oil, and red pepper flakes. Stir until smooth.
- Heat the pan: Warm a large skillet over medium-high heat. Add oil and swirl to coat.
- Sear the chicken: Add thighs in a single layer.
Cook 4–5 minutes per side until golden and nearly cooked through. Remove to a plate and tent with foil.
- Sauté the garlic: Lower heat to medium. Add minced garlic to the pan and cook 30 seconds, stirring, until fragrant.
Don’t let it burn.
- Deglaze and simmer: Pour in the honey-soy mixture. Scrape up browned bits from the pan. Simmer 1–2 minutes.
- Thicken the sauce: Stir together cornstarch and water.
Pour into the skillet and stir. Simmer 30–60 seconds until glossy and slightly thick.
- Finish the chicken: Return thighs and any juices to the pan. Spoon sauce over the top and simmer 2–3 minutes until cooked through (internal temp 165°F).
- Garnish and serve: Top with sliced green onions and sesame seeds.
Serve with steamed rice, quinoa, or cauliflower rice and a side of veggies.
Keeping It Fresh
- Storage: Cool completely, then store in an airtight container for up to 4 days in the fridge.
- Reheat: Warm gently on the stovetop over low heat, adding a splash of water to loosen the sauce. Microwave in 30-second bursts if you’re in a rush.
- Freeze: Freeze for up to 2 months. Thaw overnight in the fridge, then reheat on the stovetop.
The sauce may thicken; a bit of water fixes it.
- Meal prep: Portion with brown rice and steamed broccoli for grab-and-go lunches.

Why This is Good for You
- Lean protein: Boneless, skinless thighs deliver iron, B vitamins, and long-lasting satiety with moderate fat for flavor.
- Lower sugar than takeout: Honey provides sweetness, but you control the amount. Many restaurant versions are much heavier on sugar.
- Healthy fats: A small amount of avocado or olive oil supports heart health, and sesame oil adds big flavor with minimal quantity.
- Sodium smart: Using low-sodium soy sauce keeps salt in check without losing that savory punch.
- Better balance: Pairing with fiber-rich veggies and whole grains turns this into a balanced, nutrient-dense meal.
What Not to Do
- Don’t overcrowd the pan: The chicken will steam instead of sear. Cook in batches if needed.
- Don’t skip drying the chicken: Moisture prevents browning and flavor.
- Don’t burn the garlic: It goes from fragrant to bitter fast.
Lower the heat before adding it.
- Don’t add cornstarch directly: Always make a slurry with water to avoid lumps.
- Don’t overcook: Pull the chicken right at 165°F for juicy, tender results.
Variations You Can Try
- Citrus twist: Add 1–2 teaspoons orange zest or a squeeze of lime to the sauce for a bright, fresh note.
- Ginger-garlic: Grate 1 tablespoon fresh ginger and sauté with the garlic.
- Spicy honey: Swap red pepper flakes for 1 teaspoon sriracha or gochujang for a kick.
- Sheet pan version: Marinate chicken in the sauce 20–30 minutes, then bake at 425°F for 18–22 minutes. Simmer leftover marinade with slurry on the stove until thick and pour over.
- Air fryer option: Cook seasoned thighs at 380°F for 14–16 minutes, flipping halfway. Toss with warmed, thickened sauce afterward.
- Gluten-free: Use tamari or coconut aminos instead of soy sauce.
- Veggie boost: Add snap peas, bell peppers, or broccoli to the pan during the final simmer.
FAQ
Can I use chicken breasts instead of thighs?
Yes.
Slice breasts into cutlets for even cooking. Sear 3–4 minutes per side and simmer in the sauce until they reach 165°F. Breasts cook faster, so keep an eye on them.
Is there a way to make it even lower in sugar?
You can reduce honey to 1–2 tablespoons and add a bit more vinegar for brightness.
If needed, a few drops of liquid stevia can round out the sweetness.
What can I use instead of cornstarch?
Arrowroot powder works well. Use the same amount and add it to the sauce off the heat, then return to a gentle simmer. It thickens quickly.
How do I know the sauce is the right thickness?
It should coat the back of a spoon and cling to the chicken without feeling sticky or gummy.
If it’s too thick, add a splash of water. If too thin, simmer another minute.
What sides go best with this?
Steamed rice, brown rice, quinoa, or cauliflower rice all work. For veggies, try roasted broccoli, sautéed green beans, or a quick cucumber salad.
Can I marinate the chicken?
Absolutely.
Mix half the sauce (without the cornstarch slurry) with the chicken for 20–60 minutes in the fridge. Sear as directed, then cook the remaining sauce with the slurry and combine.
Is this recipe kid-friendly?
Usually yes. Keep the red pepper flakes out or very light, and you’ll get a sweet-savory flavor most kids enjoy.
Can I make it ahead?
Yes.
Cook it fully, cool, and store. Reheat gently with a splash of water to loosen the sauce. It holds well for up to 4 days.
Final Thoughts
Honey Garlic Chicken Thighs hit that sweet spot between comfort food and feel-good cooking.
You get caramelized edges, a shiny sauce, and a short, smart ingredient list. Keep it simple on busy nights, or dress it up with fresh herbs and citrus when you have time. However you serve it, this one’s a keeper—easy, healthy, and full of flavor.
Printable Recipe Card
Want just the essential recipe details without scrolling through the article? Get our printable recipe card with just the ingredients and instructions.