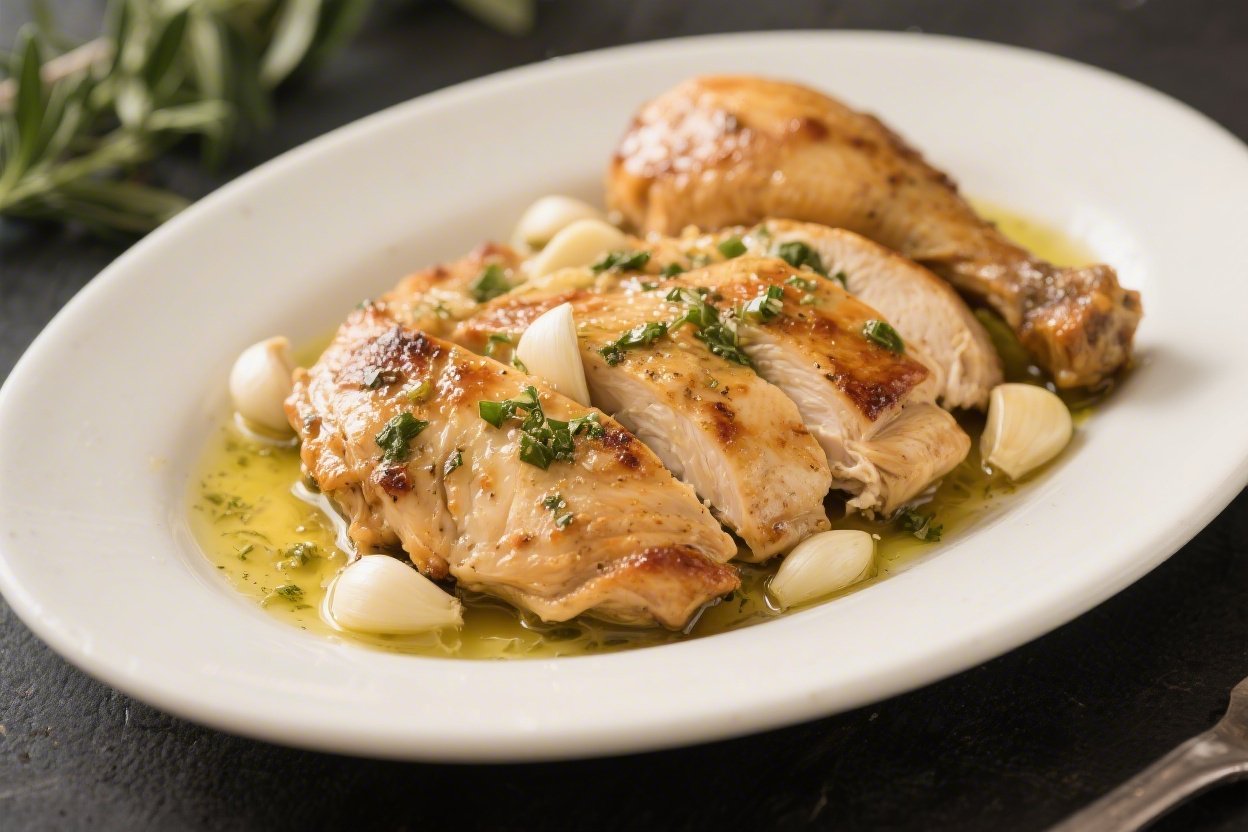
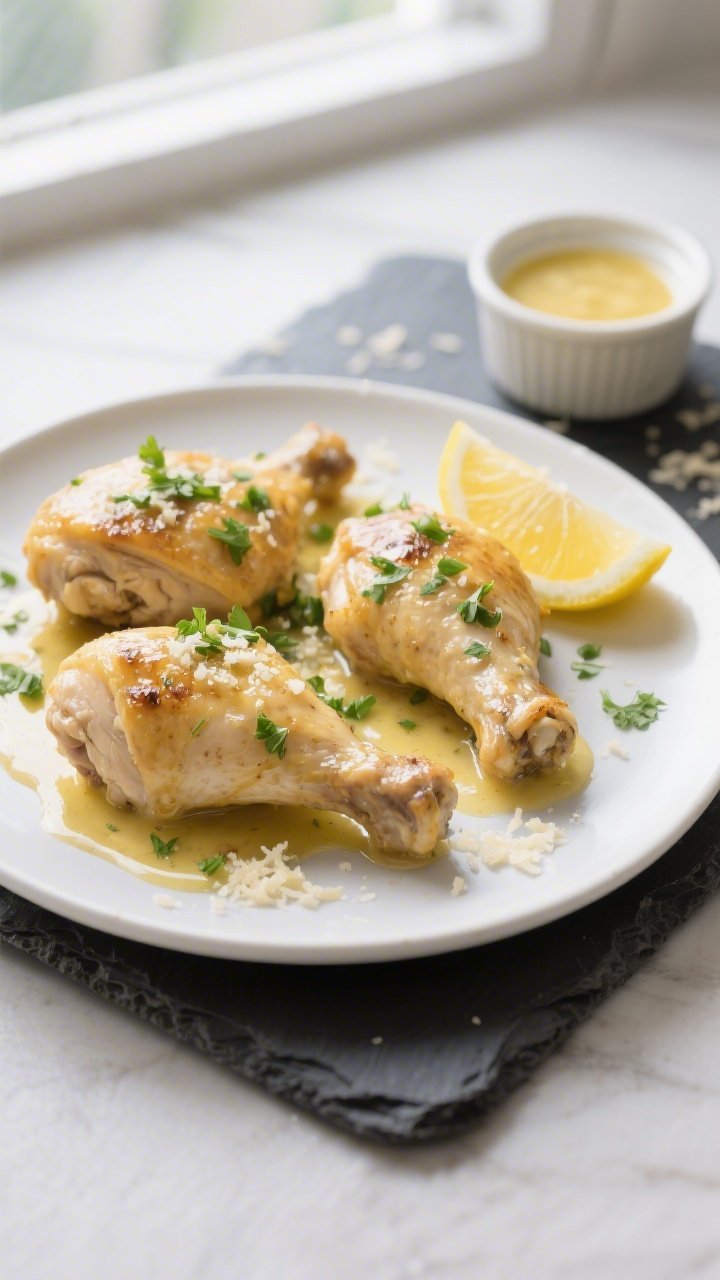
Keto Garlic Butter Chicken – Simple, Juicy, and Packed With Flavor
This Keto Garlic Butter Chicken is the kind of weeknight dinner that tastes like you fussed, but you didn’t. It’s buttery, garlicky, and full of rich flavor without being heavy. You’ll sear juicy chicken, coat it in a silky garlic butter sauce, and finish with a bright touch of lemon and herbs.
FREE 7-Day Easy Dinner Reset
Get 7 healthy, family-friendly dinners complete with recipes and simple meal plans delivered straight to your inbox.
It’s low-carb, fast to cook, and easy to pair with simple sides. If you want a reliable keto main that feels special, this is it.
Ingredients
Method
- Prep the chicken: Pat the chicken dry with paper towels. This helps it sear well. Season both sides with salt, pepper, smoked paprika, and garlic powder.
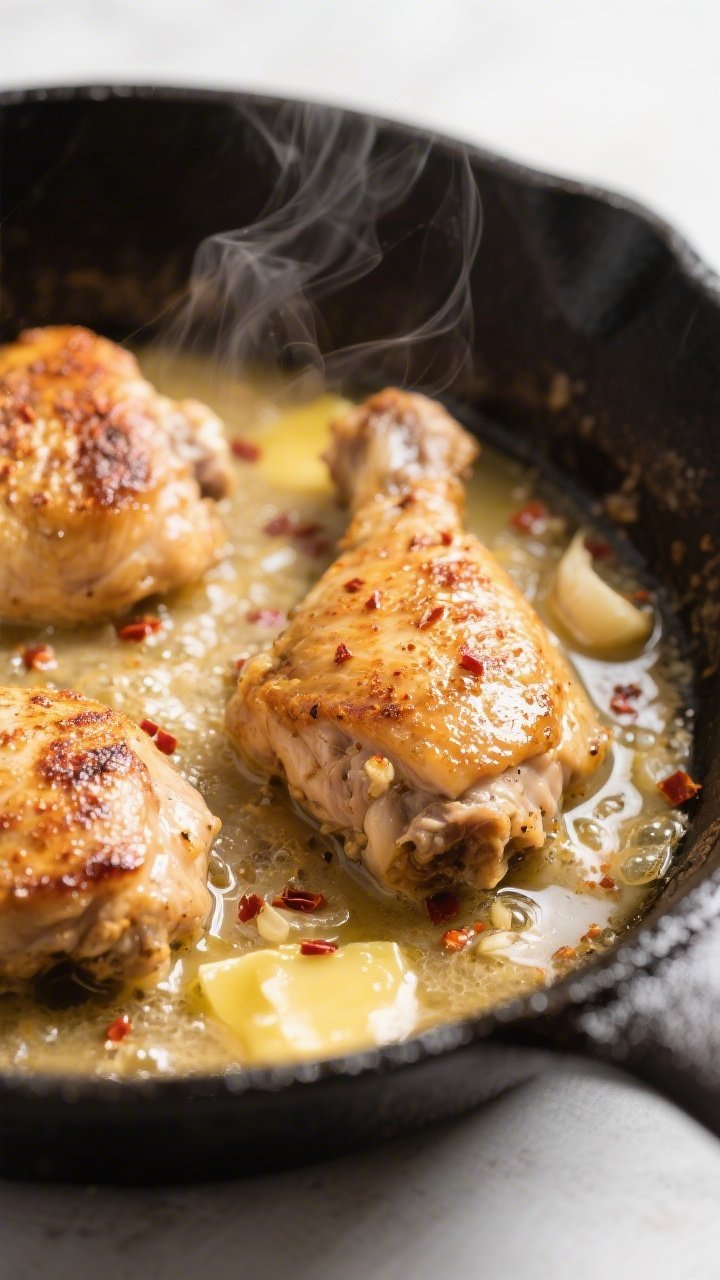
- Heat the pan: Place a large skillet over medium-high heat. Add the olive oil and 1 tablespoon butter. When the fat shimmers and the butter foams, you’re ready to sear.
- Sear the chicken: Add the chicken in a single layer. Don’t crowd the pan. Sear for 4–5 minutes per side for thighs, or 3–4 minutes per side for thin breast cutlets, until golden brown. Transfer to a plate. The chicken will finish cooking in the sauce.
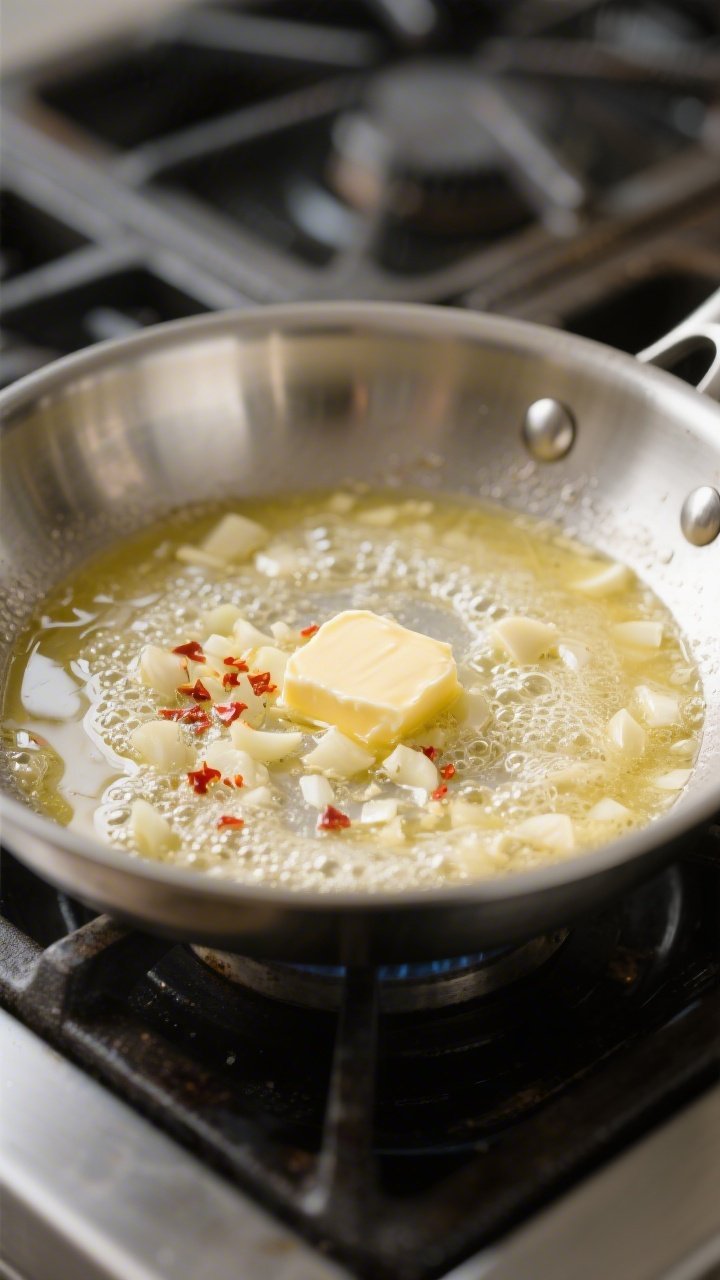
- Sauté the garlic: Lower the heat to medium. Add 2 tablespoons butter to the pan. When melted, add the minced garlic. Cook for 30–45 seconds, stirring constantly, until fragrant. Do not brown the garlic.
- Build the sauce: Pour in the chicken broth and scrape up the browned bits on the bottom of the pan. Add red pepper flakes if using. Simmer for 2–3 minutes to reduce slightly.
- Finish with butter and lemon: Stir in the remaining 1 tablespoon butter and the lemon juice. Taste and adjust salt and pepper. The sauce should be bright, buttery, and savory.
- Return the chicken: Nestle the chicken back into the skillet. Spoon sauce over the top. Simmer on low for 3–5 minutes, until the chicken is cooked through (internal temperature reaches 165°F/74°C).
- Add herbs (and Parmesan if using): Sprinkle with parsley and swirl in Parmesan if you want a slightly creamier, richer finish.
- Rest and serve: Turn off the heat and let the chicken rest in the sauce for 2–3 minutes. Serve with extra lemon on the side and spoon plenty of garlic butter over each piece.
Why This Recipe Works
- High-fat, low-carb balance: Butter and olive oil deliver satisfying richness while keeping carbs minimal.
- Quick stovetop method: A hot sear locks in juices, then a short simmer in sauce finishes the chicken perfectly.
- Layers of flavor: Garlic, lemon, and herbs create a balanced sauce that tastes restaurant-worthy.
- Flexible protein: Works with chicken thighs or breasts, bone-in or boneless, without changing the core technique.
- Meal-prep friendly: Holds up well for a few days and reheats without drying out.
Ingredients
- 4 boneless, skinless chicken thighs (about 1.25–1.5 lb) or 2 large chicken breasts, halved horizontally
- 1 teaspoon kosher salt, plus more to taste
- 1/2 teaspoon black pepper
- 1 teaspoon smoked paprika (or sweet paprika)
- 1/2 teaspoon garlic powder
- 2 tablespoons olive oil
- 4 tablespoons unsalted butter, divided
- 4–5 garlic cloves, minced
- 1/2 cup chicken broth (low-sodium)
- 1 tablespoon fresh lemon juice, plus extra wedges for serving
- 1/4 teaspoon red pepper flakes (optional, for gentle heat)
- 2 tablespoons chopped fresh parsley (or 1 tablespoon chopped fresh chives)
- Optional: 2 tablespoons grated Parmesan for finishing
Step-by-Step Instructions
- Prep the chicken: Pat the chicken dry with paper towels. This helps it sear well.
Season both sides with salt, pepper, smoked paprika, and garlic powder.
- Heat the pan: Place a large skillet over medium-high heat. Add the olive oil and 1 tablespoon butter. When the fat shimmers and the butter foams, you’re ready to sear.
- Sear the chicken: Add the chicken in a single layer.
Don’t crowd the pan. Sear for 4–5 minutes per side for thighs, or 3–4 minutes per side for thin breast cutlets, until golden brown. Transfer to a plate.
The chicken will finish cooking in the sauce.
- Sauté the garlic: Lower the heat to medium. Add 2 tablespoons butter to the pan. When melted, add the minced garlic.
Cook for 30–45 seconds, stirring constantly, until fragrant. Do not brown the garlic.
- Build the sauce: Pour in the chicken broth and scrape up the browned bits on the bottom of the pan. Add red pepper flakes if using. Simmer for 2–3 minutes to reduce slightly.
- Finish with butter and lemon: Stir in the remaining 1 tablespoon butter and the lemon juice.
Taste and adjust salt and pepper. The sauce should be bright, buttery, and savory.
- Return the chicken: Nestle the chicken back into the skillet. Spoon sauce over the top.
Simmer on low for 3–5 minutes, until the chicken is cooked through (internal temperature reaches 165°F/74°C).
- Add herbs (and Parmesan if using): Sprinkle with parsley and swirl in Parmesan if you want a slightly creamier, richer finish.
- Rest and serve: Turn off the heat and let the chicken rest in the sauce for 2–3 minutes. Serve with extra lemon on the side and spoon plenty of garlic butter over each piece.
Storage Instructions
- Refrigerate: Cool completely, then store chicken and sauce together in an airtight container for up to 4 days.
- Reheat: Warm gently in a skillet over low heat with a splash of broth or water. Avoid high heat to prevent drying out.
- Freeze: Freeze in a freezer-safe container for up to 2 months.
Thaw overnight in the fridge, then reheat gently.
Benefits of This Recipe
- Keto-friendly: Very low in carbs and high in fat, making it a great fit for low-carb and ketogenic plans.
- Quick and simple: On the table in about 30 minutes with minimal prep and cleanup.
- Versatile: Pairs well with cauliflower mash, zucchini noodles, sautéed greens, or a simple salad.
- Budget-conscious: Uses everyday ingredients and transforms affordable chicken into a flavorful main.
- Crowd-pleasing flavors: Garlic, butter, and lemon are universally loved and reliable.
What Not to Do
- Don’t crowd the pan: Overlapping chicken steams instead of searing, which prevents browning and flavor development.
- Don’t burn the garlic: Bitter, burnt garlic can ruin the sauce. Keep heat moderate and stir constantly.
- Don’t skip seasoning: Salt and spices on the chicken build the foundation of flavor before the sauce even starts.
- Don’t overcook: Dry chicken is avoidable. Use an instant-read thermometer and pull at 165°F/74°C.
- Don’t use too much lemon: A little acid brightens; too much can overpower the butter and garlic.
Recipe Variations
- Creamy Garlic Butter Chicken: Stir 1/4 cup heavy cream into the sauce after reducing the broth.
Simmer 1–2 minutes until slightly thickened.
- Herb Swap: Replace parsley with thyme or rosemary. Add woody herbs early to the sauce so they have time to soften.
- Bone-In Thighs: Sear as directed, then finish in a 375°F (190°C) oven for 12–15 minutes. Return to the skillet to coat in sauce.
- Spicy Version: Add extra red pepper flakes or a pinch of cayenne with the garlic.
- Lemon-Caper Twist: Stir in 1 tablespoon drained capers with the lemon juice for a briny pop.
- Parmesan Crust: After searing, sprinkle grated Parmesan on top of the chicken and broil briefly before returning to the sauce.
- Dairy-Free Option: Use ghee or a dairy-free butter alternative and skip Parmesan.
Flavor stays rich and keto-friendly.
FAQ
Never Wonder What's For Dinner Again
Get 7 healthy, family-friendly dinners complete with recipes, grocery lists, and simple meal plans delivered straight to your inbox.
Can I use chicken breasts instead of thighs?
Yes. Slice large breasts into cutlets by halving them horizontally so they cook evenly. Sear quickly, then finish in the sauce until they reach 165°F/74°C.
Is this recipe spicy?
Not by default.
The red pepper flakes are optional. Leave them out for a mild version or add more if you like heat.
What sides work well on keto?
Cauliflower mash, roasted broccoli, asparagus, sautéed spinach, zucchini noodles, or a crisp green salad are all great low-carb options. Spoon extra sauce over the sides for flavor.
Can I make this ahead?
Yes.
Cook fully, cool, and refrigerate. Reheat gently with a splash of broth. The flavors deepen by the next day, and the chicken stays juicy if you avoid high heat.
How do I thicken the sauce without flour?
Reduce it a bit longer to concentrate, then swirl in cold butter off the heat.
A small amount of grated Parmesan also adds body while keeping it low-carb.
What if my sauce tastes too sharp from lemon?
Add a little more butter and a pinch of salt to balance the acidity. Let it simmer briefly to mellow the flavor.
Can I grill the chicken?
You can. Grill seasoned chicken until done, then make the garlic butter sauce on the stovetop and pour over the grilled pieces.
It adds a pleasant smoky note.
Final Thoughts
Keto Garlic Butter Chicken is the kind of recipe you keep on repeat: fast, full of flavor, and easy to adapt. A good sear, a quick pan sauce, and a handful of fresh herbs do the heavy lifting. Serve it with a simple low-carb side, and you’ve got a satisfying dinner without the fuss.
Keep the ingredients on hand, and you’ll always have a dependable, delicious meal ready to go.
Printable Recipe Card
Want just the essential recipe details without scrolling through the article? Get our printable recipe card with just the ingredients and instructions.
Loved This Recipe?
If you're looking for more simple, healthy dinners your family will actually eat, grab my FREE 7-Day Easy Dinner Reset. You'll get 7 easy dinner recipes, simple grocery lists, and a done-for-you plan that takes the stress out of mealtime.