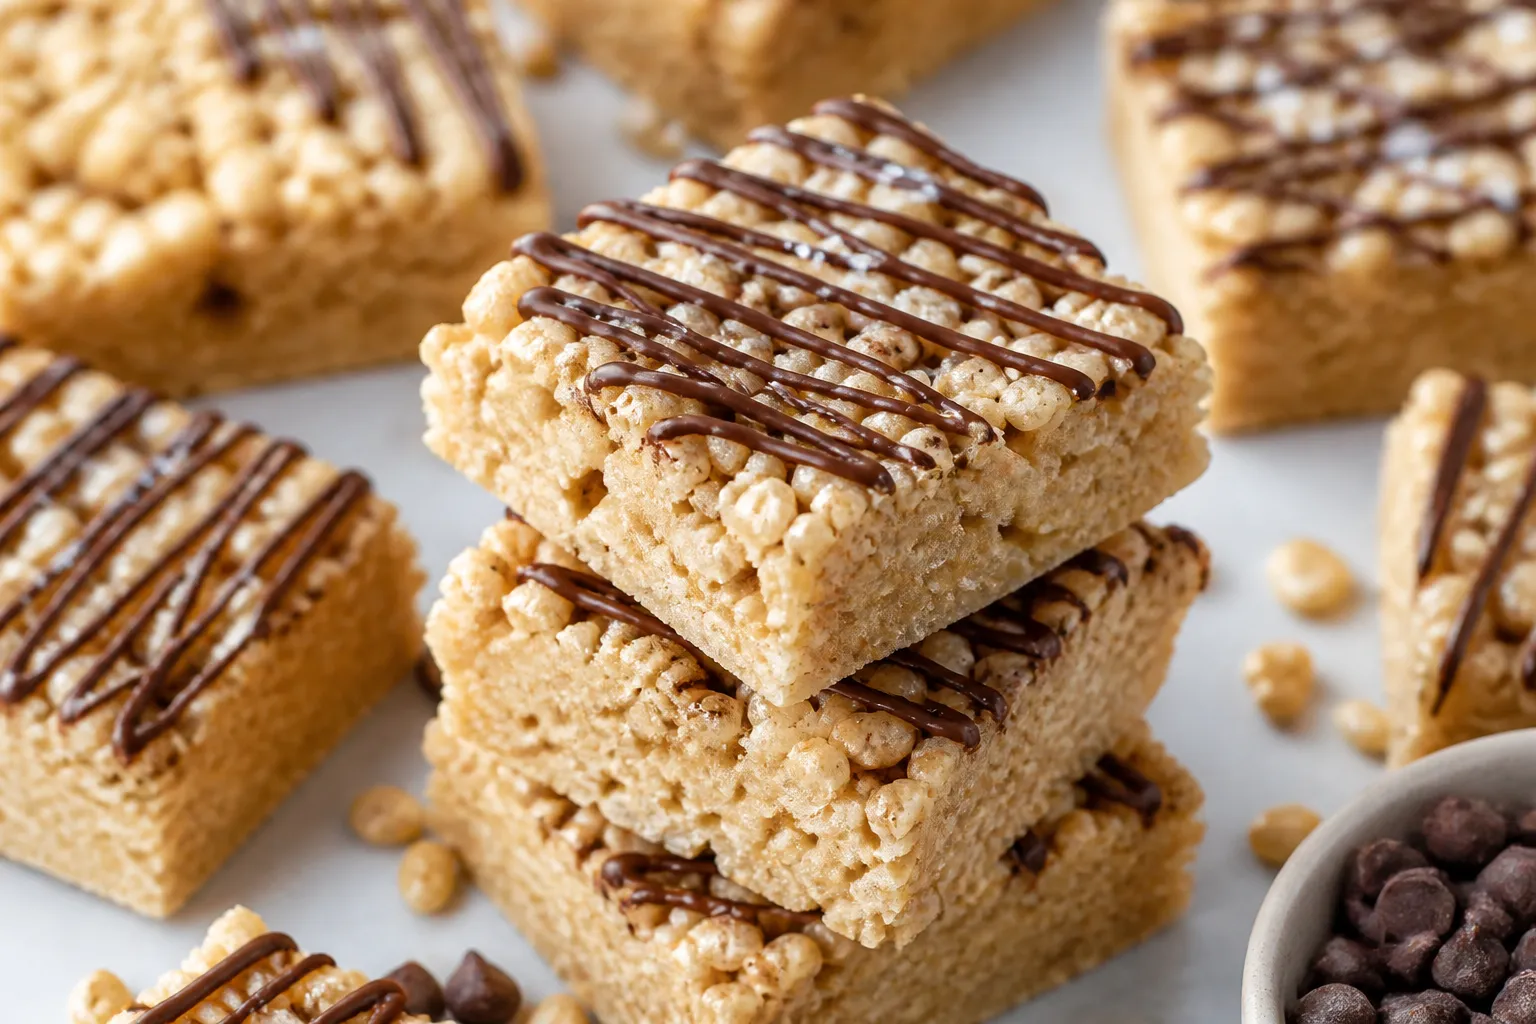
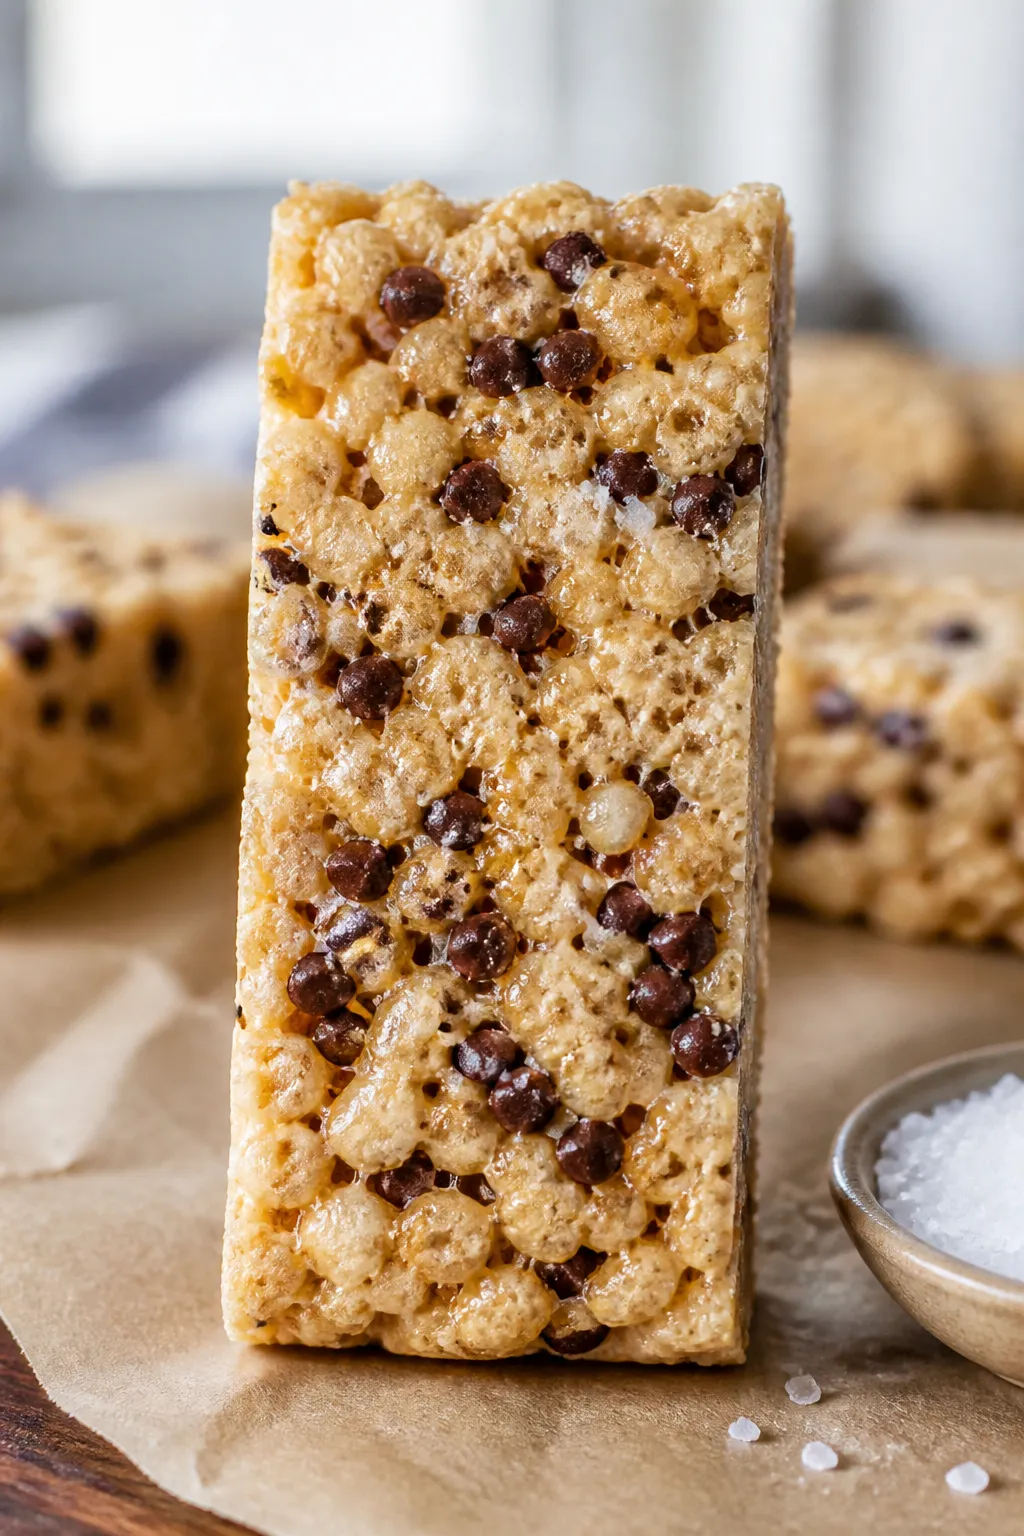
High Protein Low Carb Protein Rice Krispie Treats – A Light, Satisfying Snack
If you love classic Rice Krispie treats but want something that actually supports your goals, you’re in the right place. These high protein, low carb bars bring the same nostalgic crunch with a leaner nutrition profile. They’re quick to mix together, easy to customize, and perfect for packing into lunch boxes or post-workout bags.
You’ll get a lightly sweet, marshmallowy bite without the sugar crash. Best of all, they’re no-bake and come together in minutes.
High Protein Low Carb Protein Rice Krispie Treats - A Light, Satisfying Snack
Ingredients
Method
- Prep your pan: Line an 8x8-inch pan with parchment paper, leaving overhang for easy lifting. Lightly mist with cooking spray.
- Mix the dry base: In a large bowl, add the crispy rice cereal. If using coconut, nuts, or chocolate chips, set them aside for now.
- Heat the binder: In a medium saucepan over low heat, add butter or coconut oil, almond butter, marshmallows, and sugar-free syrup. Stir constantly until the mixture is smooth and glossy. Don’t let it bubble hard—gentle heat keeps it soft.
- Add flavor: Remove from heat. Stir in vanilla extract and a pinch of salt.
- Incorporate protein: Whisk the protein powder into the warm mixture a little at a time. Stir until fully combined and silky. If it gets too thick, add 1–2 teaspoons warm water to loosen.
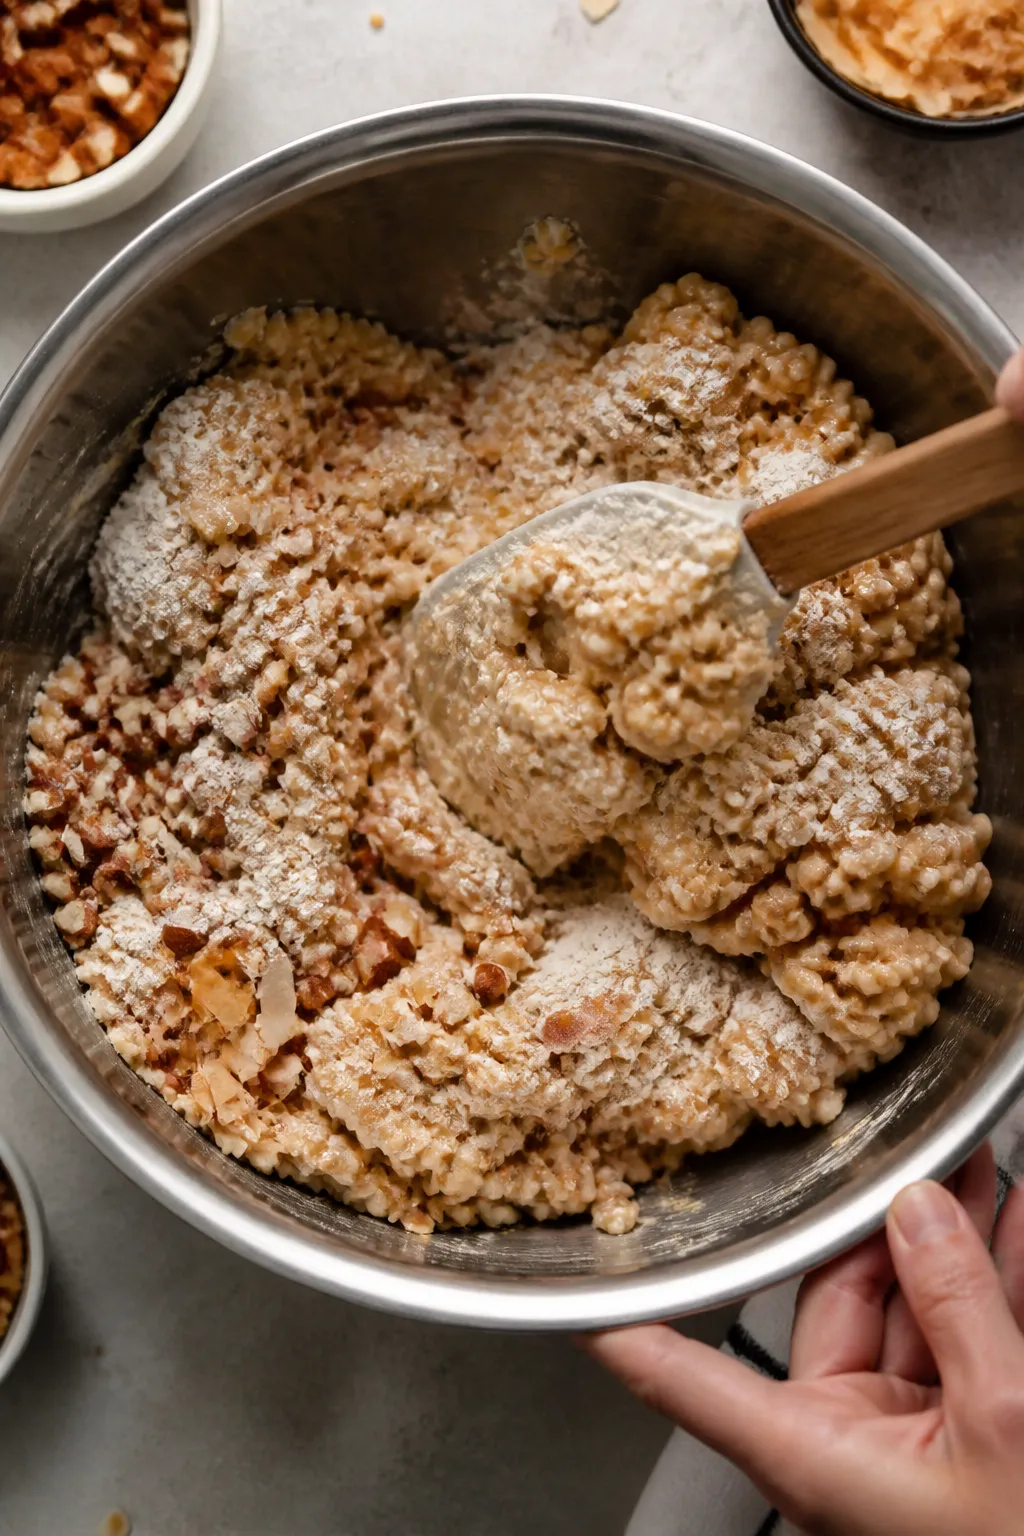
- Combine with cereal: Pour the warm protein-marshmallow mixture over the cereal. Using a silicone spatula, fold until the cereal is evenly coated. Work quickly—the mix firms up as it cools.
- Add mix-ins (optional): Fold in coconut, nuts, or chocolate chips. If using chips, let the mixture cool 1–2 minutes so they don’t melt completely.
- Press into pan: Transfer to the prepared pan. Lightly coat your hands or a spatula with cooking spray and press the mixture evenly into the corners. Don’t smash too hard or you’ll lose the airy crunch.
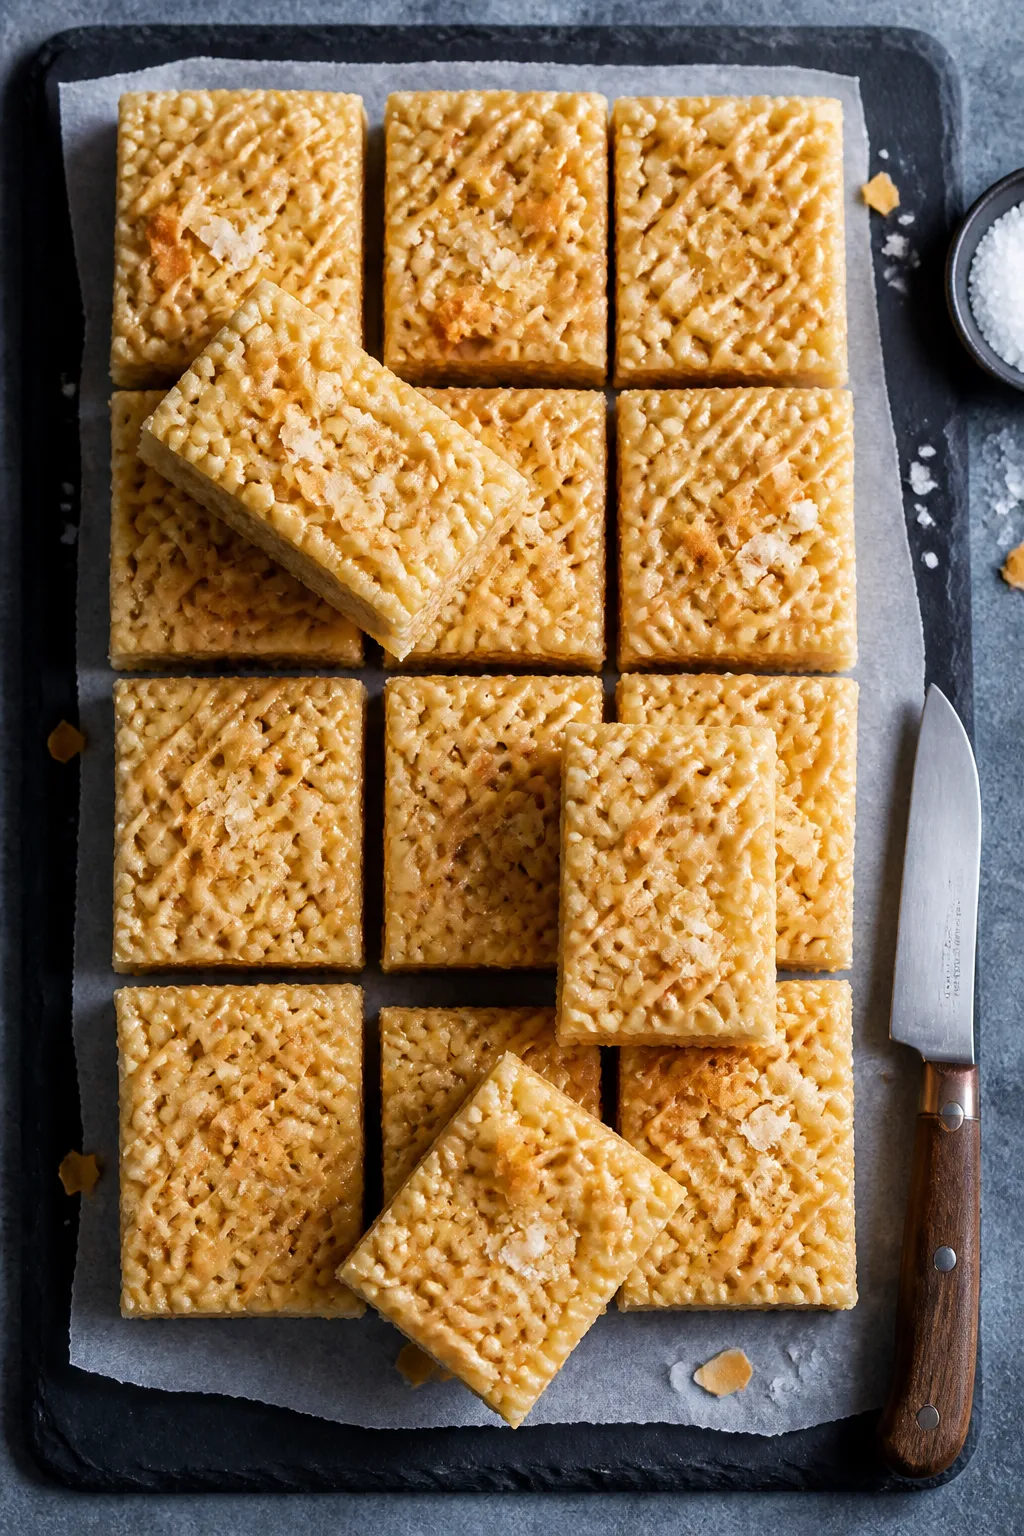
- Set and slice: Chill in the fridge for 30–45 minutes until firm. Lift out with the parchment and slice into 12 bars or 16 small squares.

What Makes This Recipe So Good
- High protein, low carb balance: Each bar packs solid protein with far fewer carbs than the classic version.
- No-bake and fast: From stovetop to pan in about 10 minutes, plus a short chill.
- Great texture: Light, crispy, and chewy without feeling heavy or chalky.
- Simple ingredients: Pantry staples you can find at most grocery stores.
- Easy to scale and customize: Make a small batch or double it, and play with flavors to keep things interesting.
Ingredients
- 3 cups crispy rice cereal (for lower carbs, use a high-protein or reduced-carb crisped cereal if you can find it)
- 1 1/4 cups mini marshmallows (use sugar-free if preferred)
- 1/3 cup natural almond butter or peanut butter (unsweetened)
- 2 scoops vanilla or unflavored whey protein isolate (about 50–60 g total)
- 2 tablespoons light butter or coconut oil
- 2 tablespoons sugar-free syrup or liquid allulose (for sweetness and binding)
- 1 teaspoon vanilla extract
- Pinch of fine sea salt
- Optional: 1–2 tablespoons unsweetened shredded coconut, sugar-free chocolate chips, or chopped roasted nuts
Step-by-Step Instructions
- Prep your pan: Line an 8×8-inch pan with parchment paper, leaving overhang for easy lifting. Lightly mist with cooking spray.
- Mix the dry base: In a large bowl, add the crispy rice cereal.
If using coconut, nuts, or chocolate chips, set them aside for now.
- Heat the binder: In a medium saucepan over low heat, add butter or coconut oil, almond butter, marshmallows, and sugar-free syrup. Stir constantly until the mixture is smooth and glossy. Don’t let it bubble hard—gentle heat keeps it soft.
- Add flavor: Remove from heat.
Stir in vanilla extract and a pinch of salt.
- Incorporate protein: Whisk the protein powder into the warm mixture a little at a time. Stir until fully combined and silky. If it gets too thick, add 1–2 teaspoons warm water to loosen.
- Combine with cereal: Pour the warm protein-marshmallow mixture over the cereal.
Using a silicone spatula, fold until the cereal is evenly coated. Work quickly—the mix firms up as it cools.
- Add mix-ins (optional): Fold in coconut, nuts, or chocolate chips. If using chips, let the mixture cool 1–2 minutes so they don’t melt completely.
- Press into pan: Transfer to the prepared pan.
Lightly coat your hands or a spatula with cooking spray and press the mixture evenly into the corners. Don’t smash too hard or you’ll lose the airy crunch.
- Set and slice: Chill in the fridge for 30–45 minutes until firm. Lift out with the parchment and slice into 12 bars or 16 small squares.
How to Store
- Room temperature: In an airtight container for up to 2 days if your kitchen is cool.
They’ll be softer at room temp.
- Refrigerator: Best for texture and longevity. Store in a sealed container for 5–7 days. Place parchment between layers to prevent sticking.
- Freezer: Wrap bars individually and store in a freezer bag for up to 2 months.
Thaw at room temperature for 20–30 minutes before eating.
Health Benefits
- Higher protein, better satiety: Protein helps you feel fuller longer and supports muscle repair after workouts.
- Lower sugar impact: Using sugar-free syrup and cutting down on marshmallows reduces the quick spike and crash that comes with traditional bars.
- Balanced fats: Almond or peanut butter adds healthy fats for sustained energy and improved texture.
- Portion-friendly: Pre-slicing creates easy grab-and-go servings, which helps with mindful snacking.
- Customizable for dietary needs: With the right cereal and protein, these can be gluten-free, dairy-free, or very low in carbs.
Pitfalls to Watch Out For
- Overheating the binder: High heat can scorch or make the marshmallow mixture seize. Keep it low and slow.
- Chalky texture: Too much protein powder or not enough moisture leads to dryness. Add a teaspoon of warm water at a time if it tightens up.
- Packing too firmly: Pressing hard compacts the cereal and makes the bars dense.
Aim for gentle, even pressure.
- Wrong protein type: Whey isolate blends smoothly. Some plant proteins can get gritty—if using them, reduce the scoop slightly and add an extra teaspoon of syrup or water.
- Hidden carbs in cereal: Not all crispy rice cereals are equal. Check labels, or choose a high-protein crisped cereal to keep carbs in check.
Recipe Variations
- Chocolate Peanut Crunch: Use chocolate whey isolate, peanut butter, and a handful of sugar-free chocolate chips.
- Cinnamon Roll: Vanilla whey isolate, almond butter, 1 teaspoon ground cinnamon, and a light drizzle of sugar-free icing after chilling.
- Mocha Chip: Chocolate protein with 1 teaspoon instant espresso powder mixed into the binder and mini sugar-free chips.
- Almond Joy-Inspired: Coconut oil, vanilla protein, toasted coconut, and chopped roasted almonds.
- Plant-Based: Use a smooth pea or brown rice protein blend, coconut oil, and vegan marshmallows.
Add a splash more liquid if needed.
- Ultra Low Carb: Use a low-carb crisped cereal alternative, sugar-free marshmallows, and liquid allulose for the binder.
FAQ
Can I make these without marshmallows?
Yes. Replace marshmallows with 1/2 cup sugar-free syrup plus 2 extra tablespoons nut butter. Warm gently with the oil or butter until smooth.
The texture will be a little less chewy but still holds together well.
What protein powder works best?
Whey protein isolate blends the smoothest and doesn’t overpower the flavor. If using plant protein, choose a fine, neutral blend and reduce the total scoop by about 20%, adding a teaspoon or two of warm water if the mixture thickens too much.
Why are my treats hard or dry?
They were either overheated or packed too tightly. Next time, use lower heat, add a splash of water if the mix gets stiff, and press gently into the pan.
Also check your protein scoop size—too much powder can dry things out.
Can I reduce the sweetness?
Absolutely. Use fewer marshmallows or choose an unsweetened protein and swap some syrup for a neutral liquid like unsweetened almond milk. Keep a thick, sticky texture so the bars still set.
Are these gluten-free?
They can be.
Use certified gluten-free crispy rice cereal, gluten-free marshmallows, and a gluten-free protein powder. Always check labels to be sure.
How many bars does this make?
An 8×8-inch pan typically yields 12 bars. If you prefer smaller squares, slice into 16.
Nutrition per bar depends on your exact ingredients and cut size.
Do I need to refrigerate them?
It’s recommended. Refrigeration helps them set with a better bite and keeps them fresh longer. They’re still fine at room temp for a couple of days in a cool kitchen.
Can I add collagen?
Yes.
Replace up to one-third of the whey isolate with collagen peptides. Collagen blends easily and adds a pleasant chew without chalkiness.
In Conclusion
High Protein Low Carb Protein Rice Krispie Treats deliver that classic crispy-chewy texture with a smarter nutrition profile. They’re quick to make, customizable, and easy to store for the week.
Keep the heat gentle, don’t overpack the pan, and choose a smooth protein to nail the texture. With a few simple tweaks, you’ll have a go-to snack that tastes like a treat and supports your goals.
Printable Recipe Card
Want just the essential recipe details without scrolling through the article? Get our printable recipe card with just the ingredients and instructions.