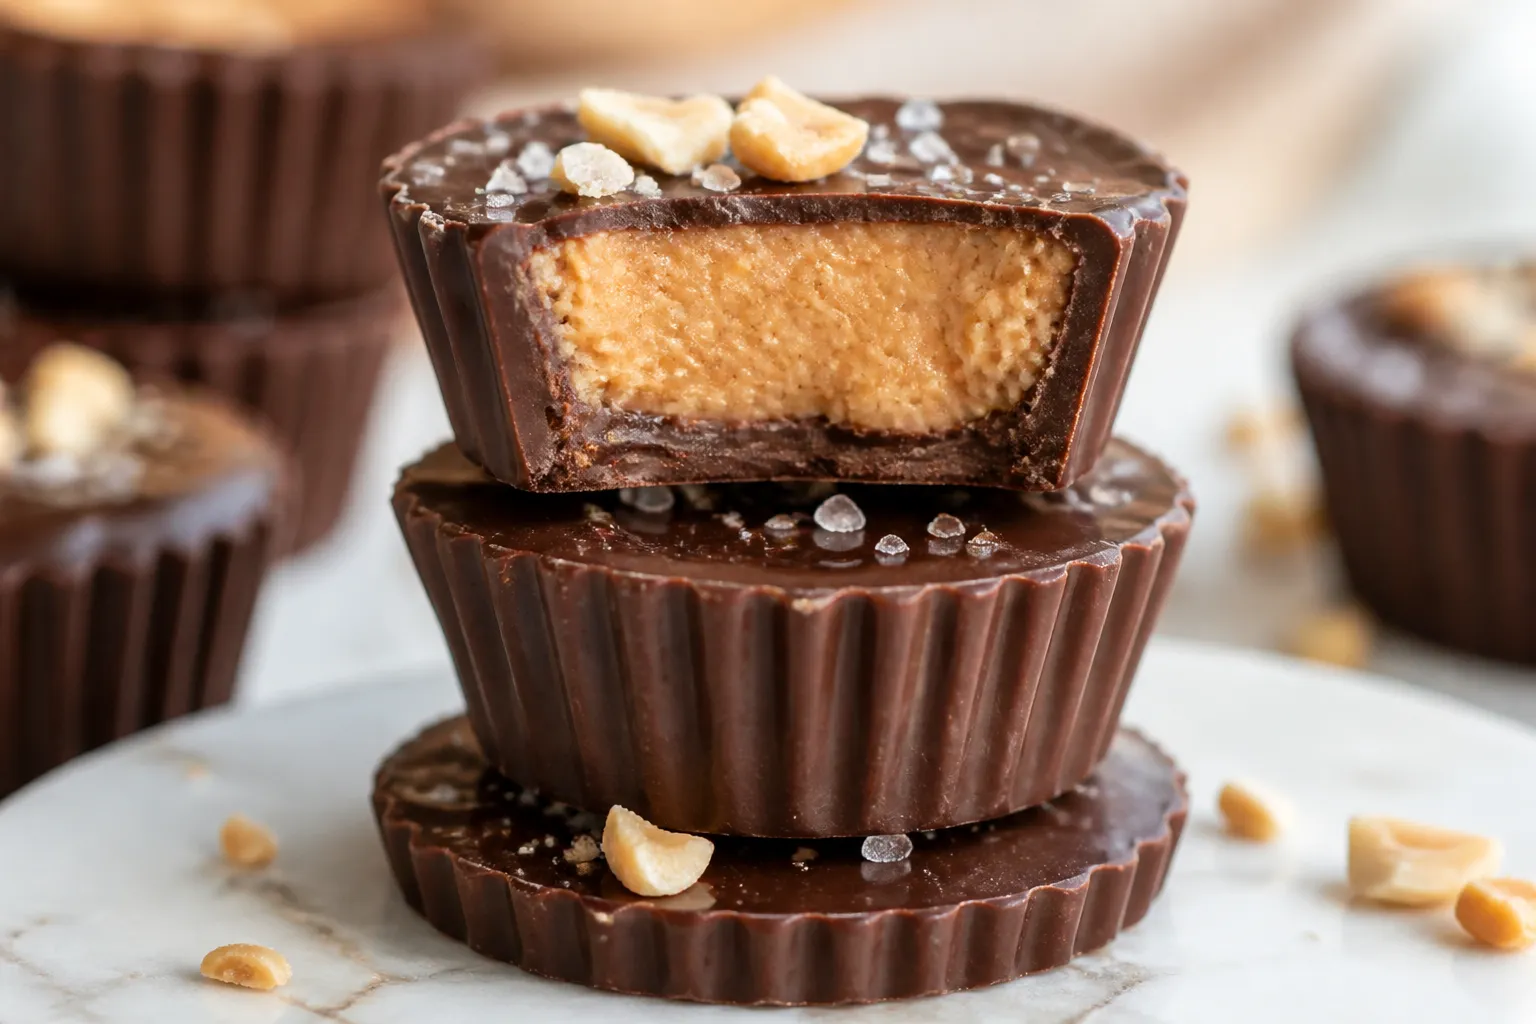
Chocolate Peanut Butter Protein Cups – A Simple, Satisfying Treat
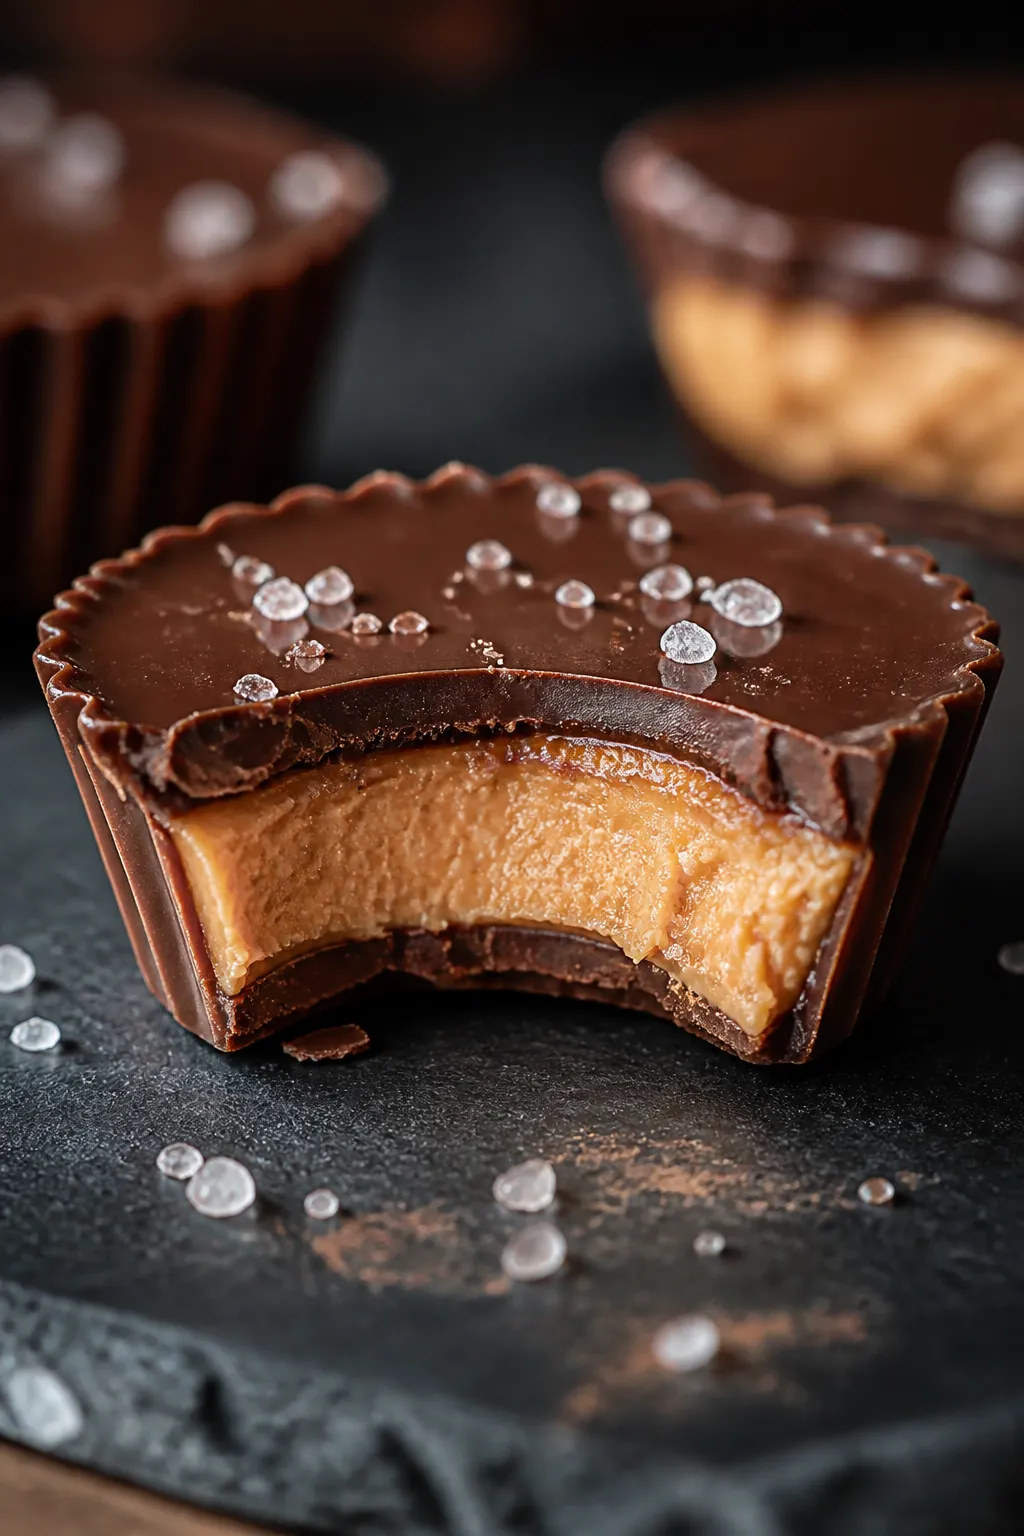
These Chocolate Peanut Butter Protein Cups are the kind of snack you actually look forward to. They taste like a classic peanut butter cup, but with a little extra boost from protein and better-for-you ingredients. Perfect for a quick bite after the gym, a sweet treat after dinner, or a make-ahead snack for busy days.
They come together fast, set in the fridge, and keep well all week. If you love chocolate and peanut butter, this one’s a no-brainer.
Ingredients
Method
- Prep the pan: Line a standard muffin tin with 10–12 paper liners. Clear space in your fridge or freezer for the pan so you can chill the cups right away.
- Melt the chocolate: In a microwave-safe bowl, combine 1 1/4 cups dark chocolate chips with 1 1/2 tablespoons coconut oil. Microwave in 20–30 second bursts, stirring between each, until smooth. Alternatively, melt gently over a double boiler.
- Make the peanut butter filling: In a separate bowl, stir together 3/4 cup creamy natural peanut butter, 1/4 cup protein powder, 1–2 tablespoons maple syrup (to taste), a pinch of fine sea salt, and 1/2 teaspoon vanilla extract (optional). The mixture should be thick but scoopable. If it’s too dry, add 1–2 teaspoons warm water; if too loose, add a teaspoon more protein powder.
- Build the base layer: Spoon about 1–2 teaspoons melted chocolate into each liner and tilt the tin to coat the bottom evenly. Chill for 5–10 minutes until just set.
- Add the filling: Scoop 1 tablespoon of the peanut butter mixture onto each chocolate base. Gently flatten it with the back of a spoon, leaving a tiny border around the edges so the top chocolate can seal.
- Seal with chocolate: Spoon enough melted chocolate over each cup to fully cover the peanut layer, about 1–2 teaspoons per cup. Tap the pan lightly on the counter to smooth the tops and release air bubbles.
- Finish and chill: Sprinkle flaky sea salt on top if you like. Chill in the fridge for 30–45 minutes, or in the freezer for 15–20 minutes, until firm.
- Serve: Peel off the liners and enjoy. For the best bite, let fridge-cold cups sit at room temperature for 5 minutes before eating.

What Makes This Recipe So Good
- Balanced and satisfying: The combo of protein, healthy fats, and a touch of sweetness keeps you full longer.
- No baking required: Just melt, mix, layer, and chill. Easy clean-up, too.
- Customizable sweetness: Use maple syrup, honey, or a zero-calorie sweetener—whatever fits your goals.
- Better ingredients: Dark chocolate, natural peanut butter, and quality protein powder keep it simple and nourishing.
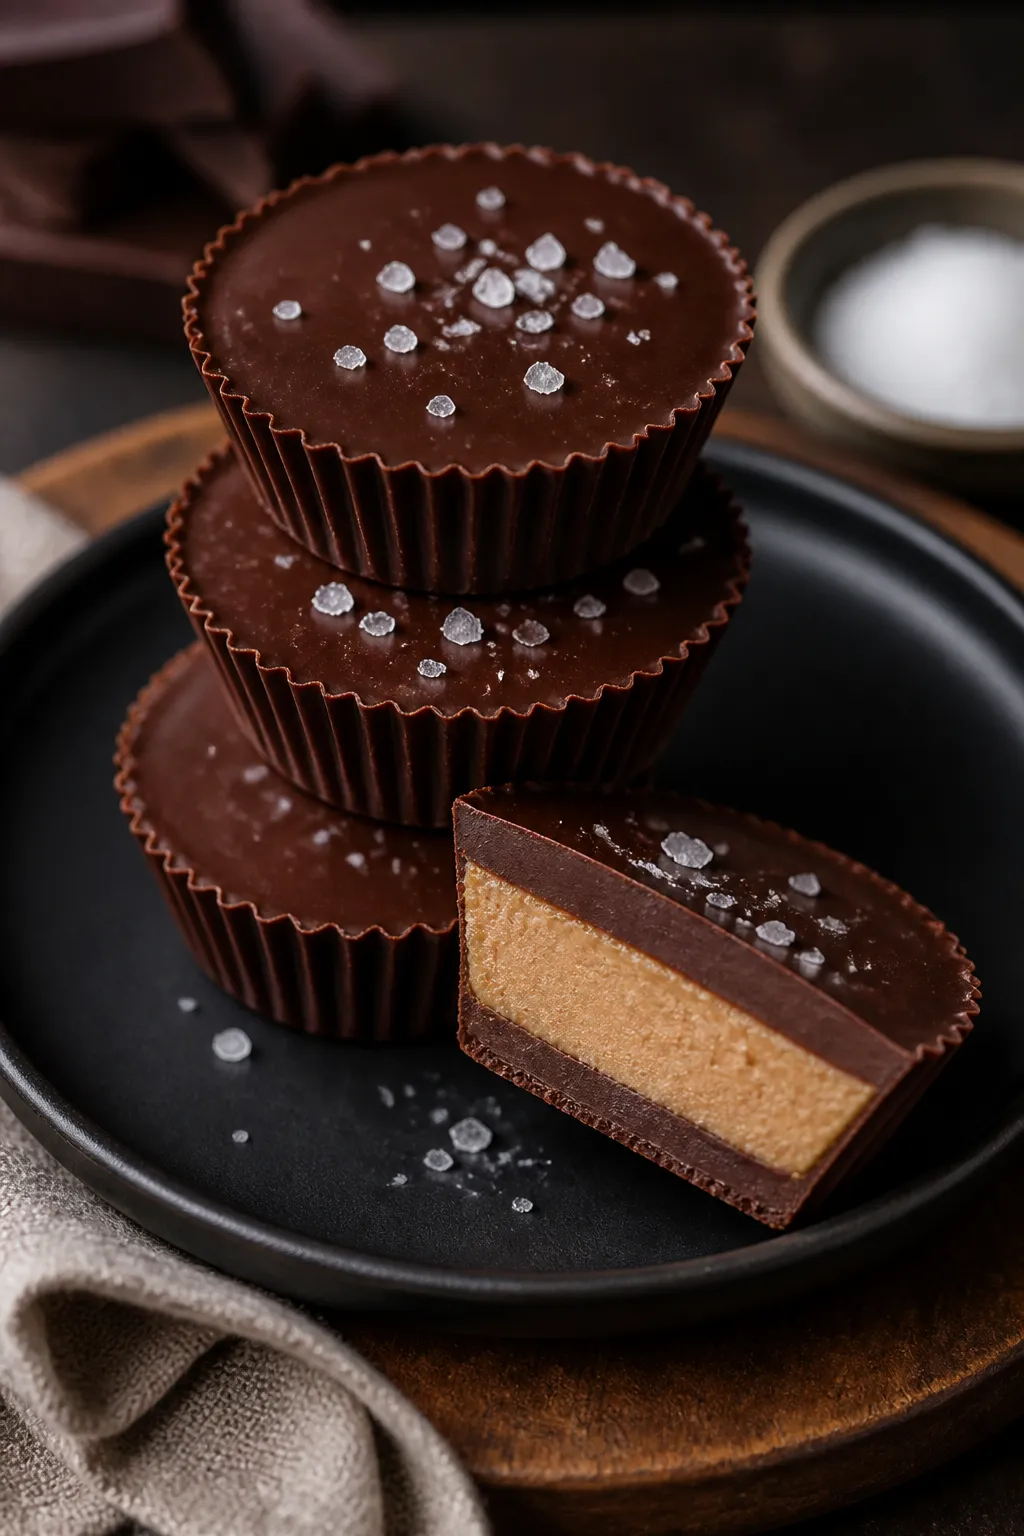
- Great texture: Smooth, creamy centers with a firm chocolate shell that snaps.
It feels like a treat but works like a snack.
Shopping List
- Dark chocolate chips (60–70% cacao) or a chopped dark chocolate bar
- Coconut oil (refined for neutral flavor, unrefined for coconut flavor)
- Natural peanut butter (creamy, unsweetened)
- Vanilla or chocolate protein powder (whey or plant-based)
- Pure maple syrup or honey (or a sugar-free syrup if preferred)
- Fine sea salt
- Vanilla extract (optional, for flavor)
- Flaky sea salt (optional, for topping)
Instructions

- Prep the pan: Line a standard muffin tin with 10–12 paper liners. Clear space in your fridge or freezer for the pan so you can chill the cups right away.
- Melt the chocolate: In a microwave-safe bowl, combine 1 1/4 cups dark chocolate chips with 1 1/2 tablespoons coconut oil. Microwave in 20–30 second bursts, stirring between each, until smooth.
Alternatively, melt gently over a double boiler.
- Make the peanut butter filling: In a separate bowl, stir together 3/4 cup creamy natural peanut butter, 1/4 cup protein powder, 1–2 tablespoons maple syrup (to taste), a pinch of fine sea salt, and 1/2 teaspoon vanilla extract (optional). The mixture should be thick but scoopable. If it’s too dry, add 1–2 teaspoons warm water; if too loose, add a teaspoon more protein powder.
- Build the base layer: Spoon about 1–2 teaspoons melted chocolate into each liner and tilt the tin to coat the bottom evenly.
Chill for 5–10 minutes until just set.
- Add the filling: Scoop 1 tablespoon of the peanut butter mixture onto each chocolate base. Gently flatten it with the back of a spoon, leaving a tiny border around the edges so the top chocolate can seal.
- Seal with chocolate: Spoon enough melted chocolate over each cup to fully cover the peanut layer, about 1–2 teaspoons per cup. Tap the pan lightly on the counter to smooth the tops and release air bubbles.
- Finish and chill: Sprinkle flaky sea salt on top if you like.
Chill in the fridge for 30–45 minutes, or in the freezer for 15–20 minutes, until firm.
- Serve: Peel off the liners and enjoy. For the best bite, let fridge-cold cups sit at room temperature for 5 minutes before eating.
How to Store
- Refrigerator: Store in an airtight container for up to 1 week. Keep layers of cups separated with parchment to prevent sticking.
- Freezer: Freeze for up to 2–3 months.
Thaw at room temperature for 10–15 minutes before eating for the perfect texture.
- On the go: If packing for later, include a small ice pack. The chocolate can soften in warm rooms or bags.
Why This is Good for You
- Protein support: Adding protein powder turns a candy-like treat into a more balanced snack that helps with satiety and recovery.
- Healthy fats: Peanut butter provides monounsaturated fats, which support heart health and help keep you full.
- Lower sugar, big flavor: Dark chocolate and natural peanut butter deliver rich taste with less added sugar than standard candy cups.
- Custom-fit nutrition: You choose the protein type and sweetener, so it can be dairy-free, lower-carb, or higher-protein based on your needs.
What Not to Do
- Don’t skip the liner: The cups will stick to the pan without paper liners or silicone molds.
- Don’t overheat the chocolate: Burnt chocolate turns grainy. Melt gently and stir often.
- Don’t use oily or separated peanut butter without stirring: Fully mix the jar first, or your filling will be greasy and loose.
- Don’t stack warm cups: Let them set completely before storing to avoid smearing and sticking.
- Don’t flood the edges: Leave a small border around the peanut layer so the top chocolate seals and prevents leaking.
Alternatives
- Nut-free: Swap peanut butter for sunflower seed butter or tahini.
Adjust sweetness since some seed butters are more bitter.
- Different proteins: Whey blends make a creamier filling. Plant-based powders can be drier—add a teaspoon of coconut milk or water as needed.
- Flavor twists: Stir cinnamon, espresso powder, or a dash of chili into the chocolate. Add crushed peanuts or crispy rice to the top for crunch.
- Sweetener swaps: Use honey, agave, date syrup, or a monk fruit/erythritol blend.
Start with less; you can always add more.
- Chocolate options: Try milk chocolate for a sweeter cup, or 80% dark for a bolder bite. White chocolate works too, but it’s sweeter and contains no cocoa solids.
FAQ
Can I make these without coconut oil?
Yes. The coconut oil helps the chocolate set with a nice snap, but you can skip it and melt chocolate on its own.
The shell will be slightly firmer and may set a bit slower, but it still works.
What protein powder works best?
Whey isolate or a whey blend gives a smooth, creamy filling. For dairy-free, use a neutral-tasting plant protein like pea or a pea/rice blend. If it’s chalky or dry, mix in a teaspoon of water or coconut milk until creamy.
How do I prevent the chocolate from cracking when I bite into it?
Let the cups sit at room temperature for 5 minutes before eating.
Also, avoid making the top layer too thick; a thinner shell gives a cleaner bite.
Can I reduce the sweetness?
Absolutely. Use 70% dark chocolate or higher, and cut the maple syrup to 1 teaspoon. You can also skip sweetener entirely if your protein powder is sweetened.
Do I need to refrigerate them?
For the best texture, yes.
The fridge keeps the chocolate firm and the filling set. If left at room temperature for hours, they can soften and lose their shape.
Wrapping Up
Chocolate Peanut Butter Protein Cups deliver that classic candy-bar flavor with a smarter ingredient list. They’re easy to make, easy to store, and easy to customize to your taste and goals.
Keep a batch in the fridge, and you’ll always have a quick, satisfying treat ready to go. Simple, dependable, and seriously good.
Printable Recipe Card
Want just the essential recipe details without scrolling through the article? Get our printable recipe card with just the ingredients and instructions.