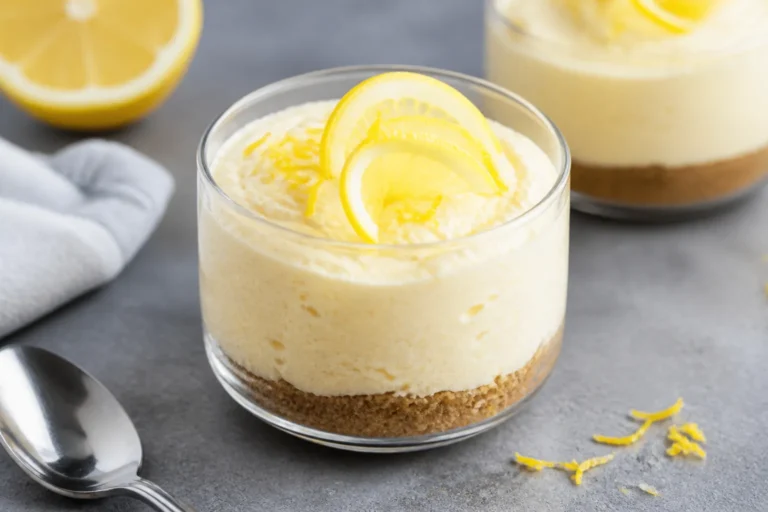
High Protein Low Carb Chocolate Chip Cheesecake Cups – A Simple, Satisfying Treat
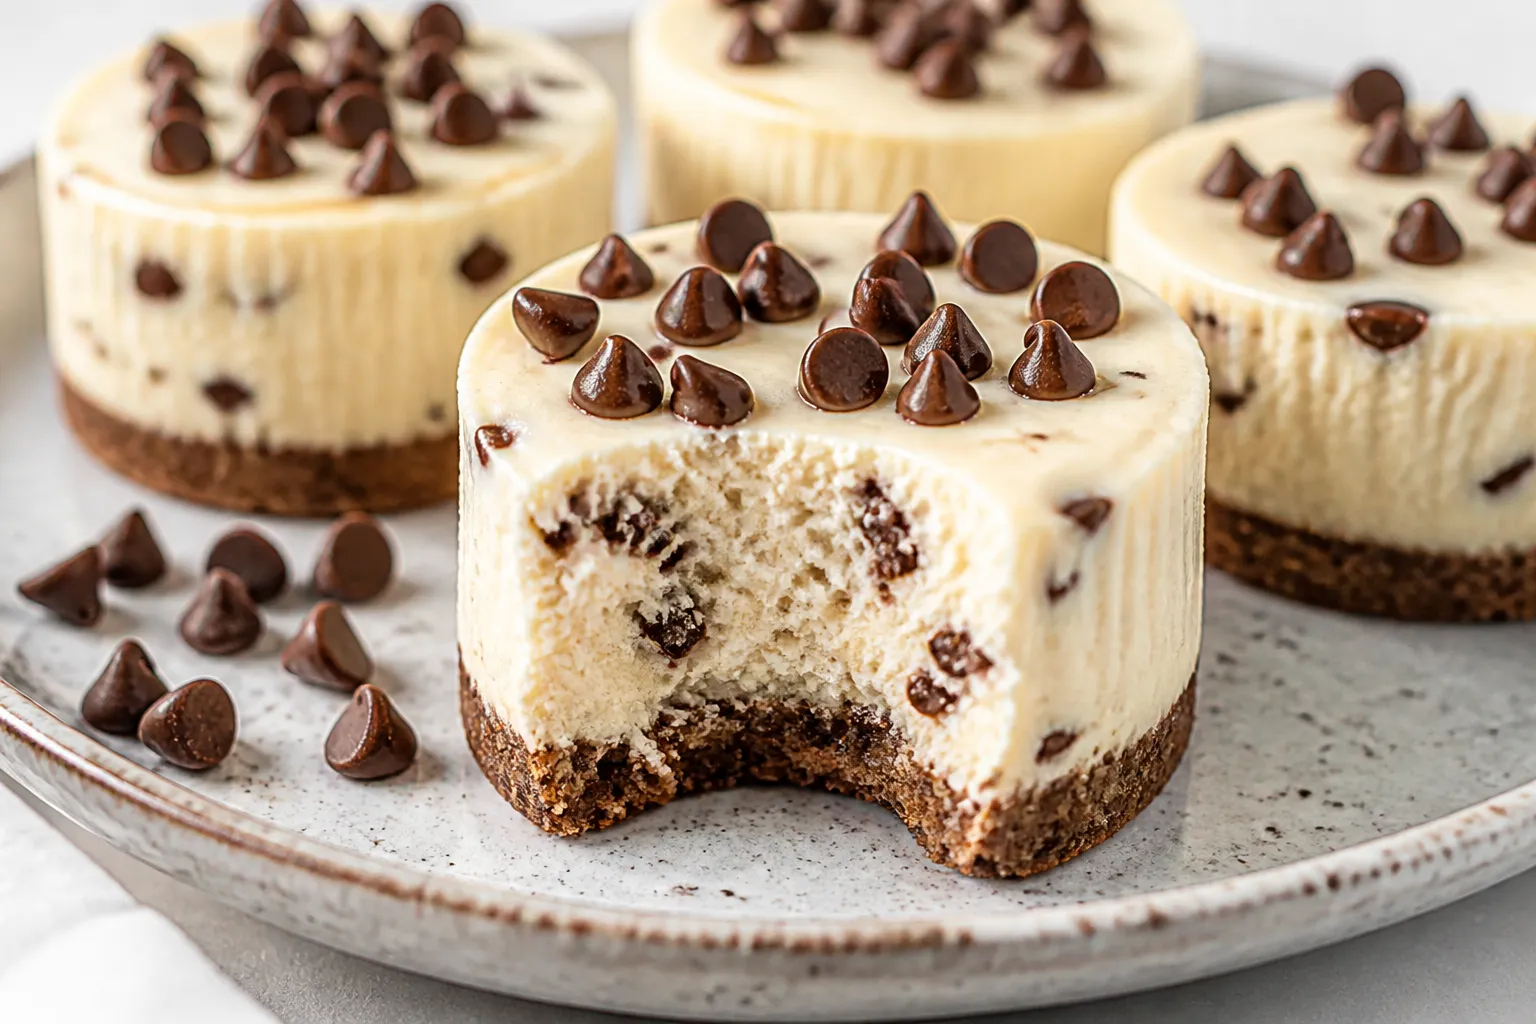
These cheesecake cups taste like dessert but fit easily into a high-protein, low-carb plan. They’re creamy, lightly sweet, and studded with melty chocolate chips in every bite. You can whip up a batch in under 30 minutes, and they’re perfect for portion control.
Keep a few in the fridge for a quick snack, post-workout bite, or an easy dessert that won’t derail your goals.
High Protein Low Carb Chocolate Chip Cheesecake Cups - A Simple, Satisfying Treat
Ingredients
Method
- Prep your pan and oven: Line a 12-cup muffin pan with paper liners or use silicone molds. Preheat to 325°F (165°C). This slightly lower temperature helps prevent cracks and rubbery texture.
- Make the optional crust: In a bowl, mix almond flour, melted butter, sweetener, and a pinch of salt. Divide evenly among liners, about 1 tablespoon each. Press firmly. Par-bake for 6–7 minutes until lightly set, then cool while you make the filling.
- Soften the cream cheese: Make sure it’s truly soft. If it’s still cool, microwave in short 10-second bursts. Soft cream cheese blends smoother, which means fewer lumps.
- Beat the base: In a mixing bowl, beat cream cheese with sweetener until fluffy and smooth, 1–2 minutes. Scrape down the bowl so no streaks remain.
- Add the egg and vanilla: Beat in the egg and vanilla until just combined. Don’t overmix here—too much air can cause sinking.
- Fold in yogurt and protein: Add Greek yogurt and protein powder. Mix on low or fold with a spatula until no dry pockets remain. The batter should be thick but scoopable. If it’s too thick, stir in 1–2 tablespoons milk or almond milk to loosen.
- Stir in the chips: Fold in mini chocolate chips. Reserve a few for the tops if you want a bakery-style look.
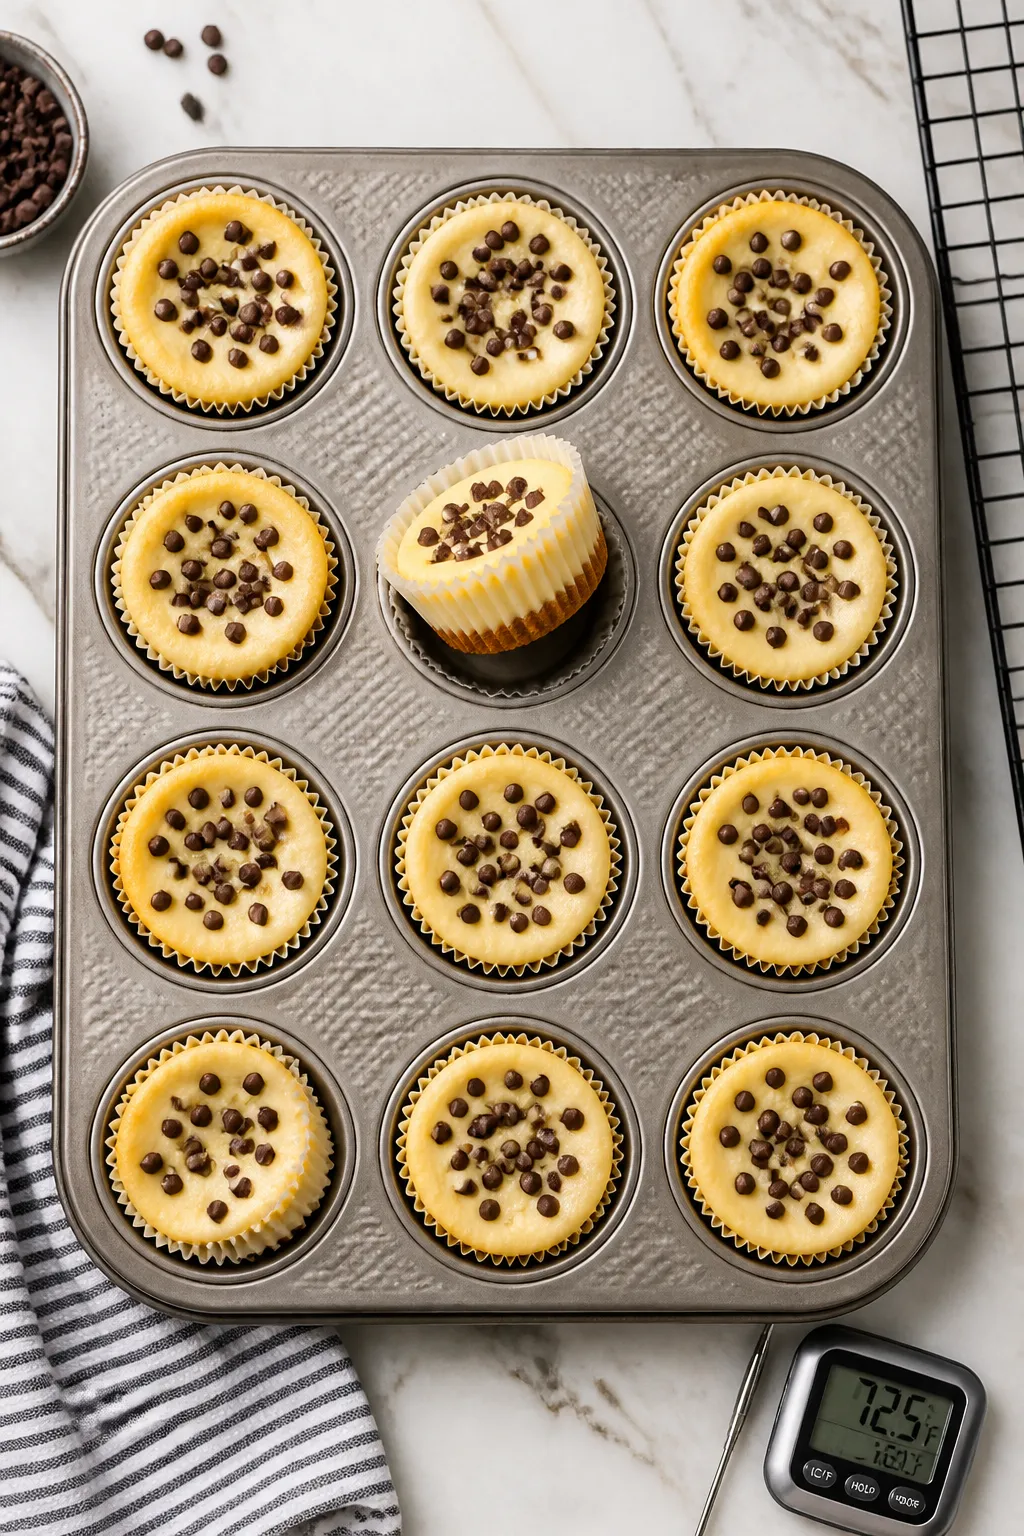
- Fill the cups: Divide batter among the liners, about 2 heaping tablespoons each, nearly to the top. Smooth the surfaces with the back of a spoon. Sprinkle reserved chips.
- Bake: Place the pan on the middle rack and bake for 14–18 minutes. They’re done when edges are set and the centers have a slight jiggle. Don’t wait for them to be fully firm in the oven.
- Cool gradually: Turn off the oven, crack the door, and let the cups rest for 5 minutes. Move the pan to a rack and cool to room temp, about 30 minutes. This gentle cooling helps prevent cracks.
- Chill: Refrigerate for at least 2 hours, uncovered for the first 30 minutes to prevent condensation, then covered. They set fully as they chill.
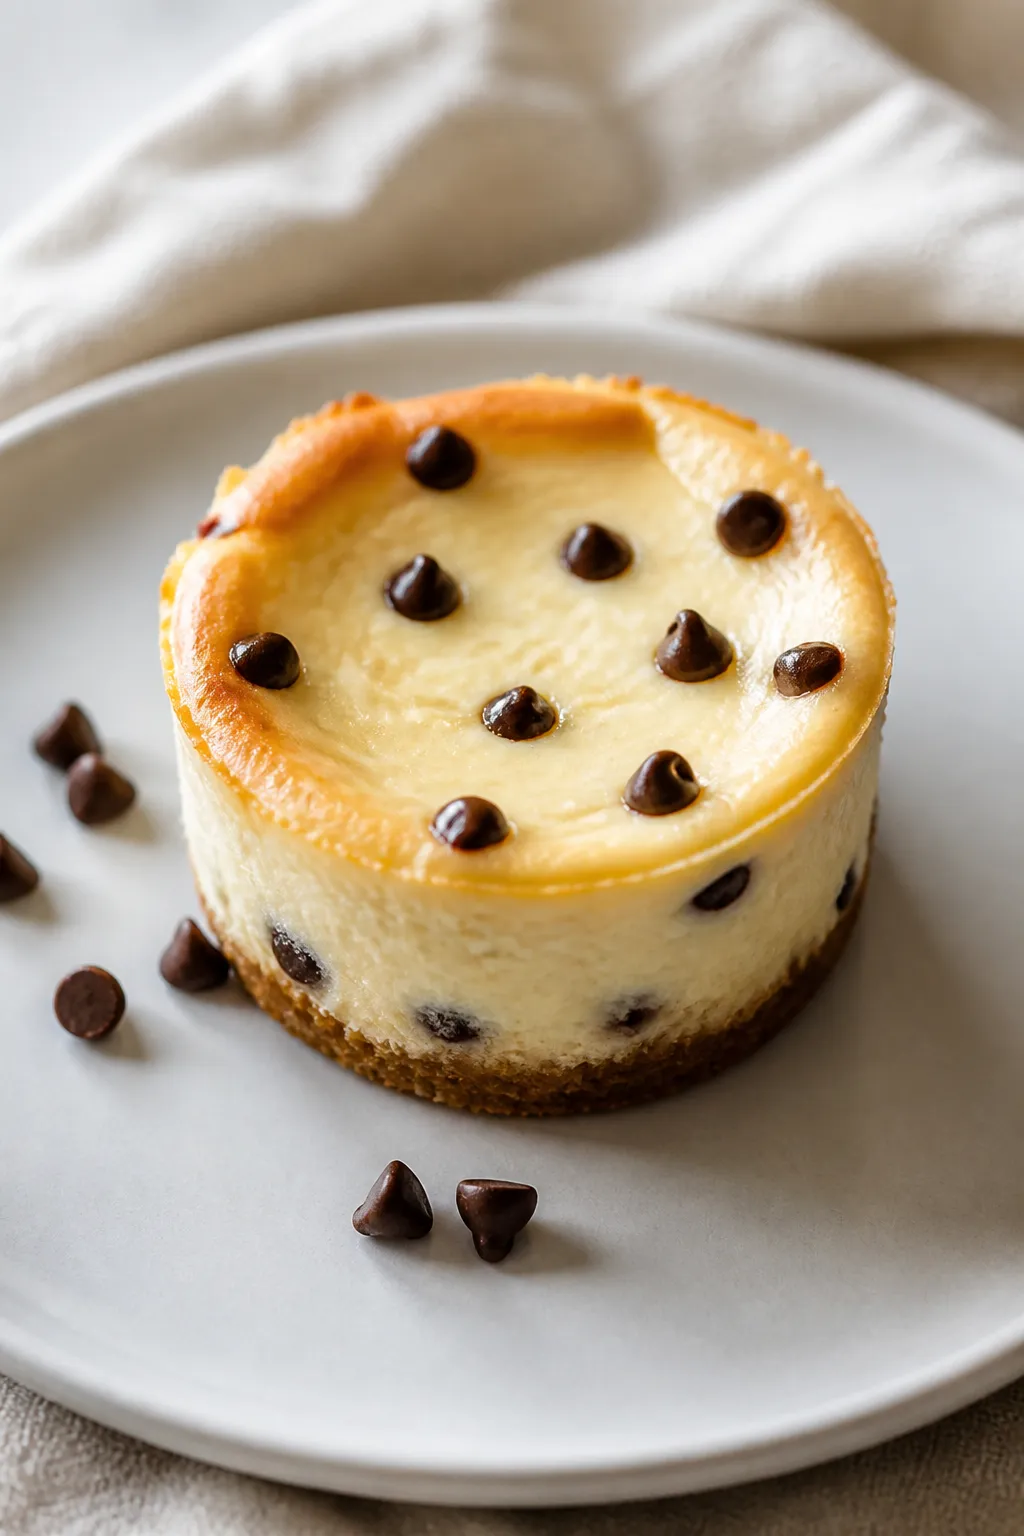
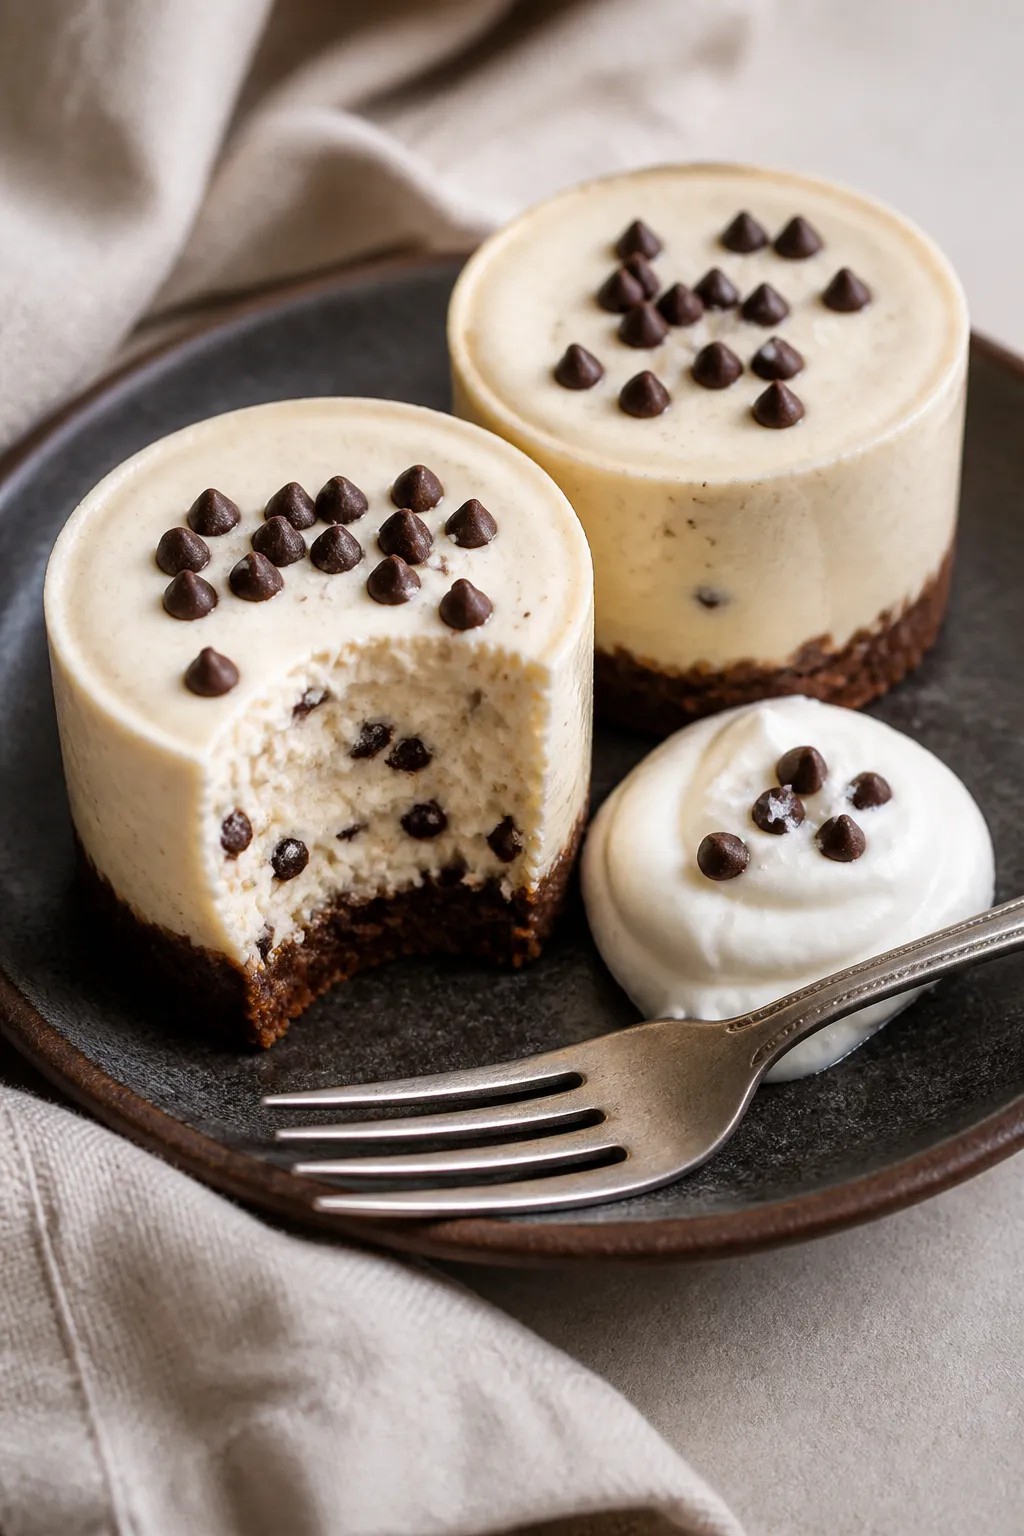
- Serve: Enjoy straight from the fridge, or let them sit 5–10 minutes to soften. Add a few extra chips or a dollop of yogurt if you like.

Why This Recipe Works
These cheesecake cups combine cream cheese, Greek yogurt, and whey protein for a smooth, rich texture that’s naturally higher in protein. Using a low-carb sweetener keeps sugar in check without sacrificing flavor. The portioned cups bake faster than a full cheesecake and cool quickly, so you can enjoy them sooner.
Mini chocolate chips add just enough chocolaty crunch while staying evenly distributed.
What You’ll Need
- Cream Cheese (8 oz, softened): Full-fat or reduced-fat both work. Full-fat is richer; reduced-fat lowers calories.
- Plain Greek Yogurt (3/4 cup): Adds protein and tang. Use 2% or 0% based on your preference.
- Vanilla Whey Protein Powder (1/2 cup): Unflavored works too; adjust sweetener if needed.
- Granulated Low-Carb Sweetener (1/3–1/2 cup): Erythritol, allulose, or a blend.
Sweeten to taste.
- Large Egg (1): Binds and adds creaminess without heaviness.
- Vanilla Extract (1 teaspoon): Boosts that classic cheesecake flavor.
- Pinch of Salt: Balances sweetness.
- Mini Sugar-Free Chocolate Chips (1/3 cup): Mini chips disperse better and keep each bite balanced.
- Optional Crust: 3/4 cup fine almond flour, 2 tablespoons melted butter, 1 tablespoon low-carb sweetener, pinch of salt.
- Supplies: 12-cup muffin pan, paper liners or silicone cups, mixing bowls, hand mixer or whisk, rubber spatula.
Step-by-Step Instructions
- Prep your pan and oven: Line a 12-cup muffin pan with paper liners or use silicone molds. Preheat to 325°F (165°C). This slightly lower temperature helps prevent cracks and rubbery texture.
- Make the optional crust: In a bowl, mix almond flour, melted butter, sweetener, and a pinch of salt.
Divide evenly among liners, about 1 tablespoon each. Press firmly. Par-bake for 6–7 minutes until lightly set, then cool while you make the filling.
- Soften the cream cheese: Make sure it’s truly soft.
If it’s still cool, microwave in short 10-second bursts. Soft cream cheese blends smoother, which means fewer lumps.
- Beat the base: In a mixing bowl, beat cream cheese with sweetener until fluffy and smooth, 1–2 minutes. Scrape down the bowl so no streaks remain.
- Add the egg and vanilla: Beat in the egg and vanilla until just combined.
Don’t overmix here—too much air can cause sinking.
- Fold in yogurt and protein: Add Greek yogurt and protein powder. Mix on low or fold with a spatula until no dry pockets remain. The batter should be thick but scoopable.
If it’s too thick, stir in 1–2 tablespoons milk or almond milk to loosen.
- Stir in the chips: Fold in mini chocolate chips. Reserve a few for the tops if you want a bakery-style look.
- Fill the cups: Divide batter among the liners, about 2 heaping tablespoons each, nearly to the top. Smooth the surfaces with the back of a spoon.
Sprinkle reserved chips.
- Bake: Place the pan on the middle rack and bake for 14–18 minutes. They’re done when edges are set and the centers have a slight jiggle. Don’t wait for them to be fully firm in the oven.
- Cool gradually: Turn off the oven, crack the door, and let the cups rest for 5 minutes.
Move the pan to a rack and cool to room temp, about 30 minutes. This gentle cooling helps prevent cracks.
- Chill: Refrigerate for at least 2 hours, uncovered for the first 30 minutes to prevent condensation, then covered. They set fully as they chill.
- Serve: Enjoy straight from the fridge, or let them sit 5–10 minutes to soften.
Add a few extra chips or a dollop of yogurt if you like.
Keeping It Fresh
Store the cheesecake cups in an airtight container in the fridge for up to 5 days. Keep a bit of space between them so moisture doesn’t build up. For freezing, place the chilled cups on a sheet pan to freeze solid, then transfer to a freezer bag for up to 2 months.
Thaw overnight in the fridge or at room temperature for 30–45 minutes for a quick treat.
Benefits of This Recipe
- High in Protein: Cream cheese, Greek yogurt, and whey protein combine to deliver a satisfying, macro-friendly dessert.
- Lower in Carbs: Using a low-carb sweetener and skipping traditional sugar keeps carbs in check.
- Portion-Controlled: Individual cups help you manage servings without the guesswork.
- Quick and Simple: No water bath, no special pans, and minimal prep time.
- Customizable: Switch up flavors, sweeteners, or chocolate types to match your goals and taste.
Common Mistakes to Avoid
- Using cold cream cheese: This creates lumps and uneven texture. Make sure it’s fully softened.
- Overmixing after adding the egg: Too much air leads to sinking and cracks. Mix just until combined.
- Baking until fully firm: Cheesecake finishes setting as it cools.
Pull them when centers still jiggle slightly.
- Skipping the chill time: They need time to set for the right texture and flavor. Chill at least 2 hours.
- Using large chocolate chips: They can sink or make bites uneven. Mini chips work best for even distribution.
Alternatives
- No protein powder: Skip it and add 2 extra tablespoons Greek yogurt.
They’ll be a bit softer and slightly lower in protein.
- Dairy-free: Use dairy-free cream cheese, coconut yogurt, and a plant-based protein powder. Choose dairy-free chocolate chips.
- Different sweeteners: Allulose gives a softer texture and less cooling effect; erythritol is crisper and sweeter by volume. Start with less and adjust.
- Flavor swaps: Add 1/2 teaspoon almond extract, a pinch of cinnamon, or fold in chopped walnuts for texture.
- Crust-free: Skip the almond flour crust to cut calories and carbs further.
Just line the cups well to prevent sticking.
- Chocolate swirl: Microwave 2 tablespoons sugar-free chocolate chips with 1 teaspoon coconut oil, swirl a little into each cup before baking.
FAQ
How much protein is in each cheesecake cup?
It varies by brand, but with Greek yogurt and whey, you can expect roughly 8–12 grams of protein per cup. Using a higher-protein yogurt and a quality whey isolate typically pushes that number higher.
Can I use casein or plant-based protein instead of whey?
Yes. Casein makes a thicker batter and a denser, custard-like texture.
Plant-based proteins can be more absorbent and grainy; add 1–2 tablespoons extra yogurt or a splash of milk to loosen the batter and blend thoroughly.
Why did my cheesecake cups crack?
Cracks usually come from overbaking, high oven temperature, or overmixing after adding the egg. Bake at 325°F, pull them when there’s a slight jiggle, and cool gradually before chilling.
Do I need the crust?
No. The cups bake and lift cleanly without a crust if you use liners.
The almond flour crust adds a buttery, cookie-like base, but going crustless keeps carbs lower and saves time.
Can I make these without chocolate chips?
Absolutely. Try blueberries, chopped strawberries, or a few sugar-free white chocolate chips. Just keep mix-ins modest so the cups set properly.
How can I make them sweeter without adding sugar?
Increase your low-carb sweetener slightly or add a few drops of liquid stevia or monk fruit.
Taste the batter before adding the egg to fine-tune sweetness.
What if I don’t have a muffin pan?
Use six 4-ounce ramekins and bake a bit longer, about 18–22 minutes. Check for that slight jiggle in the center to avoid overbaking.
Can I use regular chocolate chips?
Yes, but it will raise the carb count. If carbs are a key goal, stick to sugar-free or very dark mini chocolate chips.
Final Thoughts
High Protein Low Carb Chocolate Chip Cheesecake Cups are the kind of dessert that fits real life—easy to make, easy to store, and easy to enjoy without second-guessing your goals.
With a short ingredient list and flexible options, you can tailor them to your macros and taste. Keep a batch in the fridge, and you’ll always have a creamy, chocolatey treat ready when cravings hit. Once you try them, they’ll become a regular in your meal prep rotation.
Printable Recipe Card
Want just the essential recipe details without scrolling through the article? Get our printable recipe card with just the ingredients and instructions.