High Protein Low Carb Coconut Cream Protein Pie – A Light, Satisfying Treat
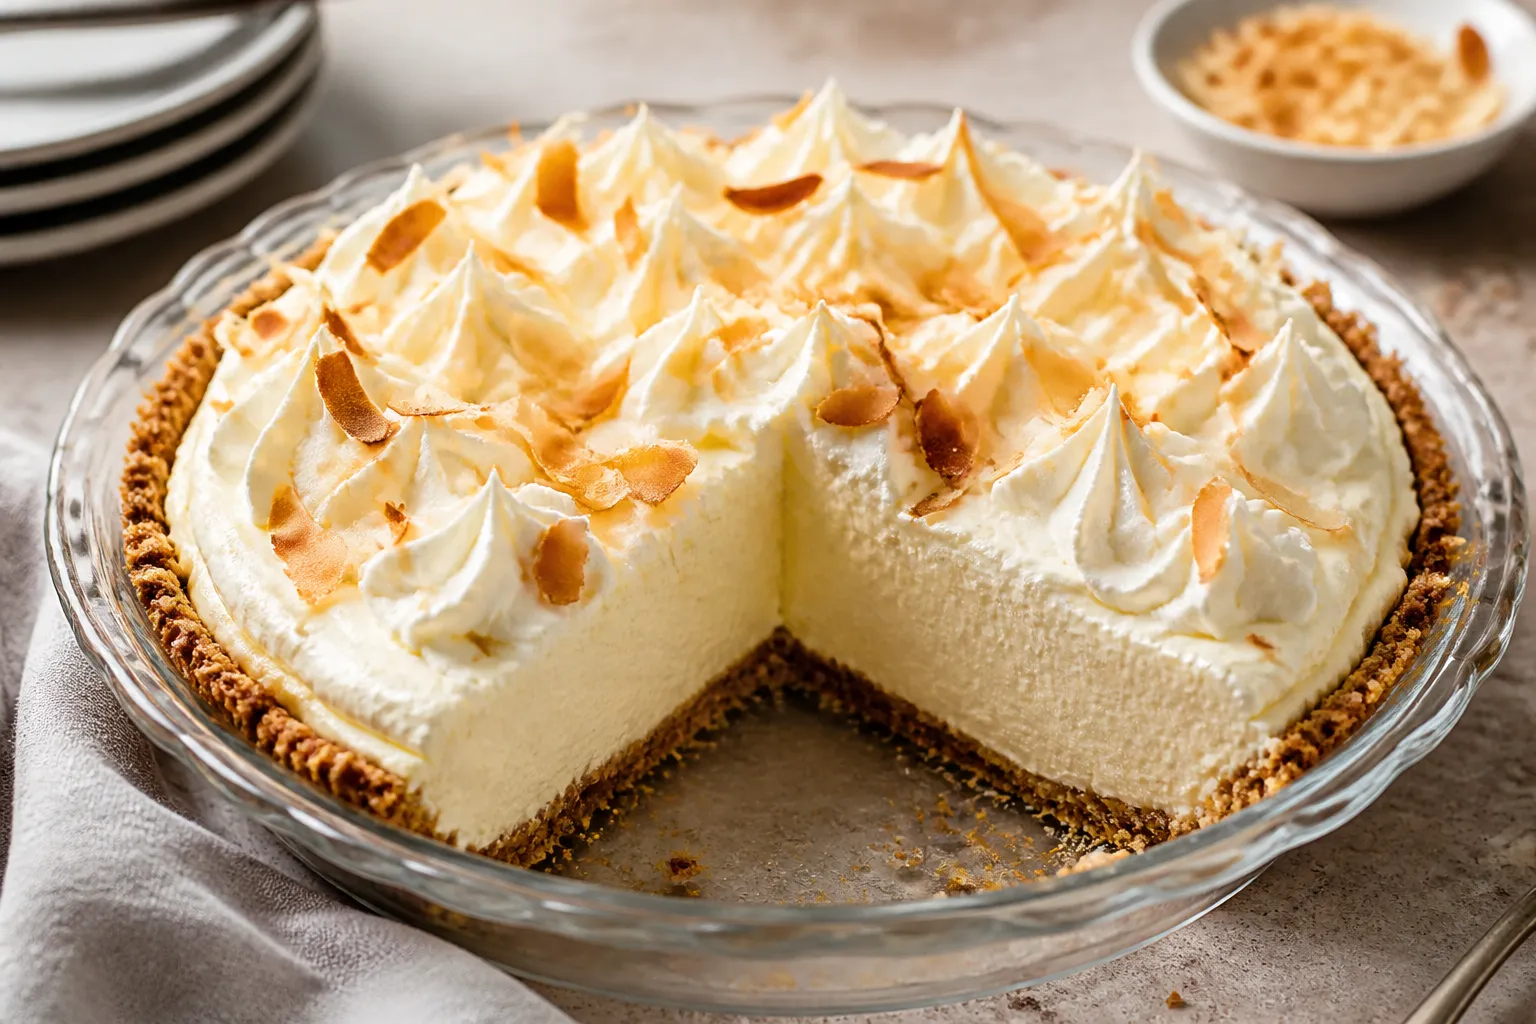
If you love creamy coconut desserts but want something lighter and more macro-friendly, this pie checks every box. It’s rich and silky, yet low in carbs and packed with protein to keep you full. The texture is like classic coconut cream pie—cool, fluffy, and indulgent—without the sugar crash.
This version uses simple ingredients, smart swaps, and a no-bake filling that’s easy to pull off. Make it for meal prep, a weekend dessert, or a special occasion that calls for something both delicious and nourishing.
Ingredients
Method
- Prep the pan: Lightly grease a 9-inch pie dish. You can line the base with a circle of parchment for easier slicing.
- Make the crust: In a bowl, mix almond flour, shredded coconut, sweetener, and salt. Stir in melted coconut oil and vanilla until the mixture looks like damp sand and holds when pressed.
- Press and set: Firmly press the crust mixture into the pie dish, pushing up the sides. Use the bottom of a flat measuring cup to pack it tight. Chill for 20 minutes to firm up.
- Optional bake: For a crisper crust, bake at 325°F (165°C) for 10–12 minutes until lightly golden. Cool completely before filling.
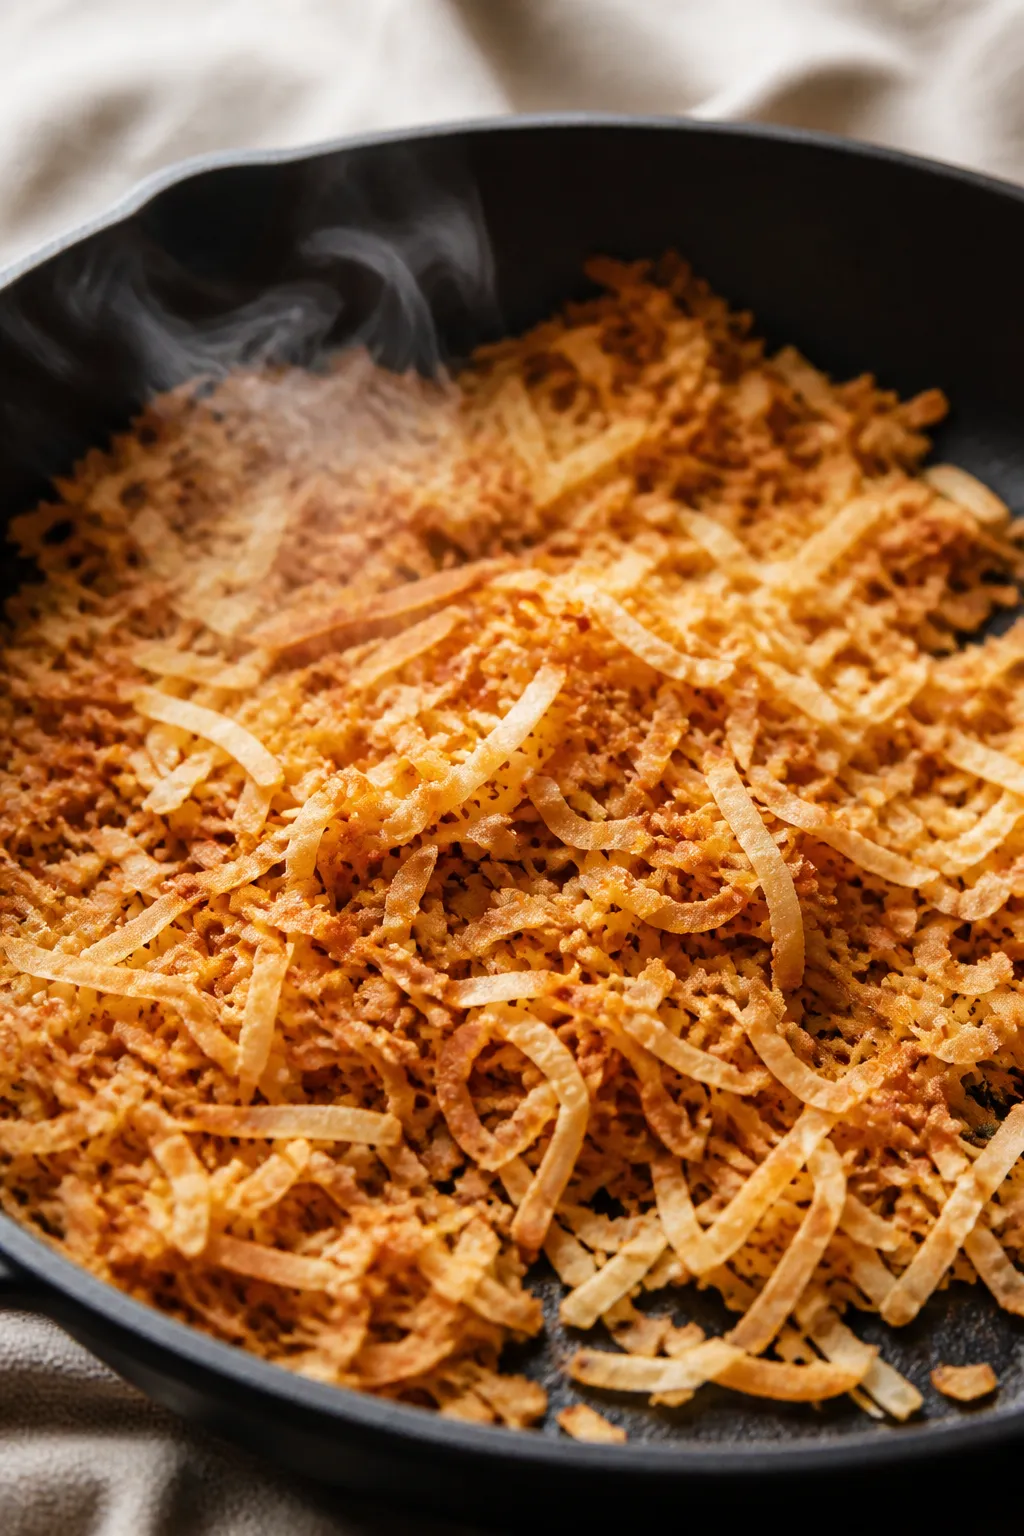
- Toast the coconut: In a dry skillet over medium heat, stir shredded coconut until golden, 3–5 minutes. Set aside to cool.
- Bloom the gelatin: Sprinkle gelatin over 2 tablespoons cold water in a small bowl. Let it sit 5 minutes to thicken.
- Warm the gelatin: Microwave the bloomed gelatin for 10–15 seconds to melt, or warm gently on the stove. It should be liquid but not hot.
- Whip the coconut cream: Scoop the firm coconut cream from the can (leave any watery part behind). With a hand mixer, whip until creamy.
- Build the filling: Add Greek yogurt, protein powder, powdered sweetener, coconut extract, vanilla, and a pinch of salt to the whipped coconut cream. Beat until smooth. Taste and adjust sweetness.
- Stabilize with gelatin: With the mixer running on low, drizzle in the melted gelatin. Mix until fully incorporated and silky.
- Fold in texture: Gently fold in 2–3 tablespoons of the toasted coconut for extra coconut flavor in every bite.
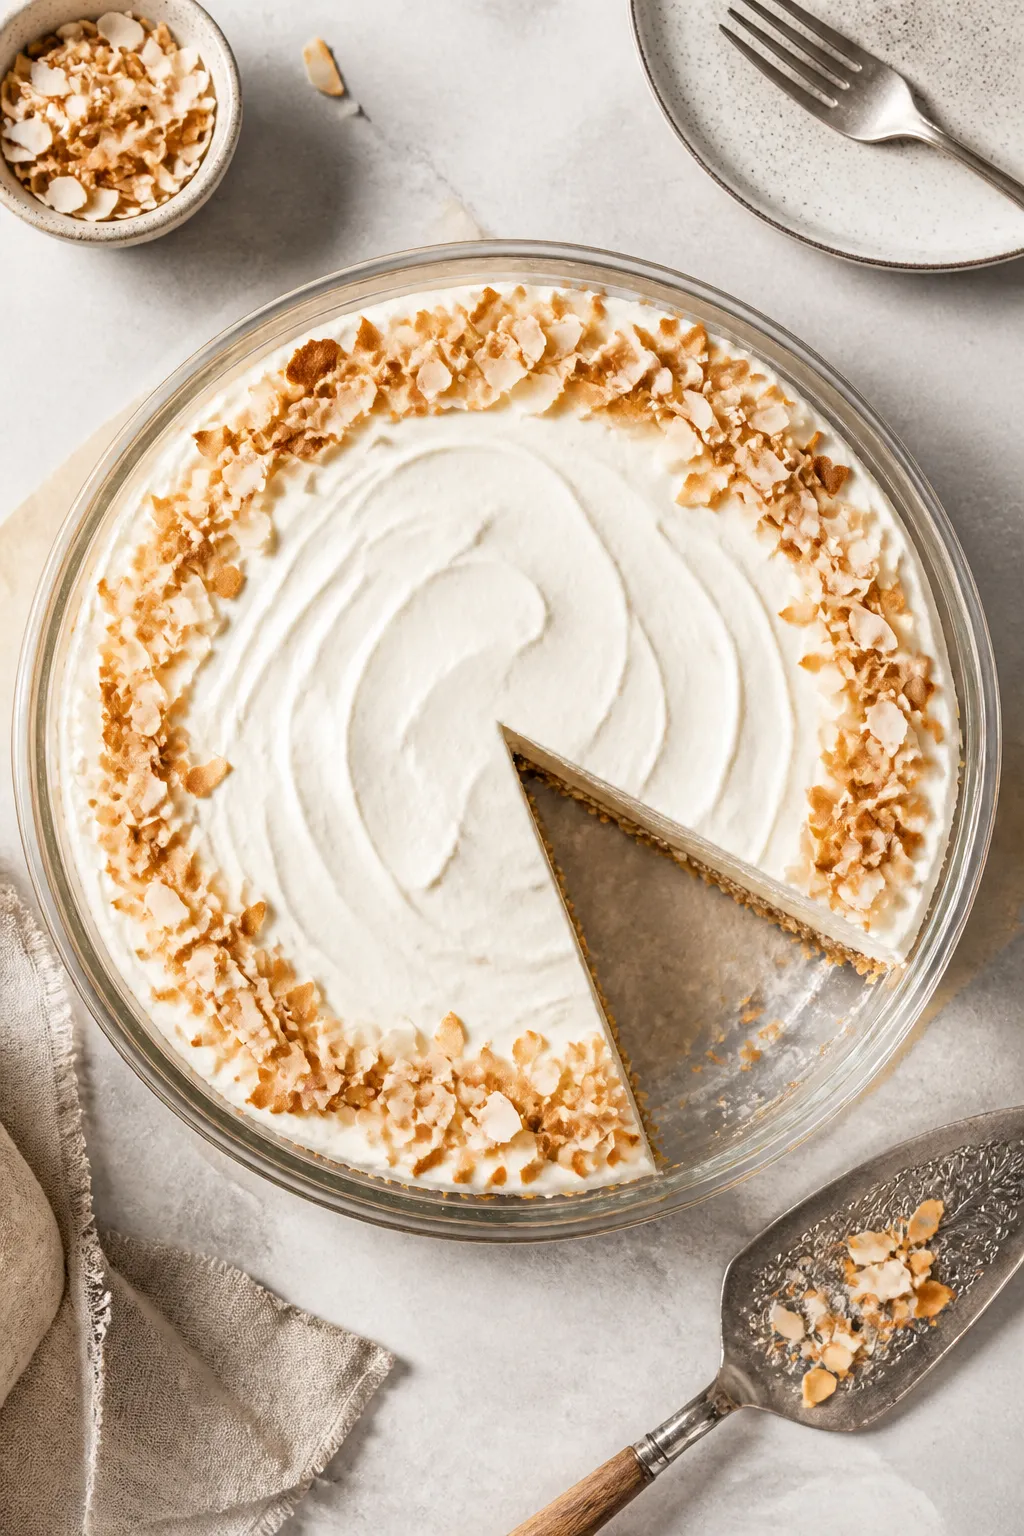
- Fill and chill: Pour the filling into the cooled crust. Smooth the top. Chill at least 4 hours (overnight is best) until set and sliceable.
- Finish and serve: Top with the remaining toasted coconut and a little whipped topping if using. Slice with a sharp knife, wiping between cuts for clean slices.

Why This Recipe Works
This pie balances flavor, texture, and nutrition with a few smart choices. A nut-based crust keeps carbs low and adds a buttery crunch without using flour.
The filling blends coconut cream with Greek yogurt and whey isolate for a creamy, stable texture that sets beautifully in the fridge. A touch of unsweetened shredded coconut brings real coconut flavor and a little chew, so you don’t need much sweetener. The result is a chilled, sliceable pie that tastes like dessert but fits your goals.
What You’ll Need
- For the crust:
- 1 1/2 cups almond flour
- 1/3 cup unsweetened shredded coconut
- 3 tablespoons granulated zero-calorie sweetener (erythritol or allulose)
- 1/4 teaspoon fine sea salt
- 4 tablespoons melted coconut oil or unsalted butter
- 1 teaspoon vanilla extract
- For the filling:
- 1 (13.5 oz) can full-fat coconut cream (chilled)
- 1 1/2 cups plain nonfat Greek yogurt (or 2% for extra creaminess)
- 2 scoops (about 60 g) vanilla whey or casein-whey blend protein powder
- 1/3–1/2 cup powdered zero-calorie sweetener (to taste)
- 1 teaspoon coconut extract (optional but recommended)
- 1 teaspoon vanilla extract
- Pinch of sea salt
- 1 1/2 teaspoons unflavored powdered gelatin + 2 tablespoons cold water (for bloom)
- For topping:
- 1/3 cup unsweetened shredded coconut, lightly toasted
- Optional: sugar-free whipped topping or a few dollops of whipped coconut cream
How to Make It
- Prep the pan: Lightly grease a 9-inch pie dish.
You can line the base with a circle of parchment for easier slicing.
- Make the crust: In a bowl, mix almond flour, shredded coconut, sweetener, and salt. Stir in melted coconut oil and vanilla until the mixture looks like damp sand and holds when pressed.
- Press and set: Firmly press the crust mixture into the pie dish, pushing up the sides. Use the bottom of a flat measuring cup to pack it tight.
Chill for 20 minutes to firm up.
- Optional bake: For a crisper crust, bake at 325°F (165°C) for 10–12 minutes until lightly golden. Cool completely before filling.
- Toast the coconut: In a dry skillet over medium heat, stir shredded coconut until golden, 3–5 minutes. Set aside to cool.
- Bloom the gelatin: Sprinkle gelatin over 2 tablespoons cold water in a small bowl.
Let it sit 5 minutes to thicken.
- Warm the gelatin: Microwave the bloomed gelatin for 10–15 seconds to melt, or warm gently on the stove. It should be liquid but not hot.
- Whip the coconut cream: Scoop the firm coconut cream from the can (leave any watery part behind). With a hand mixer, whip until creamy.
- Build the filling: Add Greek yogurt, protein powder, powdered sweetener, coconut extract, vanilla, and a pinch of salt to the whipped coconut cream.
Beat until smooth. Taste and adjust sweetness.
- Stabilize with gelatin: With the mixer running on low, drizzle in the melted gelatin. Mix until fully incorporated and silky.
- Fold in texture: Gently fold in 2–3 tablespoons of the toasted coconut for extra coconut flavor in every bite.
- Fill and chill: Pour the filling into the cooled crust.
Smooth the top. Chill at least 4 hours (overnight is best) until set and sliceable.
- Finish and serve: Top with the remaining toasted coconut and a little whipped topping if using. Slice with a sharp knife, wiping between cuts for clean slices.
Keeping It Fresh
Cover the pie loosely with plastic wrap or a fitted lid and store it in the fridge.
It keeps well for 3–4 days without getting watery, thanks to the gelatin and Greek yogurt. For longer storage, slice and freeze portions for up to a month. Thaw slices in the fridge for a few hours before serving.
Benefits of This Recipe
- High protein: The whey and Greek yogurt create a dessert that satisfies without the sugar spike.
- Low carb: Almond flour and coconut keep carbs down while adding healthy fats and flavor.
- No-bake friendly: The filling sets in the fridge, so it’s perfect for warm days or busy schedules.
- Customizable sweetness: Use your preferred sweetener and adjust to taste without changing texture.
- Meal-prep friendly: Makes clean slices and holds up well for several days.
Common Mistakes to Avoid
- Using too much liquid from the coconut can: If you add the watery part, the pie may not set.
Use the thick cream only.
- Skipping the chill time: The filling needs hours to firm up. Cutting too soon leads to messy slices.
- Over-sweetening: Protein powders vary in sweetness. Taste the filling before adding more sweetener.
- Not packing the crust: A loosely pressed crust will crumble.
Press firmly, especially around the edges.
- Adding hot gelatin: If it’s too hot, it can clump. Melt it gently and mix on low speed.
Variations You Can Try
- Chocolate coconut pie: Use chocolate protein powder, add 1 tablespoon unsweetened cocoa, and sprinkle shaved dark chocolate (sugar-free) on top.
- Lime coconut pie: Add 1–2 teaspoons lime zest and 1 tablespoon lime juice to the filling. Top with more zest.
- Collagen boost: Replace half the whey with unflavored collagen peptides for a lighter texture and extra protein.
- Dairy-free version: Swap Greek yogurt with thick coconut yogurt and use a dairy-free protein powder like pea or a plant blend.
Note: texture may be slightly softer; add an extra 1/2 teaspoon gelatin if needed.
- Crust swap: Use ground pecans or walnuts in place of almond flour for a deeper, toasty flavor.
FAQ
Can I make this without gelatin?
Yes. You can skip it, but the pie will be softer and more mousse-like. For a vegetarian option, use agar agar powder.
Start with 1/2 teaspoon bloomed in hot water, then mix into the filling and chill to set.
What protein powder works best?
A whey-casein blend gives the creamiest set and fewer chances of a chalky finish. Pure whey works too, but go slow when mixing to prevent clumps. If using plant-based powder, add an extra tablespoon of coconut cream and taste for sweetness, as some plant proteins are less sweet.
Is this pie keto-friendly?
It can be.
Use almond flour, zero-calorie sweetener, and full-fat coconut cream. Keep an eye on carbs from the yogurt and protein powder. Choosing lower-carb options for both will keep the macros keto-friendly.
How do I prevent a gritty texture?
Use powdered sweetener, not granulated, and sift the protein powder if it’s clumpy.
Mix on medium-low speed and let the filling rest for 5 minutes, then beat again briefly to smooth it out.
Can I make it ahead?
Absolutely. This pie is best made the day before serving. The flavors meld, the filling firms up, and it slices cleanly the next day.
What if I don’t have coconut extract?
Increase the toasted shredded coconut slightly and add a touch more vanilla.
You’ll still get great coconut flavor from the cream and topping.
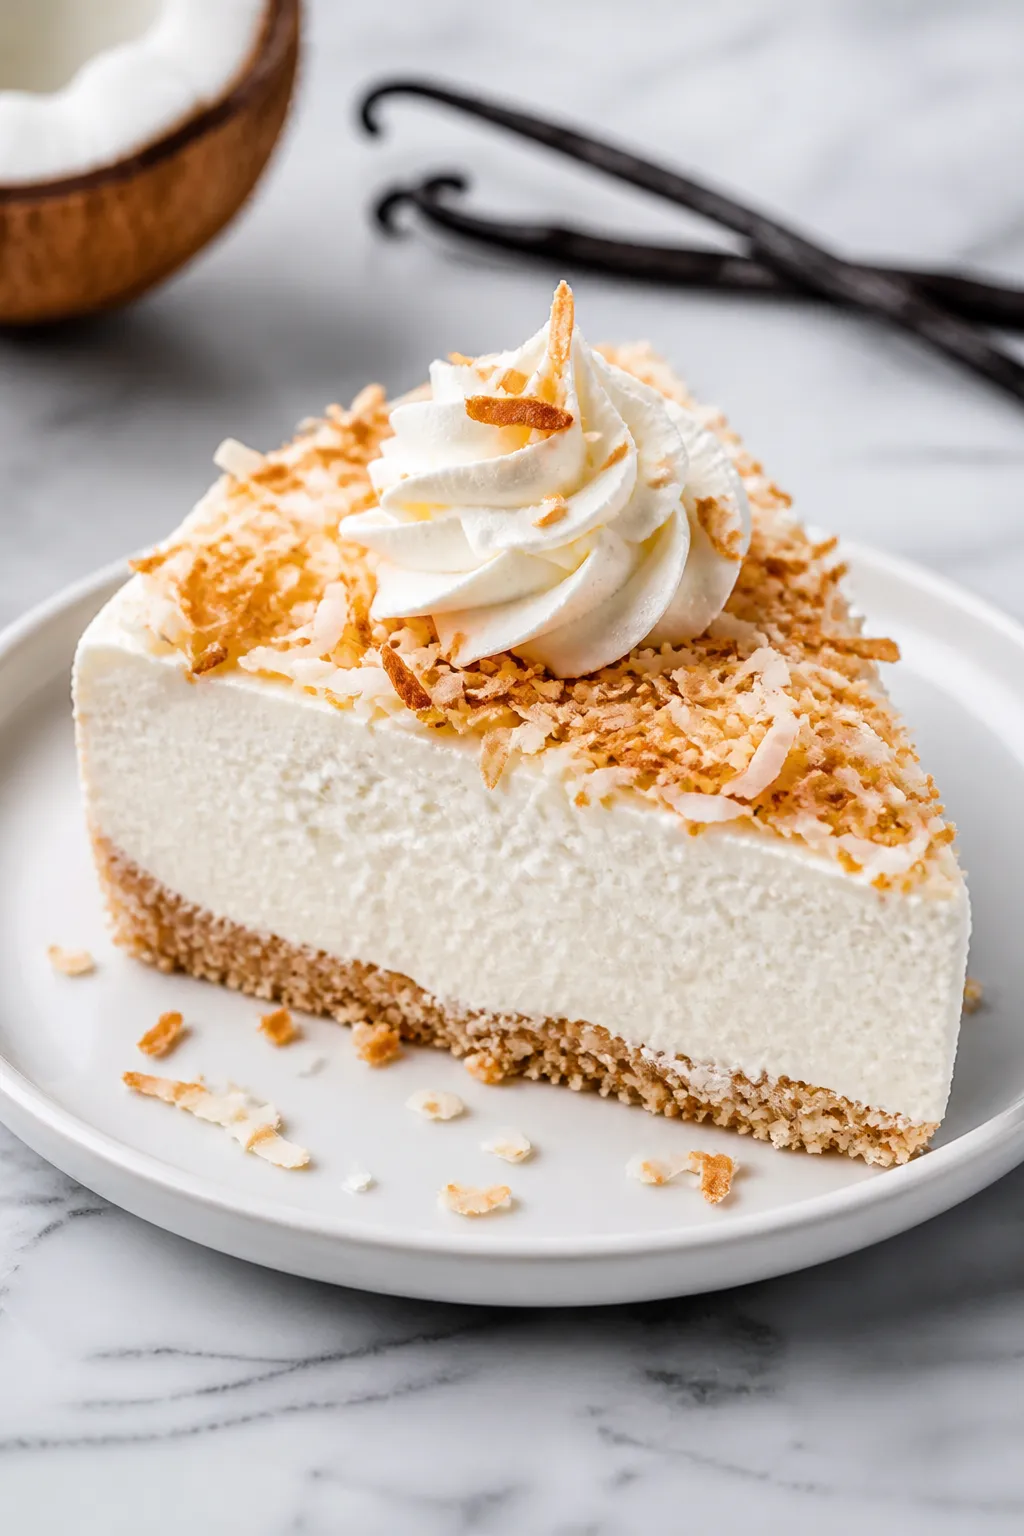
How many servings does this make?
It makes 8 standard slices. For smaller portions, cut into 10–12 slices. The pie is rich, so even a smaller piece is satisfying.
Final Thoughts
This High Protein Low Carb Coconut Cream Protein Pie delivers the comfort of a classic dessert with smarter macros and zero fuss.
The simple crust, creamy filling, and toasted coconut topping make it feel special without a lot of work. Whether you’re focused on protein, watching carbs, or just want a lighter treat, this pie earns a spot in your regular rotation. Keep it chilled, slice when set, and enjoy a dessert that works as hard as it tastes good.
Printable Recipe Card
Want just the essential recipe details without scrolling through the article? Get our printable recipe card with just the ingredients and instructions.