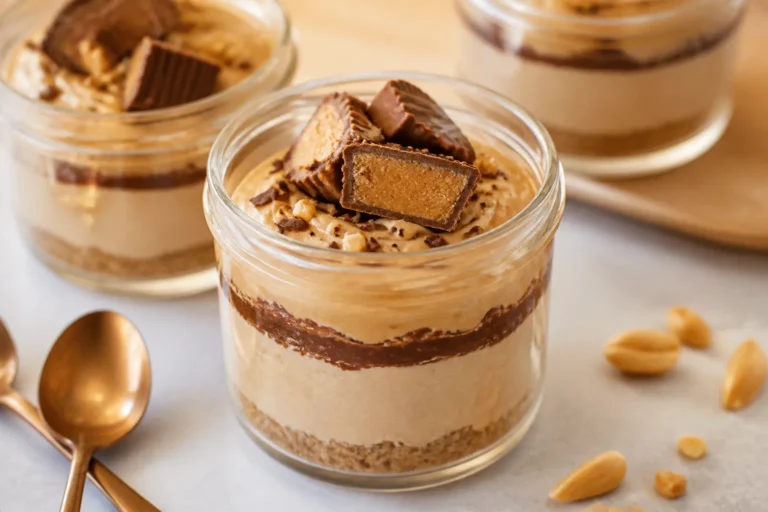
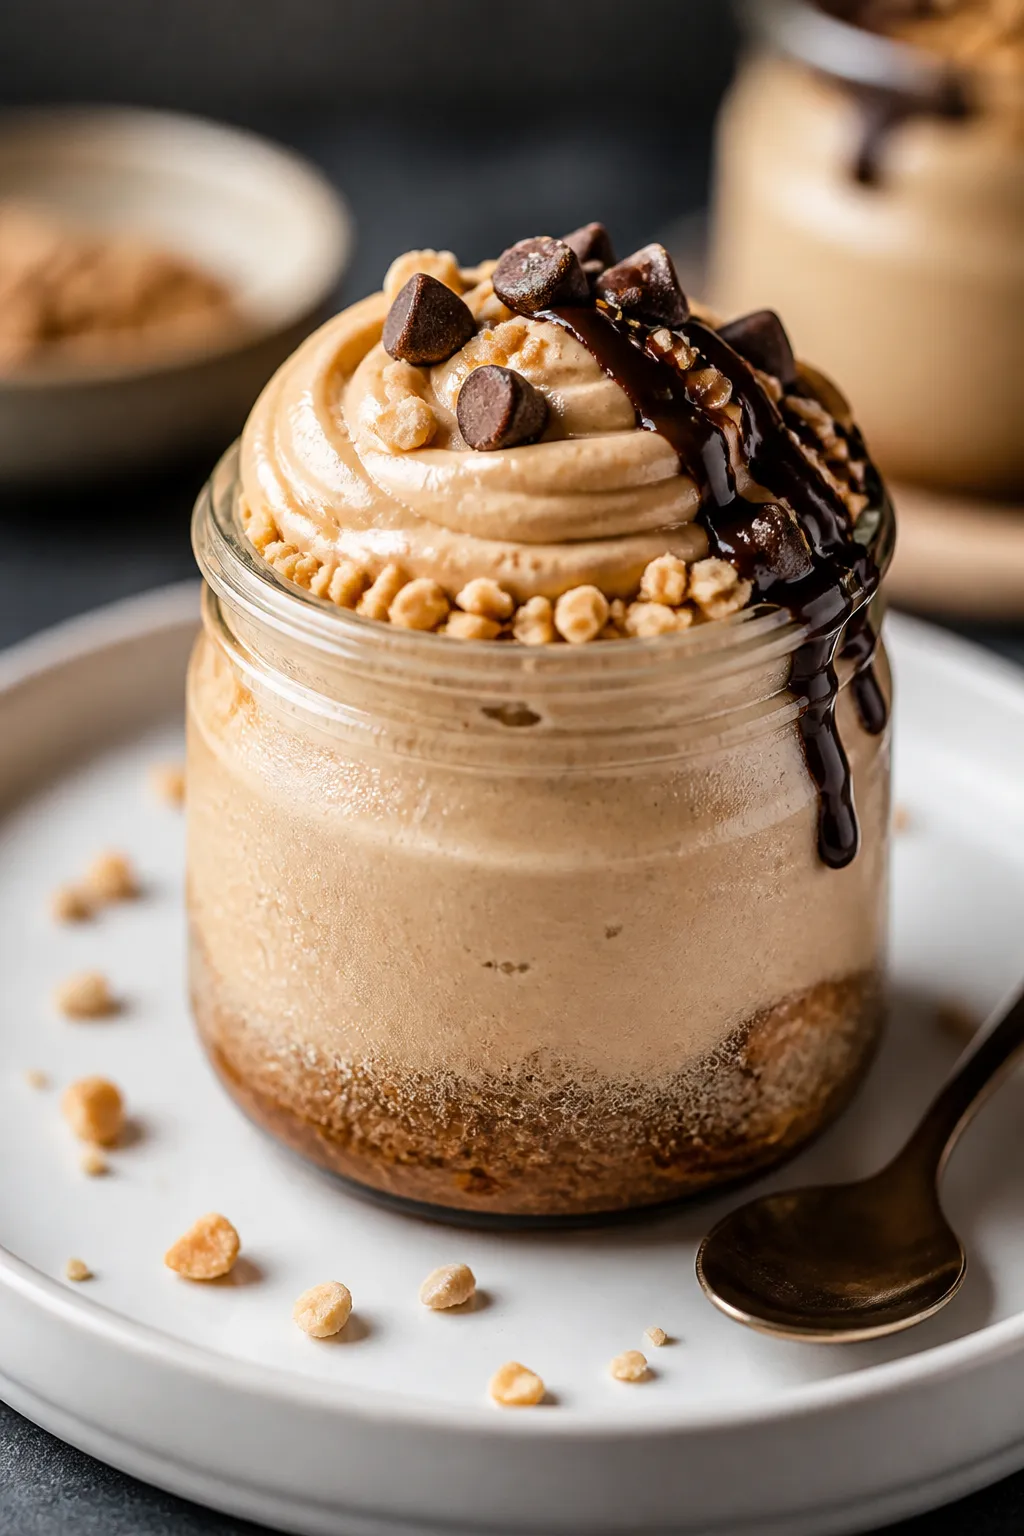
High Protein Low Carb Peanut Butter Cheesecake Jars – Creamy, Satisfying, and Easy
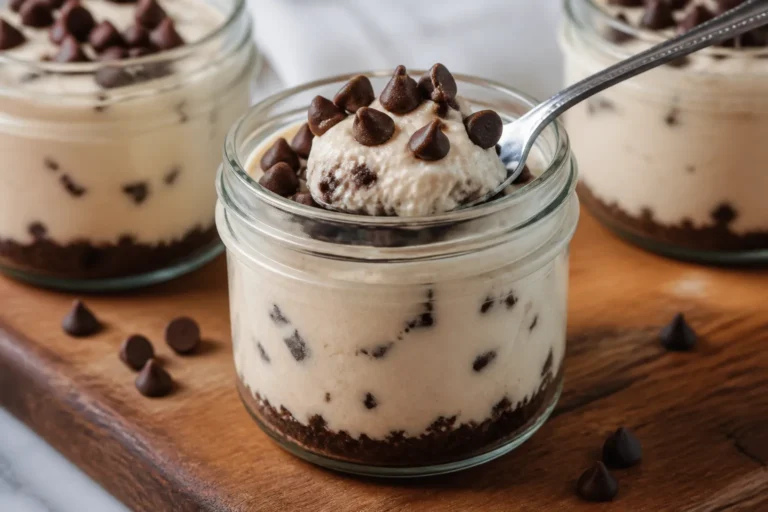
Peanut butter cheesecake in a jar sounds like a splurge, but this version keeps it light, protein-packed, and low in carbs. It’s creamy, rich, and hits that dessert craving without the sugar crash. These jars come together quickly, require no baking, and are perfect for meal prep or a quick treat.
You can make them ahead, stash them in the fridge, and enjoy a spoonful of something sweet and filling any time. If you love peanut butter and cheesecake, this one is a no-brainer.
High Protein Low Carb Peanut Butter Cheesecake Jars - Creamy, Satisfying, and Easy
Ingredients
Method
- Prep the jars: Clean and dry your jars. Set aside. Softening the cream cheese at room temperature will make mixing smoother.
- Make the crust: In a bowl, combine low-carb granola or chopped nuts, melted butter, sweetener, and a pinch of salt. Stir until the mixture clumps slightly. It should feel like damp sand.
- Pack the base: Divide the crust evenly among jars and press down gently with a spoon. If you want to keep carbs even lower, skip this step and go crustless.
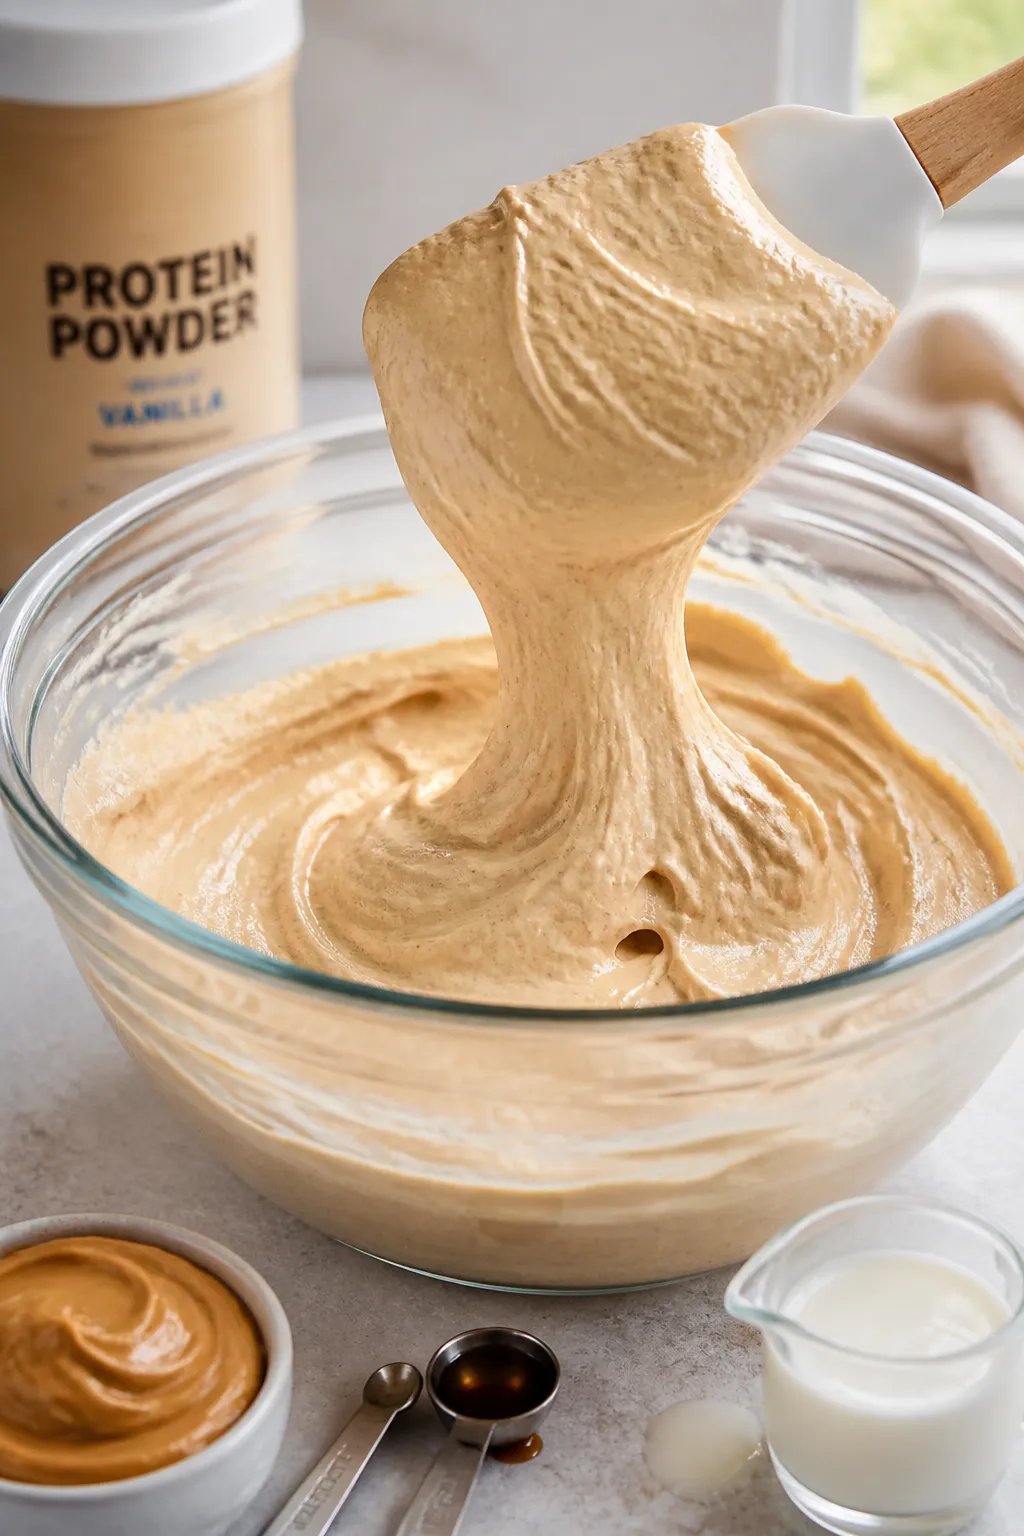
- Start the filling: In a large bowl, beat the cream cheese until smooth. Add Greek yogurt, peanut butter, sweetener, vanilla, and salt. Mix until creamy and uniform, scraping the bowl as needed.
- Add protein powder: Sprinkle in the protein powder and mix on low. If the filling seems too thick, add 1–2 tablespoons of almond milk and blend again. You want a thick, spoonable mousse.
- Taste and adjust: Check sweetness and salt. Add a little more sweetener or a splash of almond milk if needed. Keep it balanced; peanut butter flavor should shine.
- Layer the jars: Spoon the filling over the crust, dividing evenly. Tap jars lightly on the counter to remove air pockets and level the tops.
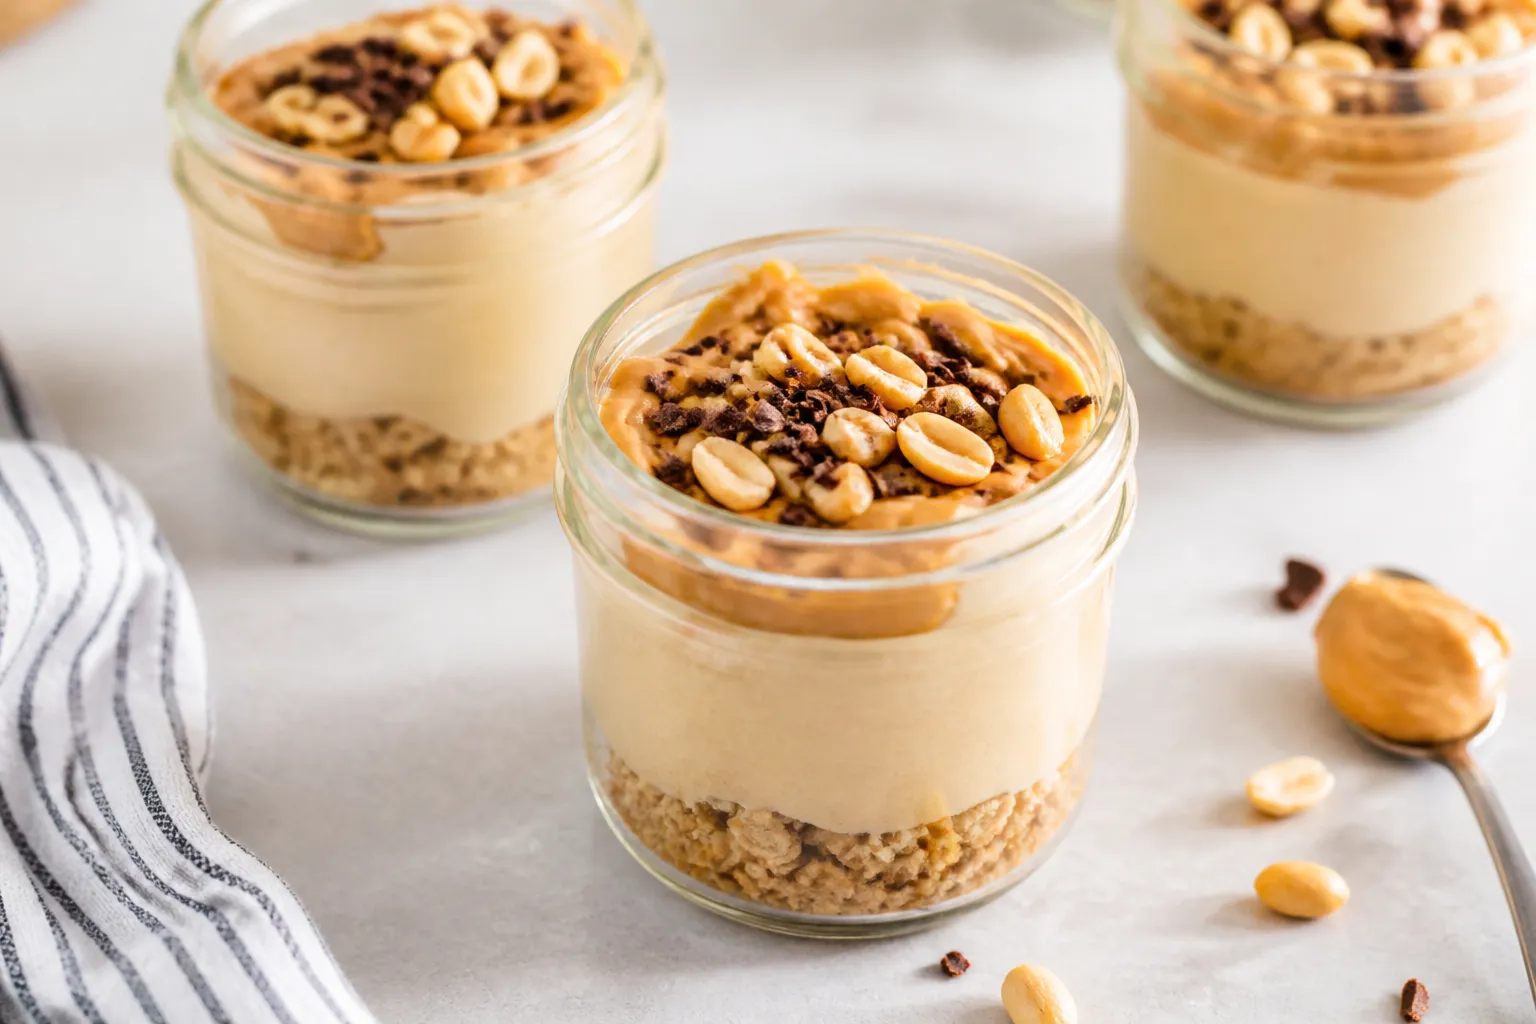
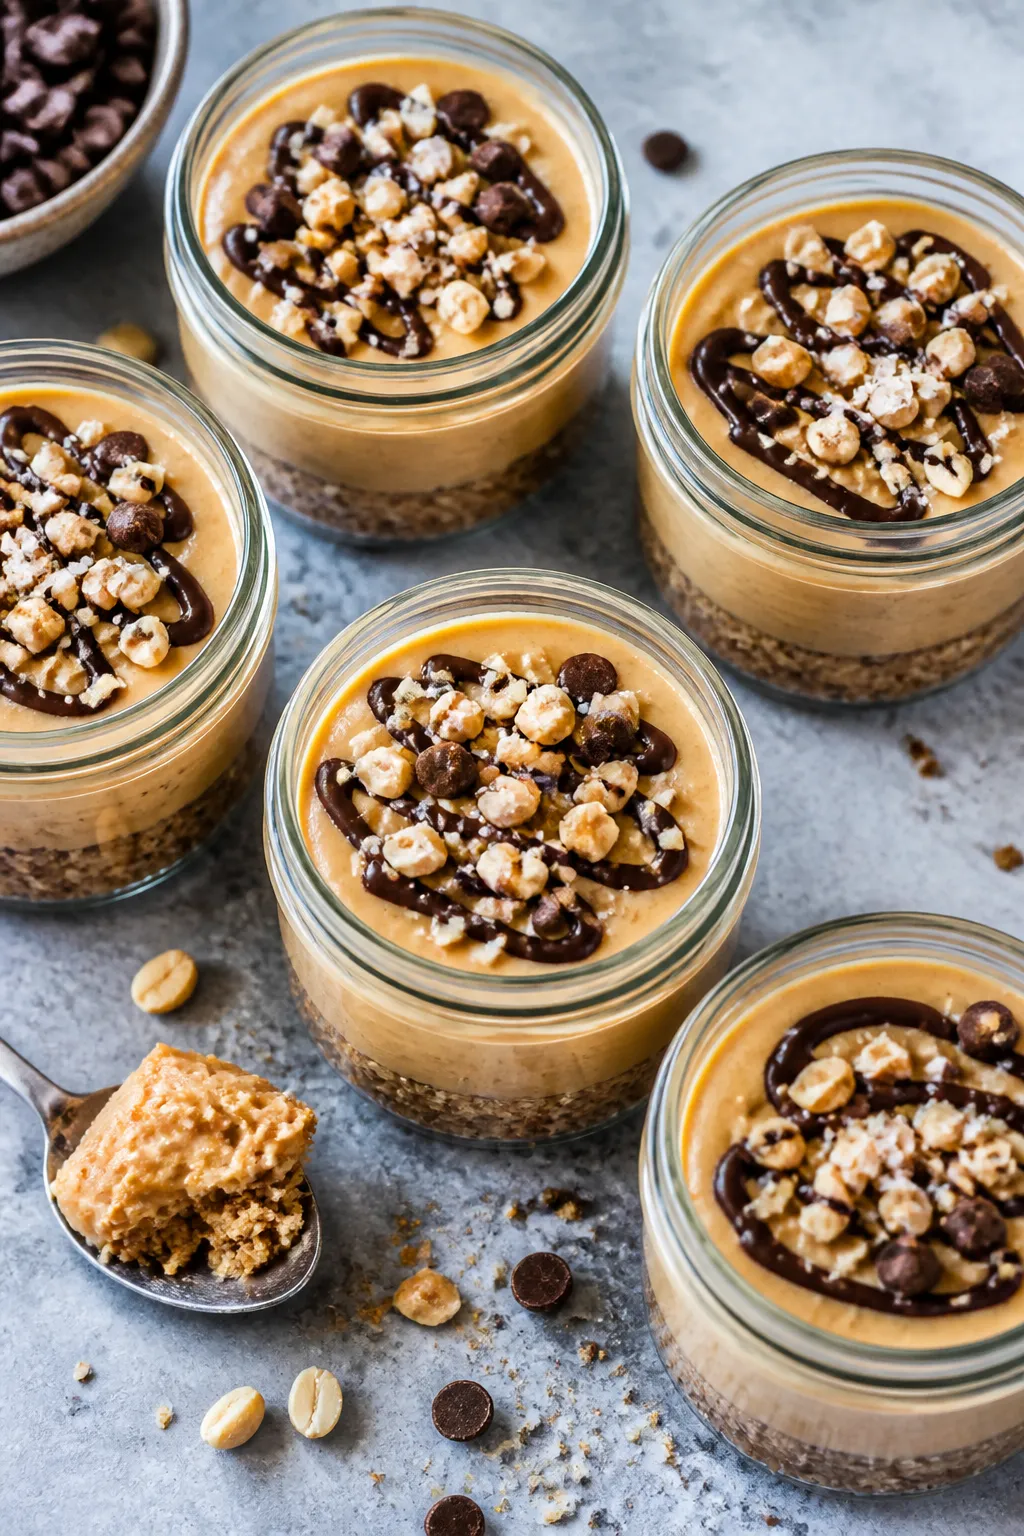
- Add toppings: Sprinkle chocolate chips or crushed peanuts on top. A tiny drizzle of chocolate and a pinch of flaky salt makes it extra satisfying.
- Chill: Cover and refrigerate for at least 1–2 hours. Overnight gives the best texture and flavor.
- Serve: Enjoy straight from the jar. If you like a softer texture, let a jar sit at room temperature for 10 minutes before eating.

What Makes This Special
This recipe gives you the flavor of classic cheesecake with a smart ingredient swap: Greek yogurt and light cream cheese add creaminess while boosting protein. Using a low-carb granola or nut “crust” keeps things crunchy without loading up on sugar.
The jars are portioned, portable, and easy to customize, so you can make a few at once and switch up toppings through the week. Best of all, there’s no oven, no water bath, and no fuss—just a few bowls and a whisk.
- High protein: Greek yogurt, protein powder, and cream cheese create a dessert that can double as a snack.
- Low carb: Sweetened with a zero-calorie sweetener and built on a nut-based crust or low-carb granola.
- No-bake and quick: Done in about 20 minutes, plus chill time.
- Make-ahead friendly: Holds well in the fridge for several days.
What You’ll Need
- For the crust (optional but recommended):
- 1 cup low-carb granola or finely chopped roasted nuts (almonds, pecans, or peanuts)
- 2 tablespoons melted unsalted butter or coconut oil
- 1 tablespoon granulated erythritol or allulose (adjust to taste)
- Pinch of salt
- For the cheesecake filling:
- 8 ounces light cream cheese, softened
- 1 cup plain 2% Greek yogurt (or nonfat if you prefer)
- 1/2 cup natural creamy peanut butter (stirred well)
- 1/3 to 1/2 cup powdered erythritol or allulose (start low and adjust)
- 1 teaspoon pure vanilla extract
- 1/8 teaspoon fine sea salt
- 1/2 cup vanilla or unflavored whey or casein protein powder
- 2–3 tablespoons unsweetened almond milk (as needed for texture)
- For layering and topping (optional):
- 2 tablespoons sugar-free chocolate chips
- 2 tablespoons crushed roasted peanuts
- Sugar-free chocolate syrup or a small drizzle of melted dark chocolate
- Pinch of flaky salt for finishing
- Equipment:
- 4–6 small glass jars (6–8 ounces each)
- Mixing bowls, hand mixer or whisk, spatula
- Measuring cups and spoons
Step-by-Step Instructions
- Prep the jars: Clean and dry your jars. Set aside.
Softening the cream cheese at room temperature will make mixing smoother.
- Make the crust: In a bowl, combine low-carb granola or chopped nuts, melted butter, sweetener, and a pinch of salt. Stir until the mixture clumps slightly. It should feel like damp sand.
- Pack the base: Divide the crust evenly among jars and press down gently with a spoon.
If you want to keep carbs even lower, skip this step and go crustless.
- Start the filling: In a large bowl, beat the cream cheese until smooth. Add Greek yogurt, peanut butter, sweetener, vanilla, and salt. Mix until creamy and uniform, scraping the bowl as needed.
- Add protein powder: Sprinkle in the protein powder and mix on low.
If the filling seems too thick, add 1–2 tablespoons of almond milk and blend again. You want a thick, spoonable mousse.
- Taste and adjust: Check sweetness and salt. Add a little more sweetener or a splash of almond milk if needed.
Keep it balanced; peanut butter flavor should shine.
- Layer the jars: Spoon the filling over the crust, dividing evenly. Tap jars lightly on the counter to remove air pockets and level the tops.
- Add toppings: Sprinkle chocolate chips or crushed peanuts on top. A tiny drizzle of chocolate and a pinch of flaky salt makes it extra satisfying.
- Chill: Cover and refrigerate for at least 1–2 hours.
Overnight gives the best texture and flavor.
- Serve: Enjoy straight from the jar. If you like a softer texture, let a jar sit at room temperature for 10 minutes before eating.
How to Store
- Refrigerator: Keep jars sealed for up to 4–5 days. The texture stays creamy and the flavors meld over time.
- Freezer: Freeze for up to 2 months.
Leave space at the top for expansion. Thaw overnight in the fridge. The texture becomes slightly denser, like an icebox cheesecake.
- Meal prep tip: If using a crunchy crust, store it separately and add just before serving to keep it crisp.
Benefits of This Recipe
- Balanced macros: High protein supports satiety and muscle recovery, while low carbs help keep blood sugar steadier.
- Portion control: Individual jars help avoid over-scooping and make tracking easier.
- No-bake convenience: Great for hot days or busy schedules when you don’t want to turn on the oven.
- Customizable: Simple swaps can fit keto, gluten-free, or dairy-adjusted preferences.
Common Mistakes to Avoid
- Using cold cream cheese: It won’t blend smoothly and can leave lumps.
Soften it first.
- Overmixing with whey: Some whey powders can make the filling gummy if beaten too long. Mix on low and add liquid as needed.
- Too much sweetener at once: Sugar alcohols can taste cooling or bitter if overused. Add gradually and taste as you go.
- Skipping the salt: A small pinch enhances peanut butter and balances sweetness.
- Watery yogurt: Excess liquid can thin the filling.
If your yogurt is runny, strain it briefly or reduce added almond milk.
Recipe Variations
- Chocolate Peanut Butter: Add 2 tablespoons unsweetened cocoa powder and a splash more almond milk. Top with cocoa nibs.
- PB&J Style: Swirl in 1–2 teaspoons of sugar-free strawberry or raspberry jam per jar.
- Espresso Boost: Mix 1 teaspoon instant espresso into the filling for a mocha vibe.
- Almond Butter Swap: Use almond butter and top with toasted sliced almonds and a hint of cinnamon.
- Crunch Layer: Add a middle layer of chopped peanuts or low-carb cookie crumbs for texture.
- Keto Ultra Low-Carb: Skip the crust, use full-fat Greek yogurt and full-fat cream cheese, and sweeten with allulose.
- Dairy-Light: Use lactose-free cream cheese and yogurt; for a dairy-reduced option, try a thick dairy-free Greek-style yogurt and a plant-based protein powder, understanding texture will be slightly different.
FAQ
How much protein is in each jar?
It depends on jar size and the protein powder you use, but a typical 6–8 ounce jar made as written lands around 18–25 grams of protein. Check your labels and divide totals by the number of jars for accuracy.
Can I use powdered peanut butter (PB2) instead?
Yes, you can replace part of the peanut butter with powdered peanut butter to lower fat and calories.
Start by swapping half and add a bit more almond milk to reach a creamy consistency. Flavor will be slightly less rich.
What sweetener works best?
Allulose gives the smoothest, least “cooling” taste. Powdered erythritol blends well but can be slightly cooling.
Monk fruit blends also work. Add in small amounts and taste as you go.
Can I make a larger batch for a party?
Absolutely. Double or triple the recipe and assemble in eight-ounce jars or small cups.
Keep chilled until serving and set out a toppings bar for fun customization.
Why is my filling grainy?
This can happen if the cream cheese was too cold or the sweetener didn’t dissolve well. Make sure cream cheese is softened and use a powdered sweetener. A quick blend with a hand mixer usually fixes it.
Is there a way to make it nut-free?
Use sunflower seed butter instead of peanut butter and skip nut toppings.
For the crust, try a mix of toasted coconut flakes and seeds or a nut-free, low-carb granola.
Do I have to use protein powder?
No, but it adds body and protein. If you skip it, reduce almond milk and add an extra ounce or two of cream cheese to keep the texture thick.
Which protein powder is best?
Casein or a whey-casein blend yields the creamiest texture. Pure whey works but can get looser, so add less liquid.
For dairy-free, use a fine-textured plant protein and blend thoroughly.
In Conclusion
High Protein Low Carb Peanut Butter Cheesecake Jars deliver the taste of dessert with the macros of a smart snack. They’re quick to make, easy to store, and flexible enough to fit your routine. Keep a few in the fridge, and you’ll always have a creamy, satisfying option ready to go.
Whether it’s post-workout, after dinner, or mid-afternoon, these jars hit the spot without derailing your goals.
Printable Recipe Card
Want just the essential recipe details without scrolling through the article? Get our printable recipe card with just the ingredients and instructions.