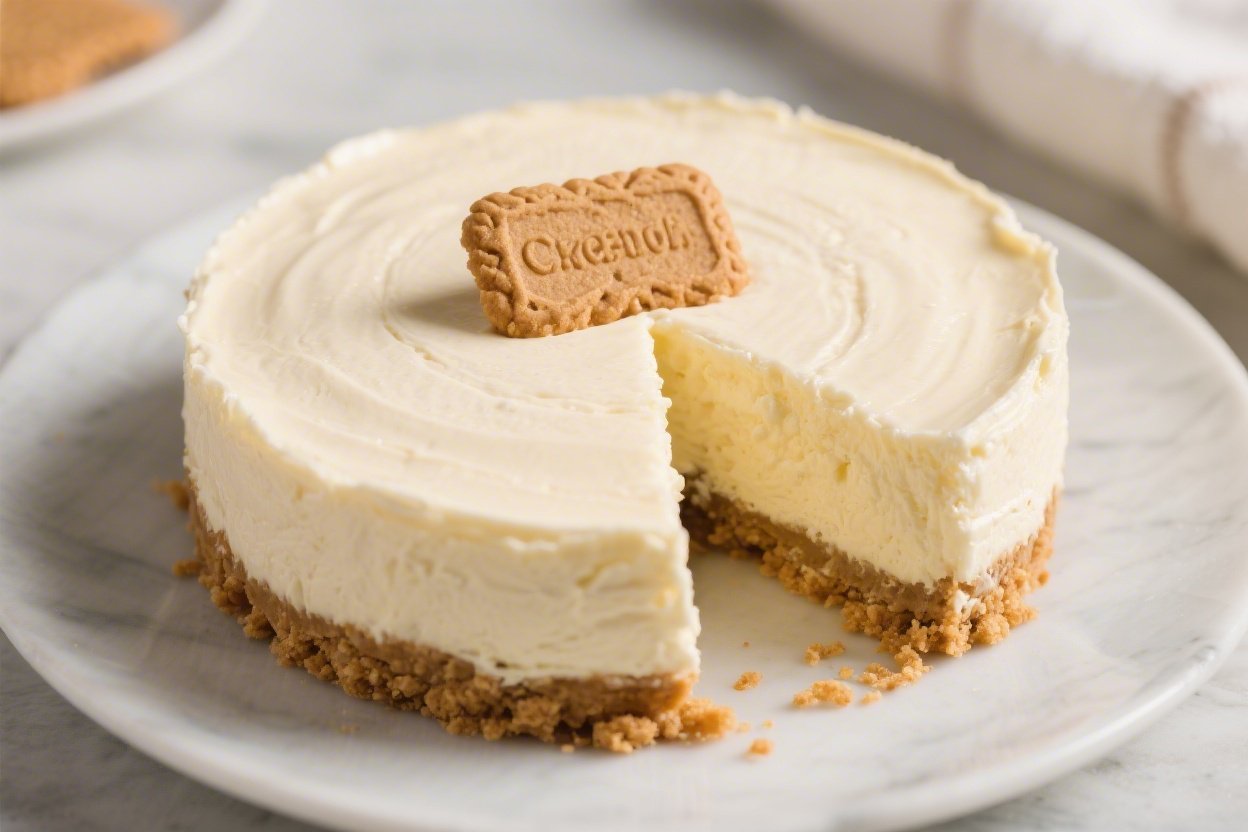
No Bake Cheesecake with Graham Cracker Crust – Creamy, Simple, and Crowd-Pleasing
If you love cheesecake but don’t want to fuss with a water bath or turn on the oven, this no bake version is your new go-to. It’s cool, creamy, and has that classic graham cracker crust everyone expects. The filling sets up beautifully in the fridge and slices clean, but still tastes light and silky.
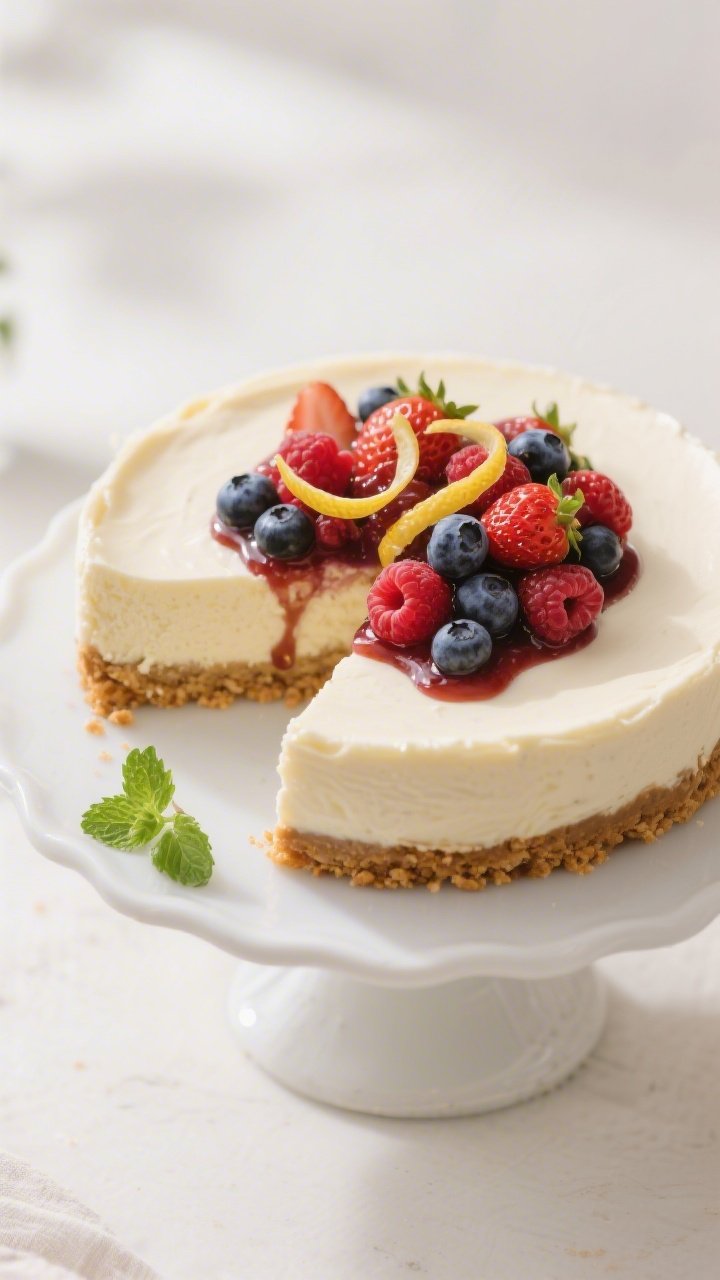
It’s a perfect make-ahead dessert for holidays, potlucks, or a quiet weekend treat. Top it with fruit, caramel, or keep it plain—the base is versatile and dependable.
No Bake Cheesecake with Graham Cracker Crust - Creamy, Simple, and Crowd-Pleasing
Ingredients
Method
- Prep your pan. Use a 9-inch springform pan for easy removal. Lightly grease the sides or line them with a strip of parchment. This helps keep the edges smooth when you release the pan.
- Crush the crackers. Pulse graham crackers in a food processor until fine. No processor? Place them in a zip-top bag and crush with a rolling pin. You want sand-like crumbs, not big chunks.
- Make the crust. Stir the crumbs with melted butter, sugar, and a pinch of salt until evenly moistened. The mixture should clump when pressed. If it looks dry, add 1 more tablespoon of melted butter.
- Press and chill. Pour crumbs into the pan. Use the bottom of a flat measuring cup to press firmly into an even layer, working a little up the sides. Chill in the fridge for at least 20 minutes while you make the filling.
- Beat the cream cheese. In a large bowl, beat softened cream cheese with powdered sugar, vanilla, lemon juice, and a pinch of salt until completely smooth and creamy, about 2–3 minutes. Scrape the bowl so there are no lumps.
- Whip the cream. In a separate cold bowl, whip heavy cream to firm peaks. It should hold its shape but still look glossy. Don’t overbeat or it will turn grainy.
- Fold it together. Gently fold the whipped cream into the cream cheese mixture in two additions. Use a spatula and light strokes so you don’t deflate the air you just whipped in. The filling should look thick and fluffy.
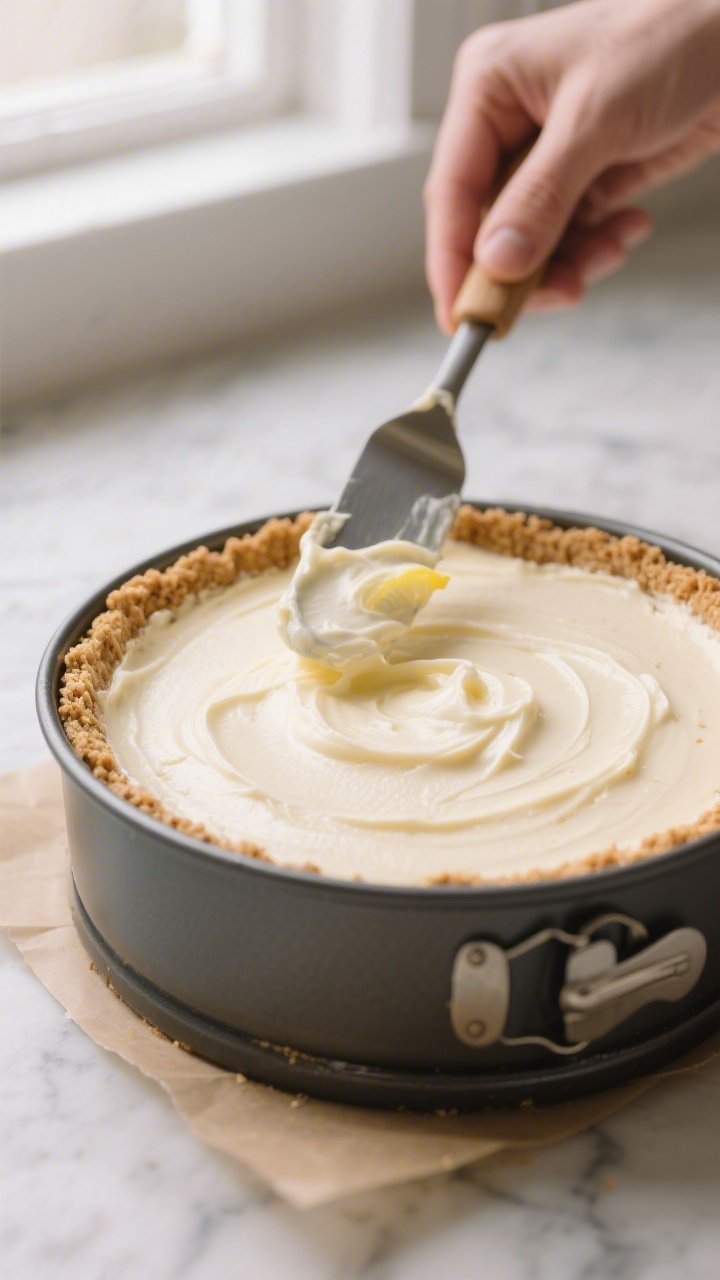
- Fill the crust. Spoon the filling over the chilled crust and smooth the top with an offset spatula. Tap the pan lightly on the counter to release any air pockets.
- Chill to set. Cover and refrigerate for at least 6 hours, or overnight for the cleanest slices. The longer chill gives the filling time to firm without gelatin.
- Unmold and serve. Run a thin knife around the edge before releasing the springform ring. Slice with a sharp knife, wiping the blade between cuts. Add your favorite toppings just before serving.
Overeating is a pattern. This helps you fix that problem. A quick reset for cravings, snacking, and “I’ll start tomorrow” moments.
Built for busy home cooks who want real-life structure. Simple steps that fit meal prep, family dinners, and late-night snack attacks.
Why This Recipe Works
This recipe balances richness with a fluffy texture by combining cream cheese with whipped cream. The cream cheese gives structure and tang, while the whipped cream adds lift without making it heavy.
A touch of lemon juice brightens the flavor and helps the filling firm up. The graham cracker crust is tightened with melted butter and a little sugar for that classic sweet-salty crunch. Most importantly, it sets in the fridge without gelatin, so the texture stays smooth, not rubbery.
Shopping List
- Graham crackers (about 12 full sheets or 1 1/2 cups crumbs)
- Unsalted butter (6 tablespoons), melted
- Granulated sugar (2 tablespoons for crust)
- Cream cheese (16 ounces), full-fat, softened
- Powdered sugar (3/4 cup)
- Pure vanilla extract (2 teaspoons)
- Lemon juice (1–2 tablespoons), fresh
- Heavy whipping cream (1 cup), cold
- Fine sea salt (a pinch)
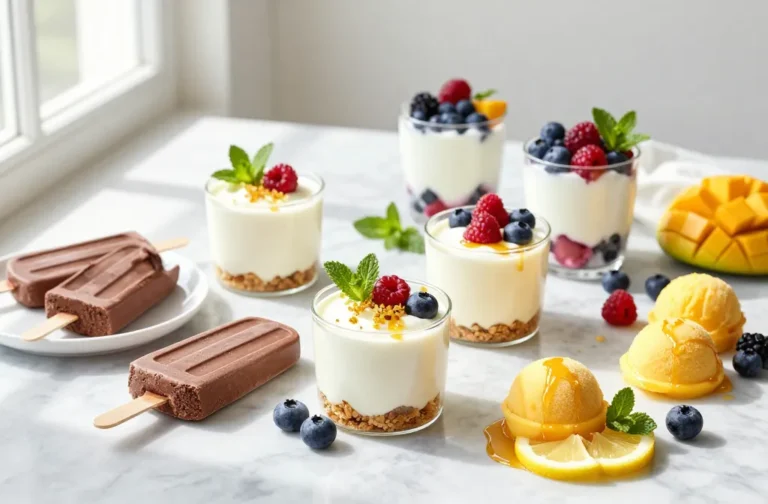
- Optional toppings: fresh berries, berry compote, lemon curd, caramel, chocolate shavings, or whipped cream
How to Make It
- Prep your pan. Use a 9-inch springform pan for easy removal.
Lightly grease the sides or line them with a strip of parchment. This helps keep the edges smooth when you release the pan.
- Crush the crackers. Pulse graham crackers in a food processor until fine. No processor?
Place them in a zip-top bag and crush with a rolling pin. You want sand-like crumbs, not big chunks.
- Make the crust. Stir the crumbs with melted butter, sugar, and a pinch of salt until evenly moistened. The mixture should clump when pressed.
If it looks dry, add 1 more tablespoon of melted butter.
- Press and chill. Pour crumbs into the pan. Use the bottom of a flat measuring cup to press firmly into an even layer, working a little up the sides. Chill in the fridge for at least 20 minutes while you make the filling.
- Beat the cream cheese. In a large bowl, beat softened cream cheese with powdered sugar, vanilla, lemon juice, and a pinch of salt until completely smooth and creamy, about 2–3 minutes.
Scrape the bowl so there are no lumps.
- Whip the cream. In a separate cold bowl, whip heavy cream to firm peaks. It should hold its shape but still look glossy. Don’t overbeat or it will turn grainy.
- Fold it together. Gently fold the whipped cream into the cream cheese mixture in two additions.
Use a spatula and light strokes so you don’t deflate the air you just whipped in. The filling should look thick and fluffy.
- Fill the crust. Spoon the filling over the chilled crust and smooth the top with an offset spatula. Tap the pan lightly on the counter to release any air pockets.
- Chill to set. Cover and refrigerate for at least 6 hours, or overnight for the cleanest slices.
The longer chill gives the filling time to firm without gelatin.
- Unmold and serve. Run a thin knife around the edge before releasing the springform ring. Slice with a sharp knife, wiping the blade between cuts. Add your favorite toppings just before serving.
How to Store
Keep the cheesecake covered in the fridge for up to 4 days.
If you’ve added fresh fruit, it’s best within 1–2 days. For longer storage, freeze slices on a sheet pan until firm, then wrap individually. They’ll keep in the freezer for up to 2 months.
Thaw overnight in the fridge or at room temperature for 20–30 minutes before serving.

Why This is Good for You
No bake cheesecake won’t win a health food award, but you can still appreciate a few upsides. The portion size is easy to control, and the richness means a small slice satisfies. Using fresh lemon juice adds brightness without extra sugar.
You can top it with berries for fiber and natural sweetness. And because it’s no bake, you avoid extra heat in the kitchen, which is a small but real quality-of-life win.
Common Mistakes to Avoid
- Using low-fat cream cheese. Reduced-fat versions don’t set as well and can taste chalky. Full-fat gives the best texture.
- Not softening the cream cheese. Cold cream cheese clumps and won’t beat smooth.
Let it sit at room temperature for 30–45 minutes.
- Skipping the chill time. The filling needs several hours to firm up. If you rush it, slices will slump.
- Overwhipping the cream. Grainy whipped cream leads to a dense, broken filling. Stop at firm peaks.
- Under-pressing the crust. If the crust isn’t tightly packed, it will crumble when sliced.
Press firmly with a flat-bottomed cup.
- Adding toppings too early. Juicy fruit or sauces can make the surface watery. Add them right before serving.
Recipe Variations
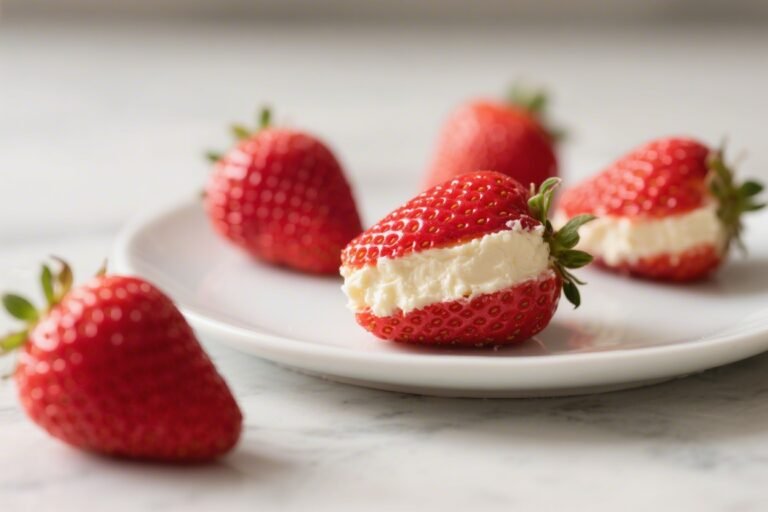
- Strawberry Swirl: Dollop room-temperature strawberry jam over the top of the filling and swirl with a knife before chilling.
- Chocolate Cheesecake: Fold in 6 ounces of melted, cooled semi-sweet chocolate and add 1 tablespoon of cocoa powder to the crust.
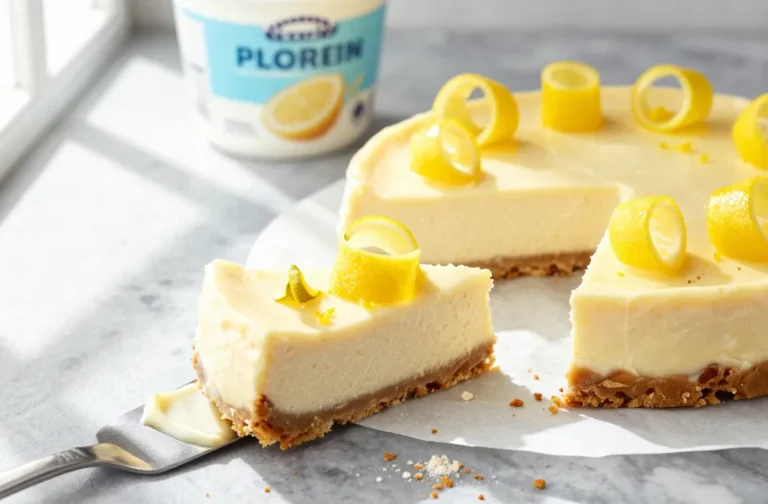
- Lemon Burst: Increase lemon juice to 3 tablespoons and add 1 teaspoon of lemon zest. Top with lemon curd.
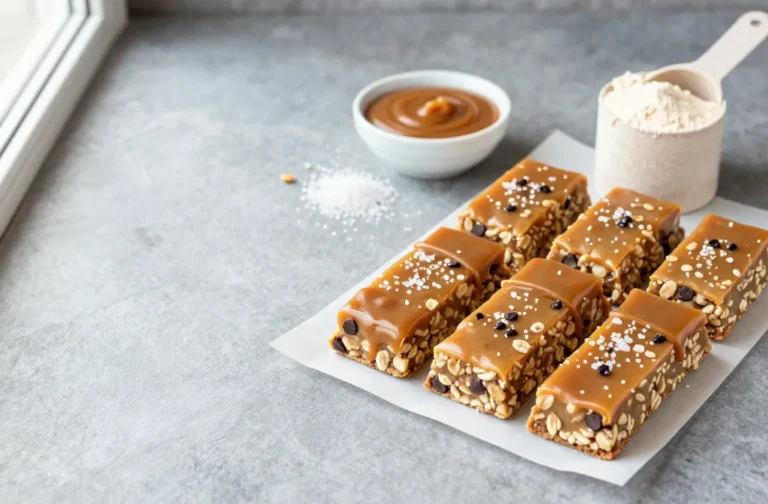
- Salted Caramel Pecan: Drizzle with caramel and sprinkle flaky salt and toasted pecans before serving.
- Berry Topping: Toss mixed berries with a little sugar and lemon zest.
Spoon over chilled slices.
- Oreo Crust: Swap grahams for crushed chocolate sandwich cookies and skip the added sugar in the crust.
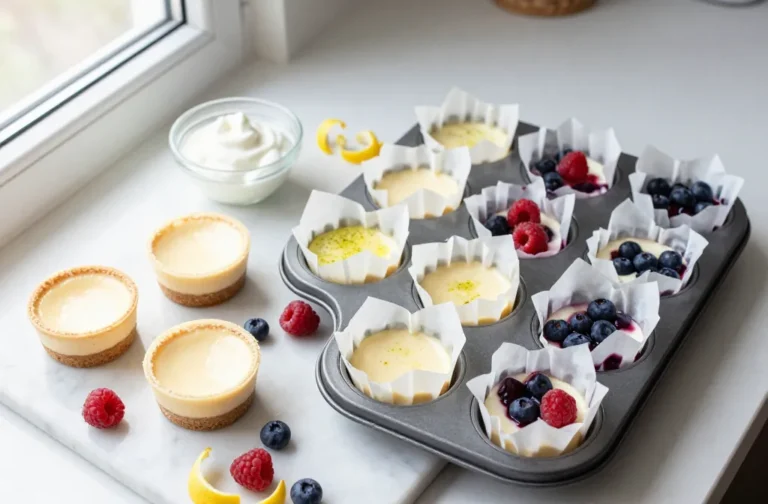
- Mini Cheesecakes: Press crumbs into a lined muffin tin, fill, and chill. Perfect single-serve desserts in about 3 hours.
FAQ
Can I make this without a springform pan?
Yes. Use a 9-inch pie dish or an 8-inch square pan.
Line with parchment for easier slicing and lifting. The slices may be a touch shorter but will taste just as good.
Do I need gelatin for it to set?
No. The combination of full-fat cream cheese, whipped cream, and chill time sets the filling.
If you live somewhere very warm or want extra firmness, you can bloom 1 teaspoon powdered gelatin in 1 tablespoon water, melt it gently, and mix into the cream cheese before folding in the whipped cream.
Can I use Cool Whip instead of whipped cream?
You can, but the texture and sweetness will change. If using it, reduce the powdered sugar slightly and fold in about 2 cups of thawed whipped topping. The set will be a bit softer and sweeter.
Why is my filling lumpy?
The cream cheese was likely too cold or not beaten long enough.
Next time, fully soften the cream cheese and beat until smooth before adding other ingredients. You can strain small lumps by pressing the filling through a fine mesh sieve, though it’s easier to prevent them up front.
How do I keep the crust from sticking?
Line the bottom of the pan with parchment and lightly grease the sides. Also, chill the crust before adding the filling.
When serving, a thin, hot knife (rinse in warm water and wipe dry) helps release clean slices.
Can I cut down the sugar?
Yes. Reduce powdered sugar in the filling to 1/2 cup for a less sweet cheesecake. Keep the 2 tablespoons in the crust to maintain structure, or swap for 1 tablespoon honey mixed into the butter if you prefer.
How long should it chill?
Plan on at least 6 hours, but overnight gives the best results.
For mini cheesecakes, 3–4 hours is usually enough.
What’s the best way to flavor the filling?
Add citrus zest, a spoonful of jam, espresso powder, or melted chocolate. Keep add-ins modest so you don’t thin out the filling. About 1/4 to 1/3 cup of a strong flavor element is a safe range.
Can I make it gluten-free?
Yes.
Use gluten-free graham crackers or cookies for the crust. Everything else in the base recipe is naturally gluten-free, but always check labels.
Is it safe to leave out during a party?
Keep it chilled as much as possible. No bake cheesecake can sit out for about 1–2 hours max.
After that, return it to the fridge to maintain texture and food safety.
Final Thoughts
This no bake cheesecake with graham cracker crust is the kind of recipe you’ll make more than once. It’s simple, make-ahead friendly, and endlessly adaptable. With a handful of pantry ingredients and a good chill, you get a silky, sliceable dessert that feels special without the stress.
Keep this base in your back pocket, then dress it up with whatever toppings you like. It’s hard to beat a classic that’s this easy to love.
Printable Recipe Card
Want just the essential recipe details without scrolling through the article? Get our printable recipe card with just the ingredients and instructions.