The Easiest No Bake Cheesecake Ever – Creamy, Foolproof, and Fast
No bake cheesecake is that dessert you make when you want something special without turning on the oven or breaking a sweat. It’s silky, rich, and feels like a treat from a bakery, but it comes together with simple ingredients you might already have. This version is quick to prep, stable enough to slice cleanly, and endlessly customizable.
If you’re new to no bake desserts, this is the perfect place to start. If you’re not, consider this your new go-to.
Ingredients
Method
- Prep the pan: Line the bottom of a 9-inch springform pan with parchment. Lightly grease the sides to help with clean release later.
- Make the crust: In a bowl, mix graham crumbs, sugar, melted butter, and a pinch of salt until it looks like damp sand. It should clump when pressed. If it’s too dry, add another tablespoon of melted butter.
- Press and chill: Firmly press the mixture into the bottom and slightly up the sides of the pan. Use the bottom of a flat measuring cup for an even layer. Chill in the fridge for at least 15 minutes while you make the filling.
- Beat the cream cheese: In a large bowl, beat the softened cream cheese with a hand mixer until completely smooth, 2–3 minutes. Scrape down the bowl so there are no lumps.
- Add sugar and flavor: Beat in powdered sugar, sour cream, vanilla, lemon juice, and a pinch of salt until silky and combined. Keep mixing until it’s glossy and lump-free.
- Whip the cream: In a separate cold bowl, whip the heavy cream to stiff peaks. It should stand up firmly when you lift the beaters. Don’t overwhip to butter.
- Fold it in: Gently fold the whipped cream into the cream cheese mixture in two additions. Use a spatula and light strokes to keep it airy.
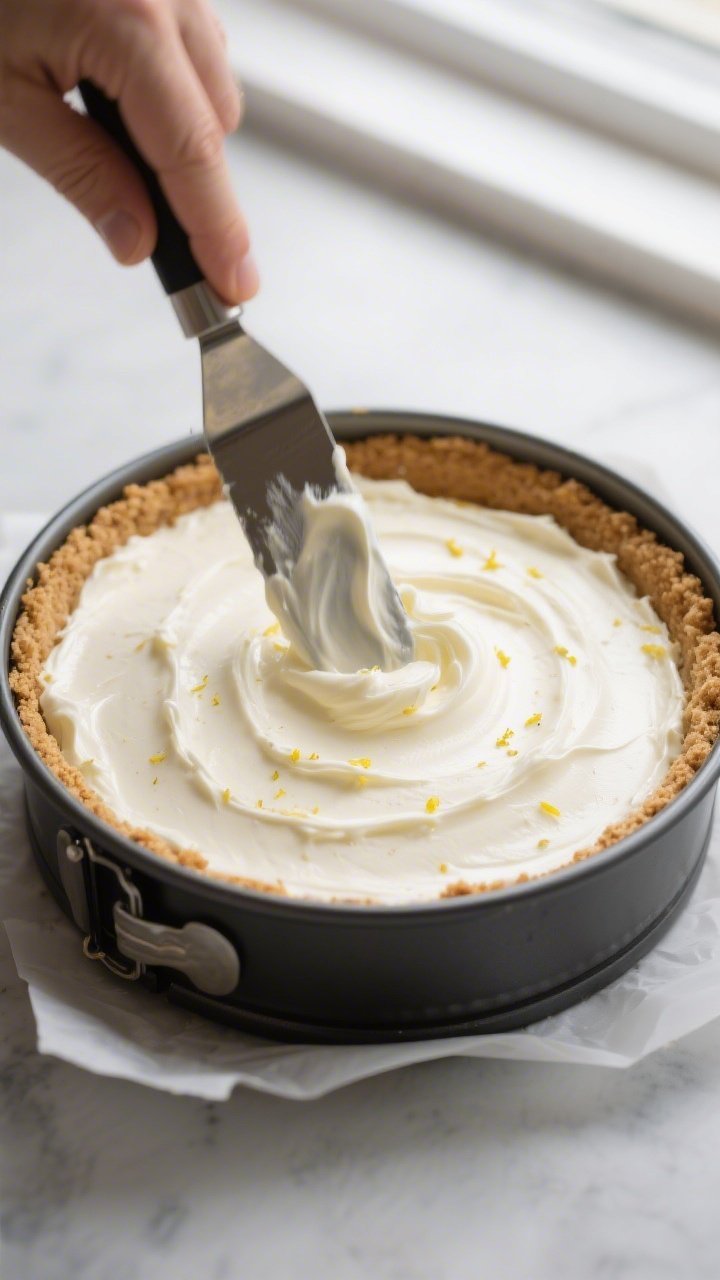
- Fill the crust: Spoon the filling into the chilled crust and smooth the top with an offset spatula. Tap the pan gently on the counter to pop any air bubbles.
- Chill to set: Cover and refrigerate for at least 6 hours, but overnight is best. The longer it chills, the cleaner the slices.
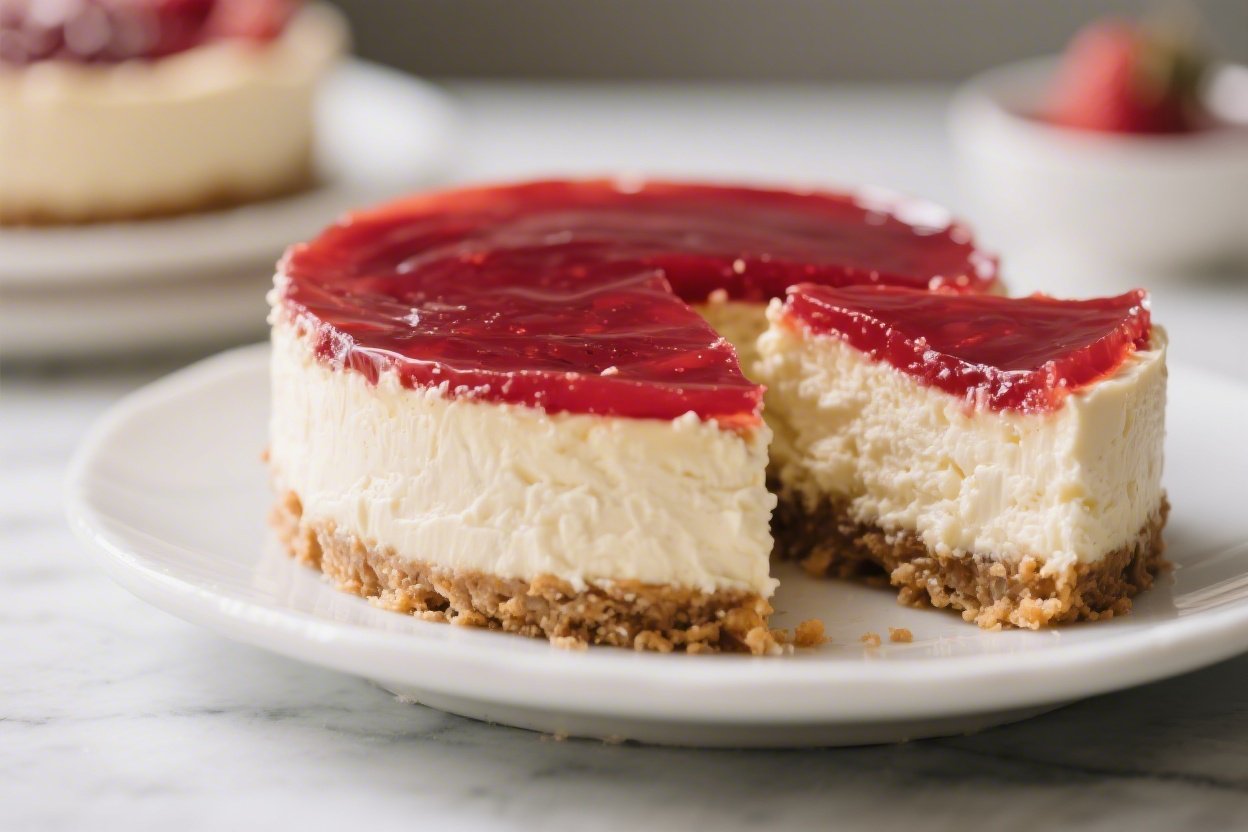
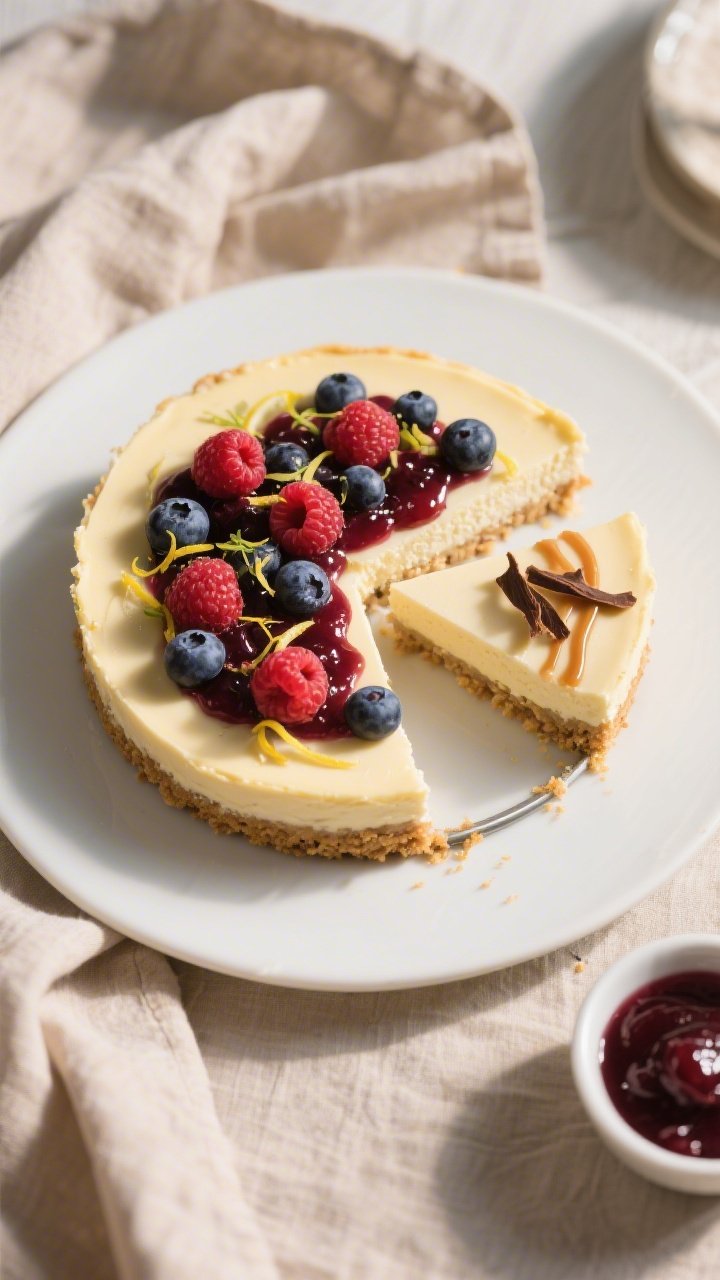
- Add toppings and serve: Run a thin knife around the edge, release the springform, and transfer to a serving plate. Add your favorite toppings just before serving. Slice with a warm, dry knife for neat edges.
Overeating is a pattern. This helps you fix that problem. A quick reset for cravings, snacking, and “I’ll start tomorrow” moments.
Built for busy home cooks who want real-life structure. Simple steps that fit meal prep, family dinners, and late-night snack attacks.
What Makes This Recipe So Good
- No oven required: Perfect for warm days or busy weeknights.
- Reliable texture: The filling sets beautifully—creamy but firm enough to slice.
- Simple ingredients: Nothing fancy or hard to find.
- Make-ahead friendly: It actually tastes better after chilling overnight.
- Easy to customize: Change the crust, swirl in jams, or pile on fresh fruit.
Ingredients
- For the crust:
- 1 1/2 cups (150 g) graham cracker crumbs
- 1/4 cup (50 g) granulated sugar
- 6 tablespoons (85 g) unsalted butter, melted
- Pinch of fine salt
- For the filling:
- 16 ounces (450 g) cream cheese, softened to room temperature
- 1 cup (240 ml) heavy whipping cream, cold
- 2/3 cup (80 g) powdered sugar
- 1/4 cup (60 ml) sour cream
- 2 teaspoons pure vanilla extract
- 1 tablespoon fresh lemon juice
- Pinch of fine salt
- Optional toppings: Fresh berries, fruit compote, lemon curd, chocolate shavings, or caramel sauce
Step-by-Step Instructions
- Prep the pan: Line the bottom of a 9-inch springform pan with parchment. Lightly grease the sides to help with clean release later.
- Make the crust: In a bowl, mix graham crumbs, sugar, melted butter, and a pinch of salt until it looks like damp sand.
It should clump when pressed. If it’s too dry, add another tablespoon of melted butter.
- Press and chill: Firmly press the mixture into the bottom and slightly up the sides of the pan. Use the bottom of a flat measuring cup for an even layer.
Chill in the fridge for at least 15 minutes while you make the filling.
- Beat the cream cheese: In a large bowl, beat the softened cream cheese with a hand mixer until completely smooth, 2–3 minutes. Scrape down the bowl so there are no lumps.
- Add sugar and flavor: Beat in powdered sugar, sour cream, vanilla, lemon juice, and a pinch of salt until silky and combined. Keep mixing until it’s glossy and lump-free.
- Whip the cream: In a separate cold bowl, whip the heavy cream to stiff peaks.
It should stand up firmly when you lift the beaters. Don’t overwhip to butter.
- Fold it in: Gently fold the whipped cream into the cream cheese mixture in two additions. Use a spatula and light strokes to keep it airy.
- Fill the crust: Spoon the filling into the chilled crust and smooth the top with an offset spatula.
Tap the pan gently on the counter to pop any air bubbles.
- Chill to set: Cover and refrigerate for at least 6 hours, but overnight is best. The longer it chills, the cleaner the slices.
- Add toppings and serve: Run a thin knife around the edge, release the springform, and transfer to a serving plate. Add your favorite toppings just before serving.
Slice with a warm, dry knife for neat edges.
Keeping It Fresh
Store the cheesecake covered in the fridge for up to 5 days. Keep toppings separate and add them before serving to avoid weeping or sogginess. If you need to make it well ahead, freeze it without toppings for up to 2 months.
Wrap the entire cheesecake tightly in plastic and foil. Thaw overnight in the fridge, then add toppings.

Benefits of This Recipe
- Low effort, high reward: Minimal prep and zero baking, but it tastes like a bakery dessert.
- Beginner-friendly: Straightforward steps and forgiving ingredients.
- Works year-round: Bright and light for summer, rich and cozy with caramel or chocolate in cooler months.
- Scalable: Double it for a crowd (use a 9×13-inch pan) or make mini cheesecakes in a muffin tin.
- Gluten-free and flavor-flexible: Use GF cookies for the crust and switch up extracts, zests, or toppings.
Pitfalls to Watch Out For
- Cold cream cheese equals lumps: Always start with room-temperature cream cheese. It should be soft to the touch.
- Underwhipped cream weakens the set: Aim for firm peaks so the filling holds structure.
- Rushing the chill time: Six hours is the minimum.
Overnight gives you the cleanest slices.
- Watery toppings: Juicy fruits can leak. Pat berries dry or spoon on a thick compote instead.
- Overmixing after folding: Be gentle once the whipped cream goes in, or you’ll knock out the air and lose that cloudlike texture.
Alternatives
- Crust swaps: Try chocolate wafer cookies, vanilla wafers, shortbread, or ginger snaps. For gluten-free, use GF graham crackers or almond-flour shortbread cookies.
- Citrus twist: Add 1 tablespoon lemon or orange zest to the filling for a brighter flavor.
- Chocolate version: Fold in 1/2 cup melted, cooled dark chocolate and 2 tablespoons cocoa powder.
Use an Oreo crust for a full chocolate moment.
- Berry swirl: Gently swirl 1/3 cup seedless raspberry jam into the filling before chilling.
- Mini cheesecakes: Line a muffin tin with paper liners, add 1 tablespoon crust to each, press, then fill and chill. Great for parties.
- Lighter option: Use Neufchâtel (reduced-fat cream cheese) and Greek yogurt in place of sour cream. Texture will be slightly softer but still delicious.
FAQ
Can I use Cool Whip instead of whipping cream?
Yes.
Use about 3 cups of thawed whipped topping folded into the cream cheese mixture. The flavor will be a bit sweeter, and the texture slightly lighter, but it sets nicely and saves time.
How do I prevent a soggy crust?
Measure your butter carefully and press the crust firmly. Chill it before adding the filling.
If you’re in a very warm climate, freeze the crust for 10 minutes for extra insurance.
Why is my cheesecake not setting?
Most often it’s from underwhipped cream or not chilling long enough. Make sure your cream reaches stiff peaks and give the cheesecake a full overnight chill if possible. If your kitchen is very warm, consider a short stint in the freezer before serving.
Can I make this ahead?
Absolutely.
This cheesecake is best made the day before. Keep it covered in the fridge and wait to add toppings until right before serving for the freshest look and texture.
What pan should I use if I don’t have a springform?
A deep 9-inch pie dish or an 8-inch square pan works well. Line with parchment for easy lifting.
Slices may be a bit shorter but still clean and neat.
Is the lemon juice necessary?
Yes, at least a little. The acid brightens the flavor and helps balance the richness. If you don’t have lemon, use an equal amount of lime juice or even a splash of white vinegar in a pinch.
Can I reduce the sugar?
Yes.
You can drop the powdered sugar to 1/2 cup without affecting texture. The cheesecake will taste slightly more tangy, which many people enjoy.
How do I get super smooth slices?
Use a long, sharp knife warmed under hot water and dried between cuts. Wipe the blade clean after every slice.
This small step makes a big difference.
Final Thoughts
This no bake cheesecake hits all the right notes: creamy, balanced, and unbelievably easy. With a handful of pantry staples and a little chill time, you get a dessert that feels special any night of the week. Keep the base recipe as your template, then play with crusts and toppings to match the season or the crowd.
Once you make it, you’ll keep it in your back pocket for every celebration—or just because.
Printable Recipe Card
Want just the essential recipe details without scrolling through the article? Get our printable recipe card with just the ingredients and instructions.