100-Calorie Cheesecake Cups – Light, Creamy, and Easy
These little cheesecakes taste indulgent but keep things light, portioned, and simple. You get the creamy tang of classic cheesecake with a soft, satisfying texture—no fuss and no water bath. They’re perfect for weeknights, meal prep, or a quick sweet bite after dinner.
Each cup lands around 100 calories, so you can enjoy dessert without second-guessing it. Make a batch and stash them in the fridge for the week, or bring them to a gathering and watch them disappear.
Ingredients
Method
- Prep the pan. Line a mini muffin pan with 24 paper liners. Lightly mist the liners with cooking spray to make peeling easier.
- Heat the oven. Set it to 325°F (165°C). A moderate temperature helps the cups bake evenly and stay silky.
- Make a quick crust. Crush the graham crackers into fine crumbs. You should get about 1/2 cup. Divide a scant teaspoon of crumbs into each liner and press gently with the back of a spoon. You want a thin base, not a thick crust.
- Soften the cream cheese. Make sure it’s truly soft. If needed, microwave in 10-second bursts until pliable but not warm. This prevents lumps.
- Mix the filling base. In a medium bowl, beat the cream cheese with the sugar (or sweetener) until smooth, about 1 minute. Scrape the bowl.
- Add the yogurt and flavor. Whisk in the Greek yogurt, vanilla, lemon juice, zest (if using), and salt until silky.
- Stabilize the batter. Sprinkle in the cornstarch and mix until fully incorporated. This keeps the cups creamy but set.
- Finish with the egg. Add the egg and mix just until combined. Don’t overbeat, or you’ll add air and risk cracks.
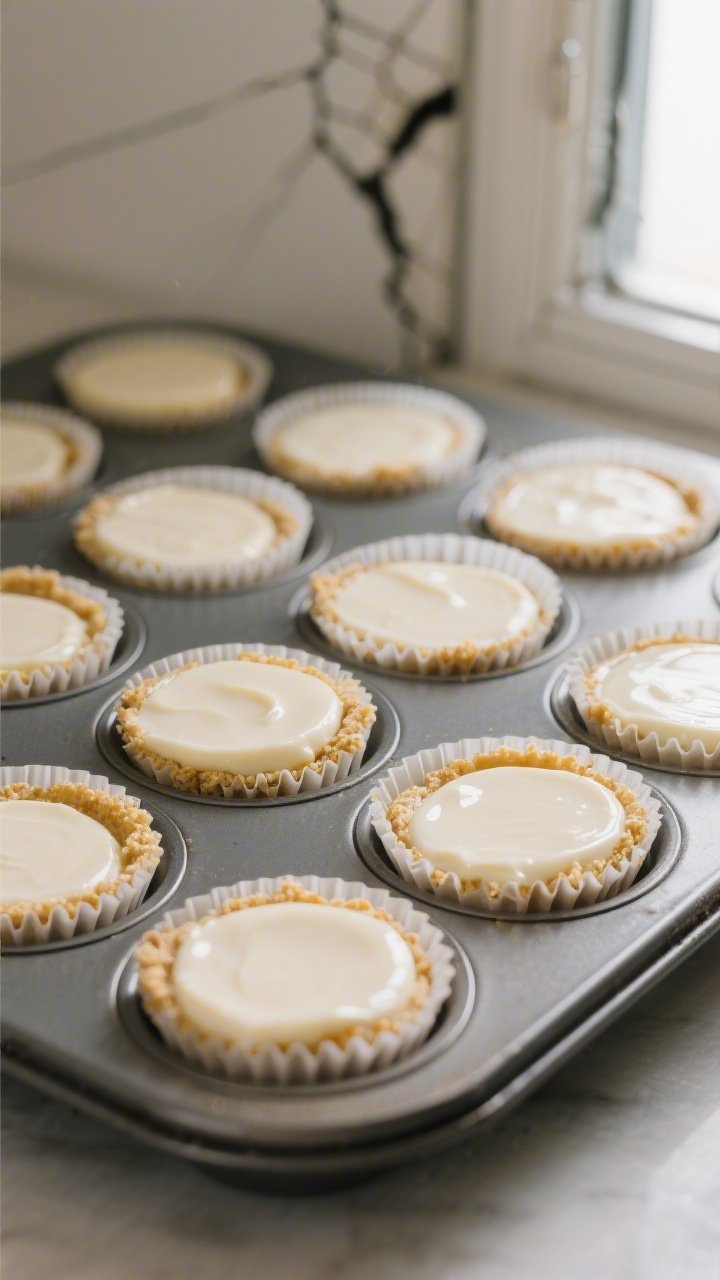
- Fill the cups. Spoon the batter over the crumbs, nearly to the top. The cups won’t rise much.
- Bake. Place the pan on the middle rack and bake for 12–15 minutes. The centers should look slightly jiggly, like set Jell-O. They’ll firm up as they cool.
- Cool gradually. Turn off the oven, crack the door, and let the cups rest for 5 minutes. Then transfer the pan to a rack and cool to room temperature.
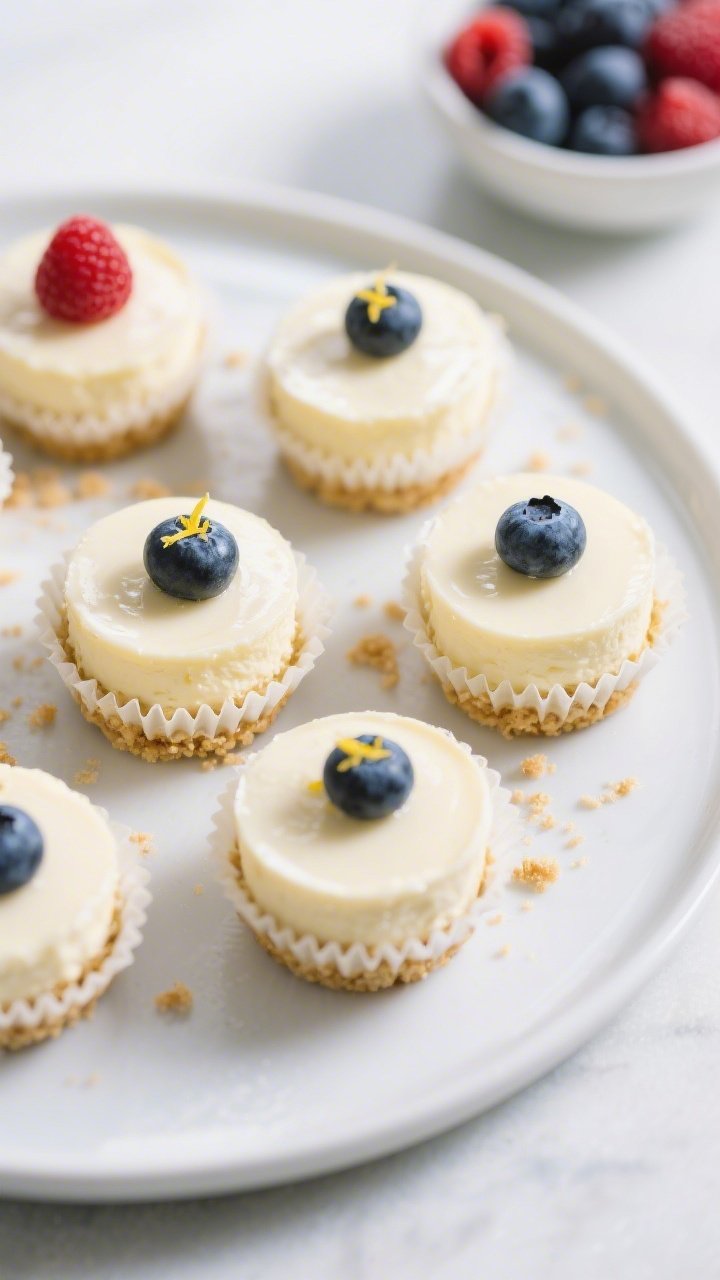
- Chill to set. Refrigerate at least 2 hours, uncovered for the first 30 minutes to prevent condensation, then covered. Top with a small berry or two before serving if you like.
Overeating is a pattern. This helps you fix that problem. A quick reset for cravings, snacking, and “I’ll start tomorrow” moments.
Built for busy home cooks who want real-life structure. Simple steps that fit meal prep, family dinners, and late-night snack attacks.
Why This Recipe Works
Traditional cheesecake is dense and rich. This version trims the calorie load by using lighter dairy and a thinner crust while keeping the flavor you want.
Greek yogurt adds body and protein without heaviness. A touch of cornstarch helps the cups set cleanly and resist cracking. Baking them as minis means faster cook time, easier portion control, and less chance of overbaking.
Shopping List
- Low-fat cream cheese (8 ounces, softened)
- Plain nonfat Greek yogurt (3/4 cup)
- Large egg (1)
- Granulated sugar or zero-calorie sweetener (1/3 cup; adjust to taste)
- Pure vanilla extract (1 teaspoon)
- Lemon juice (1 teaspoon) and lemon zest (optional, 1/2 teaspoon)
- Cornstarch (1 tablespoon)
- Salt (a small pinch)
- Light graham crackers (4 sheets) or low-calorie vanilla wafers
- Cooking spray
- Fresh berries for topping (optional)
- Mini muffin pan and mini paper liners (24 cavities)
Instructions
- Prep the pan. Line a mini muffin pan with 24 paper liners.
Lightly mist the liners with cooking spray to make peeling easier.
- Heat the oven. Set it to 325°F (165°C). A moderate temperature helps the cups bake evenly and stay silky.
- Make a quick crust. Crush the graham crackers into fine crumbs. You should get about 1/2 cup.
Divide a scant teaspoon of crumbs into each liner and press gently with the back of a spoon. You want a thin base, not a thick crust.
- Soften the cream cheese. Make sure it’s truly soft. If needed, microwave in 10-second bursts until pliable but not warm.
This prevents lumps.
- Mix the filling base. In a medium bowl, beat the cream cheese with the sugar (or sweetener) until smooth, about 1 minute. Scrape the bowl.
- Add the yogurt and flavor. Whisk in the Greek yogurt, vanilla, lemon juice, zest (if using), and salt until silky.
- Stabilize the batter. Sprinkle in the cornstarch and mix until fully incorporated. This keeps the cups creamy but set.
- Finish with the egg. Add the egg and mix just until combined.
Don’t overbeat, or you’ll add air and risk cracks.
- Fill the cups. Spoon the batter over the crumbs, nearly to the top. The cups won’t rise much.
- Bake. Place the pan on the middle rack and bake for 12–15 minutes. The centers should look slightly jiggly, like set Jell-O.
They’ll firm up as they cool.
- Cool gradually. Turn off the oven, crack the door, and let the cups rest for 5 minutes. Then transfer the pan to a rack and cool to room temperature.
- Chill to set. Refrigerate at least 2 hours, uncovered for the first 30 minutes to prevent condensation, then covered. Top with a small berry or two before serving if you like.
Keeping It Fresh
Store the cheesecake cups in an airtight container in the fridge for up to 5 days.
Keep toppings separate until serving to avoid sogginess. For longer storage, freeze the cups (without fruit) on a sheet pan until firm, then move them to a freezer bag. They keep well for up to 2 months.
Thaw overnight in the fridge or at room temperature for 30–45 minutes.

Benefits of This Recipe
- Built-in portion control: Each cup is around 100 calories, so you get a sweet finish without going overboard.
- Quick bake time: Minis cook fast and cool quickly, so dessert is ready sooner.
- Lighter but satisfying: Greek yogurt and reduced-fat cream cheese keep it creamy with less fat.
- Great for meal prep: Make a batch on Sunday and enjoy all week.
- Customizable: Simple base, many topping options—from berries to a drizzle of melted dark chocolate.
What Not to Do
- Don’t overbake. If the centers are fully set in the oven, they’ll be dry later. Pull them when they still jiggle slightly.
- Don’t beat the batter too long after adding the egg. Extra air leads to cracks and a spongy texture.
- Don’t skip chilling. The cups need time in the fridge to set properly and taste their best.
- Don’t pack a thick crust. A heavy base adds calories fast and overwhelms the filling.
- Don’t use warm ingredients. Overly warm batter can bake unevenly and separate.
Variations You Can Try
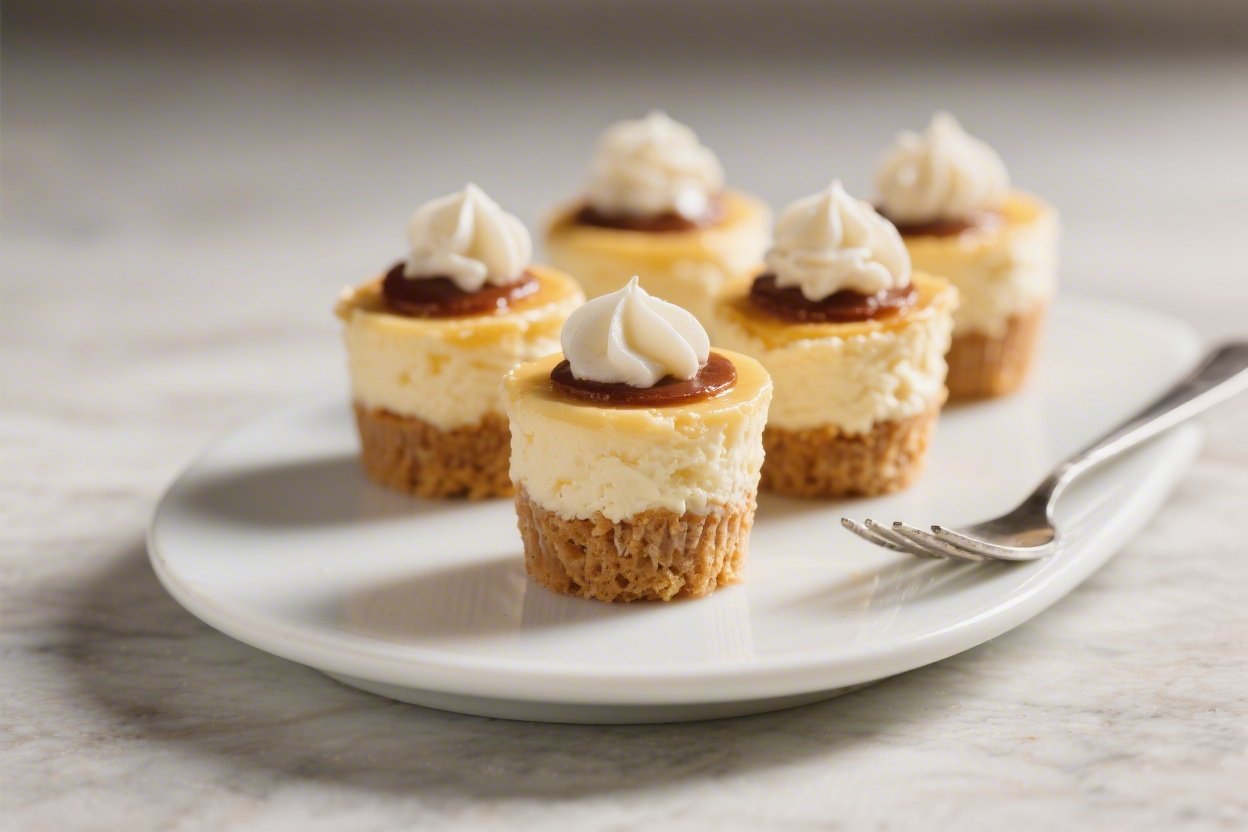
- Berry Swirl: Dollop 1/4 teaspoon of warmed, strained raspberry jam on each cup before baking. Swirl gently with a toothpick.
- Chocolate Chip: Fold in 2–3 tablespoons mini dark chocolate chips for the whole batch.
Keep portions small to stay near 100 calories.
- Key Lime: Swap lemon juice and zest for lime. Add a touch more zest for a bright punch.
- Crust-Free: Skip the crumbs and use only filling in the liners. This trims calories and creates a super light bite.
- Spiced: Add 1/2 teaspoon ground cinnamon and a pinch of nutmeg to the filling for warmth.
- Protein Boost: Stir in 1 scoop unflavored or vanilla whey isolate and reduce cornstarch to 2 teaspoons.
Texture stays creamy with added protein.
FAQ
How do I keep the calorie count near 100?
Use low-fat cream cheese, nonfat Greek yogurt, and a very thin crust. Measure the crumbs lightly and avoid heaping portions. If you add toppings, keep them minimal—one or two berries or a small drizzle of sugar-free sauce.
Can I use a regular muffin pan?
Yes, but you’ll get fewer, larger cups.
Bake at the same temperature for 16–20 minutes, watching for a slight jiggle in the center. Calories per cup will be higher unless you divide the batter more thinly.
What sweetener works best?
Granulated sugar gives the cleanest texture. For lower calories, use a cup-for-cup granular sweetener that bakes well, like erythritol or an erythritol-stevia blend.
Taste the batter and adjust slightly, since some sweeteners are less sweet than sugar.
Why did my cheesecake cups crack?
Cracks usually come from overbaking or overmixing after the egg goes in. Pull the cups when the centers still wobble a bit and let them cool gradually with the oven door cracked. Also, scrape the bowl to avoid lumps without whipping in extra air.
Can I make these gluten-free?
Yes.
Use gluten-free graham crackers or skip the crust entirely. The filling is naturally gluten-free when made with standard ingredients.
Do I need a water bath?
No. Because these are small and baked at a moderate temperature, they set well without a water bath.
The cornstarch and yogurt help maintain a smooth, creamy texture.
How can I make them sweeter without more calories?
Add a few drops of liquid stevia, monk fruit extract, or a splash of vanilla. A tart topping like fresh berries also makes the cups taste sweeter by contrast.
Can I make them dairy-free?
You can try dairy-free cream cheese and a thick dairy-free yogurt alternative. Texture may be slightly different, so add an extra 1/2 teaspoon of cornstarch if the batter seems loose.
Taste and adjust sweetness since some dairy-free products are tangier.
What’s the best way to prevent sticking?
Use paper liners and a light mist of cooking spray. Let the cups chill fully before peeling. If a liner clings, pop the cup in the freezer for 10 minutes and try again.
How long should I chill them?
At least 2 hours.
Overnight is even better for flavor and structure. The texture goes from soft-set to sliceable and creamy after a proper chill.
In Conclusion
These 100-Calorie Cheesecake Cups deliver rich flavor with a lighter touch. They’re easy to prep, quick to bake, and perfect for everyday desserts or casual get-togethers.
Keep a batch in the fridge, add simple toppings, and enjoy a sweet moment that actually fits your routine. Once you make them, they’ll become a go-to treat—no special occasion required.
Printable Recipe Card
Want just the essential recipe details without scrolling through the article? Get our printable recipe card with just the ingredients and instructions.