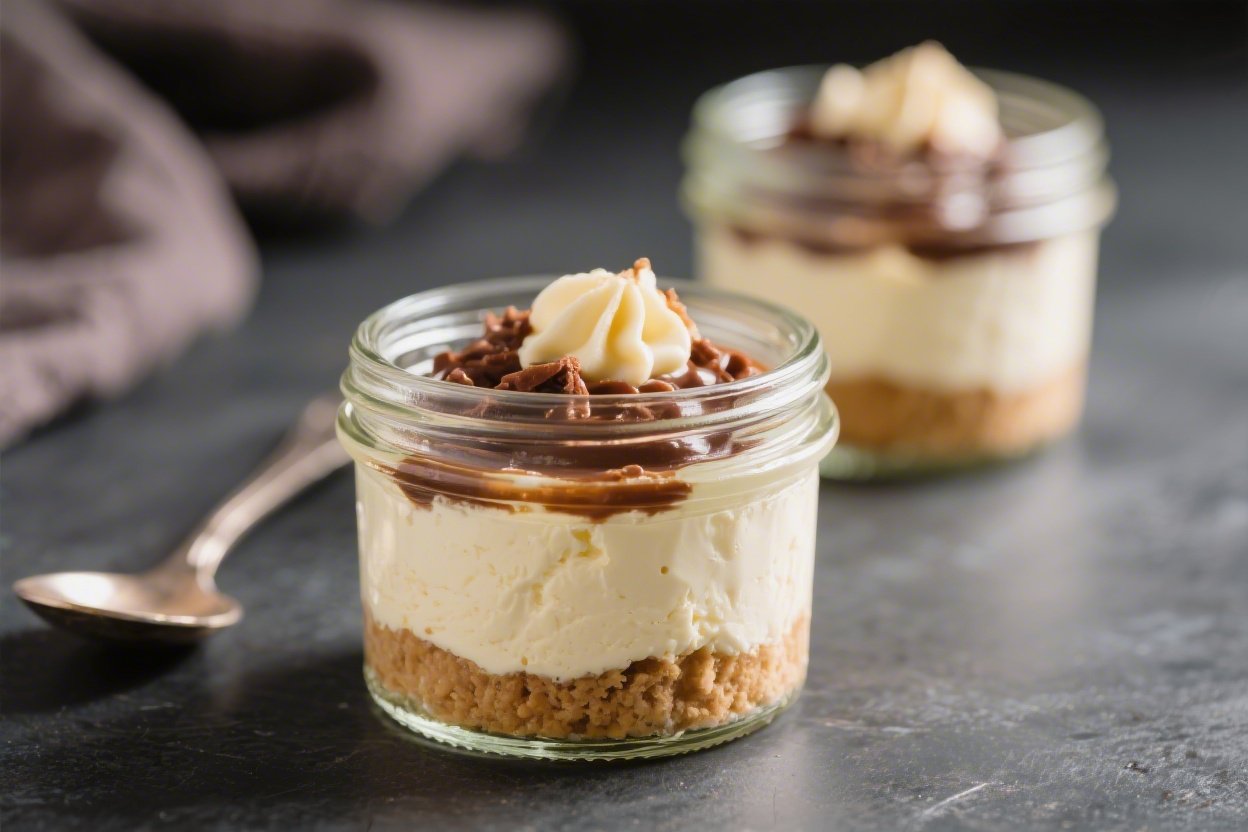
No Bake Cheesecake Jars – Creamy, Quick, and Perfect for Sharing
Cheesecake jars are one of those desserts that always feel special without asking much from you. They’re creamy, cool, and easy to customize for any occasion, from weeknight treats to picnic desserts. No baking, no water baths, no stress—just a few simple steps and a short chill.
FREE 7-Day Easy Dinner Reset
Get 7 healthy, family-friendly dinners complete with recipes and simple meal plans delivered straight to your inbox.
You can make them ahead, portion them neatly, and top them with whatever you like. If you want a dessert that looks impressive and tastes like a classic cheesecake, this is your go-to.
Ingredients
Method
- Prep the jars. Make sure your jars are clean and dry. Set them on a tray so you can move them easily to the fridge later.
- Make the crust. Crush graham crackers into fine crumbs. Stir in a little granulated sugar and melted butter until the mixture feels like damp sand and clumps when pressed.
- Press the crust. Spoon a couple tablespoons of the crumb mixture into each jar. Press down gently with the back of a spoon or a small glass to create a firm base. Chill while you make the filling.
- Beat the cream cheese. In a mixing bowl, beat softened cream cheese with powdered sugar, vanilla, lemon zest, and a small squeeze of lemon juice. Add a pinch of salt. Mix until smooth and fluffy with no lumps.
- Whip the cream. In a separate bowl, whip cold heavy cream to medium-stiff peaks. It should be billowy and hold its shape, but not grainy.
- Fold and finish. Gently fold the whipped cream into the cream cheese mixture in two additions. Use a spatula and light strokes to keep the filling airy.
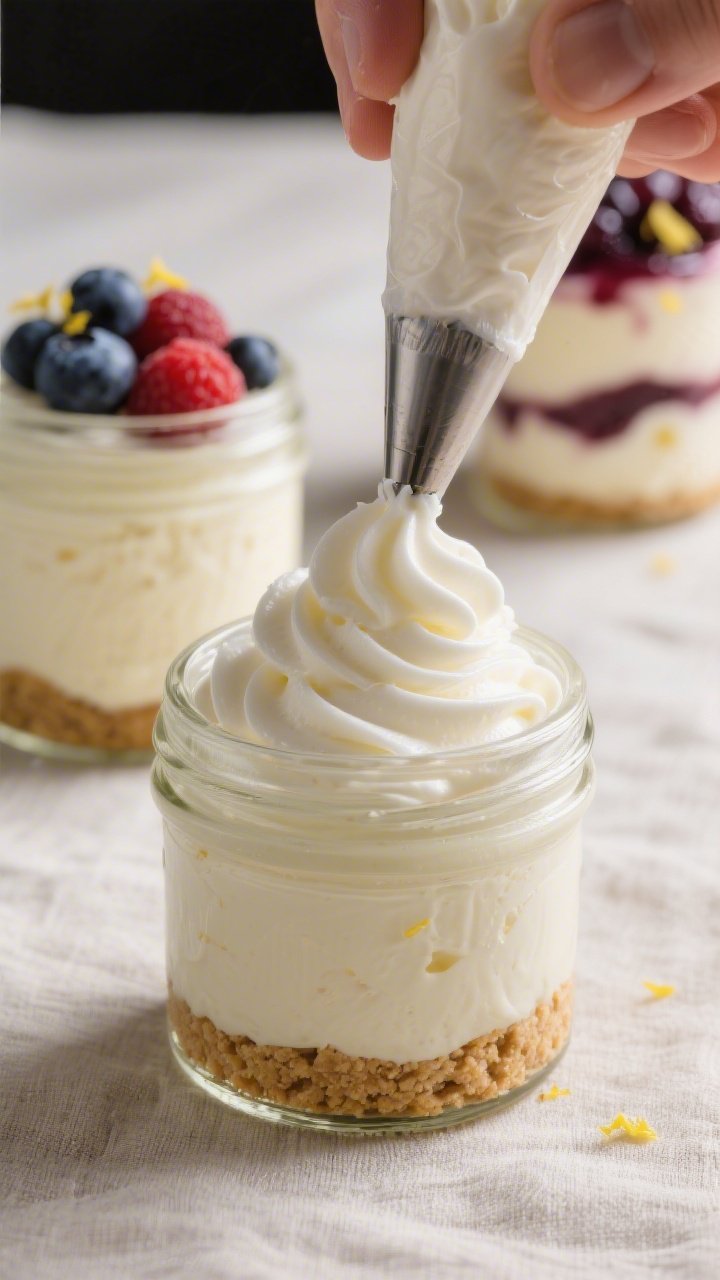
- Fill the jars. Pipe or spoon the cheesecake filling over the chilled crusts, leaving a little space on top for toppings. Smooth the surface if you want a cleaner look.
- Chill to set. Cover and refrigerate for at least 3 hours, or up to 24 hours. Overnight chilling gives the best set and flavor.
- Add toppings. Before serving, spoon on fruit compote, a swirl of lemon curd, fresh berries, or your favorite sauce. Finish with a sprinkle of cookie crumbs or chocolate shavings.
- Serve cold. These are best enjoyed chilled. Add spoons and you’re ready to go.
What Makes This Special
These no bake cheesecake jars strike that sweet spot between convenience and flavor. The texture is silky and light, yet rich enough to satisfy a cheesecake craving.
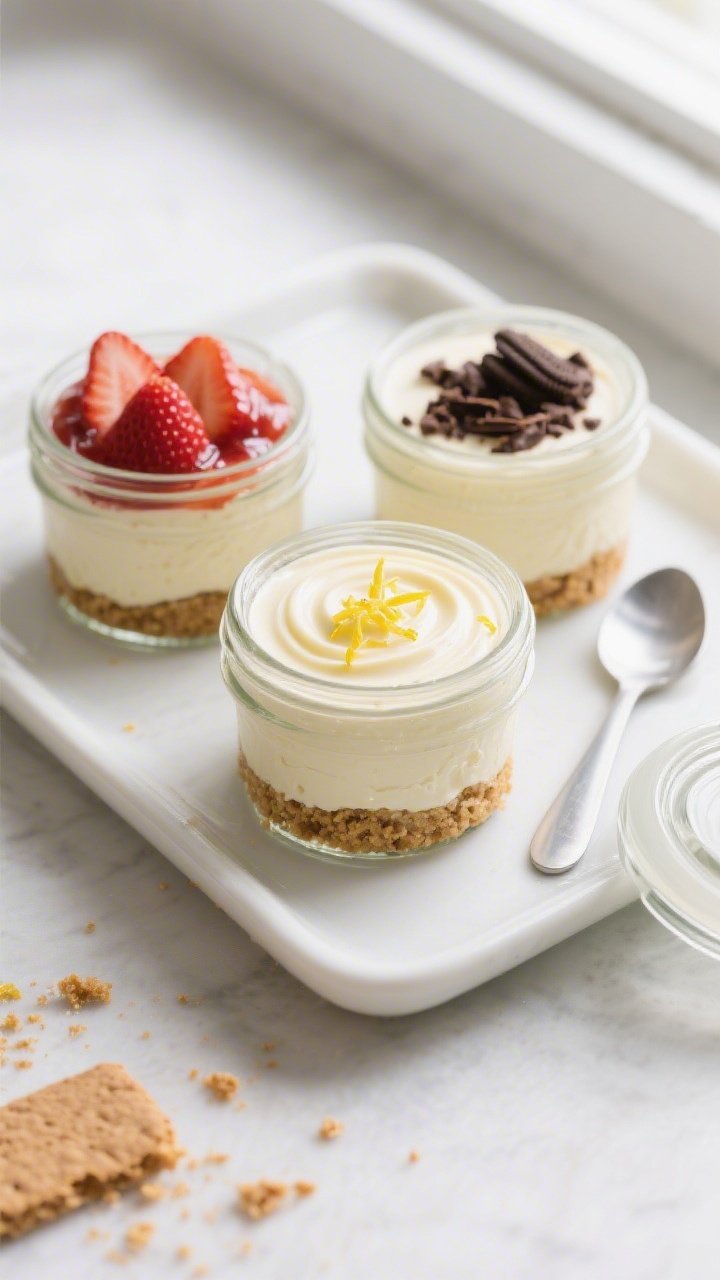
Because they’re built in jars, portion control is simple and presentation is effortless. You can also tailor each jar: one with strawberry sauce, one with lemon curd, one with chocolate. Best of all, the recipe uses everyday ingredients and comes together in minutes.
Shopping List
- Graham crackers (or digestive biscuits)
- Unsalted butter, melted
- Granulated sugar (for the crust)
- Cream cheese, full-fat and softened
- Powdered sugar
- Vanilla extract
- Lemon zest and a little lemon juice (optional, but brightens the flavor)
- Heavy whipping cream, cold
- Pinch of salt
- Toppings: fruit compote or jam, fresh berries, lemon curd, chocolate shavings, caramel, or crushed cookies
- Jars with lids (6 to 8 small jars, 6–8 ounces each)
Instructions
- Prep the jars. Make sure your jars are clean and dry.
Set them on a tray so you can move them easily to the fridge later.
- Make the crust. Crush graham crackers into fine crumbs. Stir in a little granulated sugar and melted butter until the mixture feels like damp sand and clumps when pressed.
- Press the crust. Spoon a couple tablespoons of the crumb mixture into each jar. Press down gently with the back of a spoon or a small glass to create a firm base.
Chill while you make the filling.
- Beat the cream cheese. In a mixing bowl, beat softened cream cheese with powdered sugar, vanilla, lemon zest, and a small squeeze of lemon juice. Add a pinch of salt. Mix until smooth and fluffy with no lumps.
- Whip the cream. In a separate bowl, whip cold heavy cream to medium-stiff peaks.
It should be billowy and hold its shape, but not grainy.
- Fold and finish. Gently fold the whipped cream into the cream cheese mixture in two additions. Use a spatula and light strokes to keep the filling airy.
- Fill the jars. Pipe or spoon the cheesecake filling over the chilled crusts, leaving a little space on top for toppings. Smooth the surface if you want a cleaner look.
- Chill to set. Cover and refrigerate for at least 3 hours, or up to 24 hours. Overnight chilling gives the best set and flavor.
- Add toppings. Before serving, spoon on fruit compote, a swirl of lemon curd, fresh berries, or your favorite sauce.
Finish with a sprinkle of cookie crumbs or chocolate shavings.
- Serve cold. These are best enjoyed chilled. Add spoons and you’re ready to go.
How to Store
Keep the jars covered in the refrigerator for up to 4 days. For the cleanest layers, add toppings right before serving.
If you need to top ahead, choose thicker toppings like lemon curd or a set fruit compote to prevent bleeding into the cheesecake layer.
Freezing works, but texture gets slightly less silky after thawing. If you do freeze, seal tightly and store for up to 1 month. Thaw overnight in the fridge and add fresh toppings just before serving.
Why This is Good for You
It’s dessert, but you can still make choices that feel good. Portion control is built in with jars, so you don’t have to guess at serving sizes.
A handful of fresh berries adds fiber and natural sweetness. The filling relies on air whipped into cream rather than gelatin, which keeps the ingredient list simple and avoids unnecessary additives. And because there’s no baking, you skip the extra heat and fuss—less stress can be a win for your day.
What Not to Do
- Don’t skip softening the cream cheese. Cold cream cheese leads to lumps that are tough to smooth out.
- Don’t overwhip the cream. Grainy whipped cream turns the filling dense and slightly greasy.
- Don’t drown the crust in butter. Too much butter makes a greasy base that slides around the jar.
- Don’t rush the chill time. The filling needs a few hours to set so it holds shape when you dig in.
- Don’t add watery toppings early. Fresh-cut fruit or thin sauces can weep into the cheesecake.
Add them just before serving.
Recipe Variations
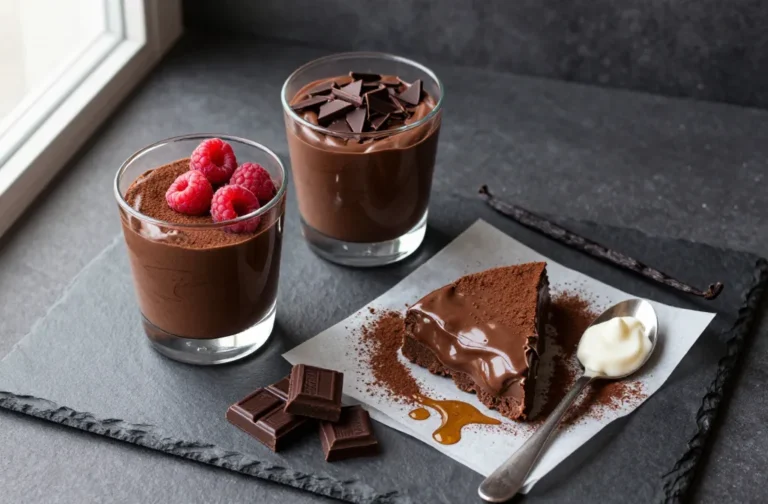
- Chocolate Cheesecake Jars: Beat 2–3 tablespoons of cocoa powder into the cream cheese mixture and top with shaved chocolate and raspberries.
- Lemon Cheesecake Jars: Increase lemon zest, add an extra tablespoon of lemon juice, and top with lemon curd and crushed shortbread.
- Berry Swirl: Warm jam until loose, then ripple it through the filling before spooning into jars. Finish with fresh berries.
- Salted Caramel Pretzel: Swap graham crumbs for crushed pretzels. Top with caramel sauce and a pinch of flaky salt.
- Cookies and Cream: Use chocolate sandwich cookies in the crust and fold a handful of chopped cookies into the cheesecake filling.
- Maple Pecan: Sweeten the filling with maple syrup in place of some powdered sugar and top with toasted pecans.
- Tropical Twist: Add coconut extract to the filling and top with mango or pineapple compote and toasted coconut flakes.
- Lightened-Up: Use Neufchâtel (1/3 less fat) cream cheese and reduce powdered sugar.
Keep the whipped cream for a creamy texture.
FAQ
Can I use low-fat cream cheese?
Yes, but the texture will be a little softer and less rich. Neufchâtel works best among lower-fat options. If you use it, chill overnight to help it set well.
Never Wonder What's For Dinner Again
Get 7 healthy, family-friendly dinners complete with recipes, grocery lists, and simple meal plans delivered straight to your inbox.
What if I don’t have a mixer?
You can use a sturdy whisk and some patience.
Soften the cream cheese thoroughly and whisk until smooth before folding in hand-whipped cream. The result may be slightly denser, but still delicious.
How many jars does this make?
Plan on 6 to 8 small jars (6–8 ounces each). It depends on how thick you make the crust and how generously you fill the cheesecake layer.
Can I make these gluten-free?
Absolutely.
Use gluten-free graham crackers or cookies for the crust. Everything else in the filling is typically gluten-free, but always check labels to be sure.
Do I need gelatin to set the filling?
No. Whipped cream folded into the cream cheese creates structure once chilled.
If you prefer a firmer set for travel, you can add a small amount of gelatin, but it isn’t required.
How sweet is the filling?
It’s mildly sweet with a tangy finish from the lemon. If you like a sweeter dessert, add a couple extra tablespoons of powdered sugar, or lean on sweeter toppings like caramel or chocolate sauce.
Can I make them the day before?
Yes, and that’s often better. The flavors meld and the texture improves with an overnight chill.
Add toppings just before serving for the best look and taste.
What jars work best?
Small glass jars or lidded ramekins between 6 and 8 ounces are ideal. Wide-mouth jars make layering and eating easier. Make sure lids fit snugly if you’re transporting them.
Why is my filling runny?
Common culprits are under-whipped cream, over-measured lemon juice, or not enough chill time.
Whip the cream to medium-stiff peaks, measure liquids carefully, and give the jars at least 3 hours in the fridge.
Can I reduce the sugar?
Yes. Cut the powdered sugar by a third to start, taste, and adjust. Balance the tang with vanilla and a little lemon zest so the flavor still pops even with less sweetness.
In Conclusion
No bake cheesecake jars are the kind of dessert that makes life easier and tastier.
They’re fast to assemble, flexible to flavor, and pretty enough for guests. Keep a batch chilling in the fridge and you’ve got a guaranteed crowd-pleaser on hand. Customize the toppings, grab a spoon, and enjoy that creamy, classic cheesecake taste—no oven required.
Printable Recipe Card
Want just the essential recipe details without scrolling through the article? Get our printable recipe card with just the ingredients and instructions.
Loved This Recipe?
If you're looking for more simple, healthy dinners your family will actually eat, grab my FREE 7-Day Easy Dinner Reset. You'll get 7 easy dinner recipes, simple grocery lists, and a done-for-you plan that takes the stress out of mealtime.