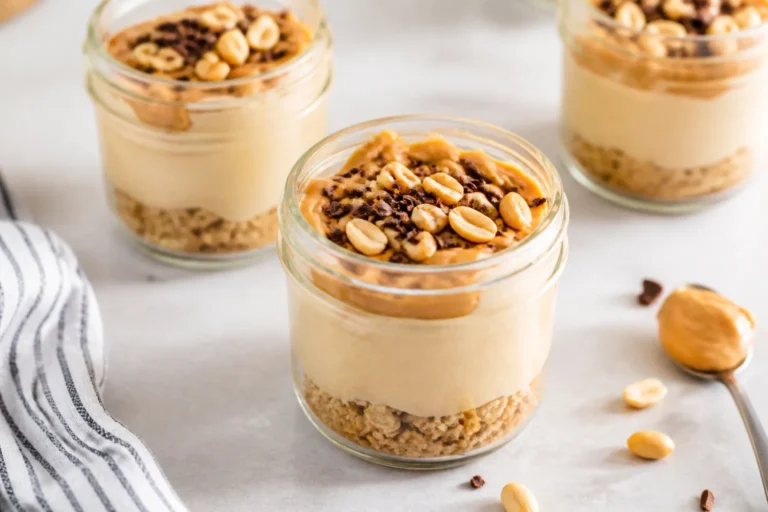
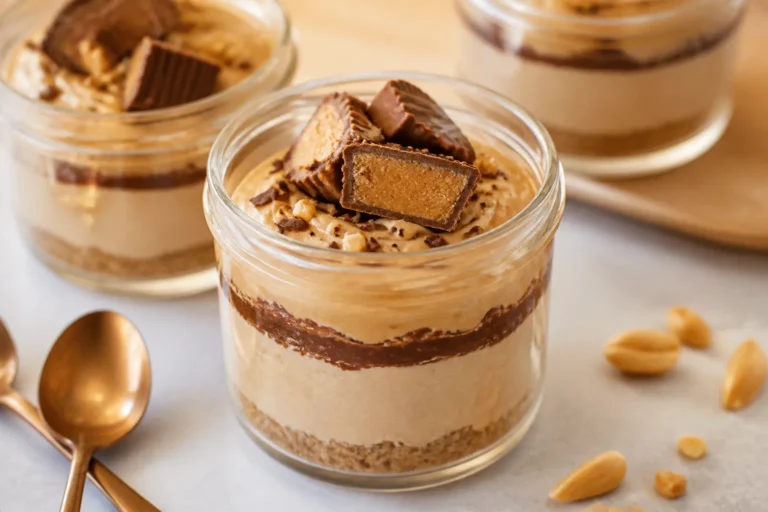
High Protein Low Carb Greek Yogurt Cheesecake Jars – Creamy, Easy, and Satisfying
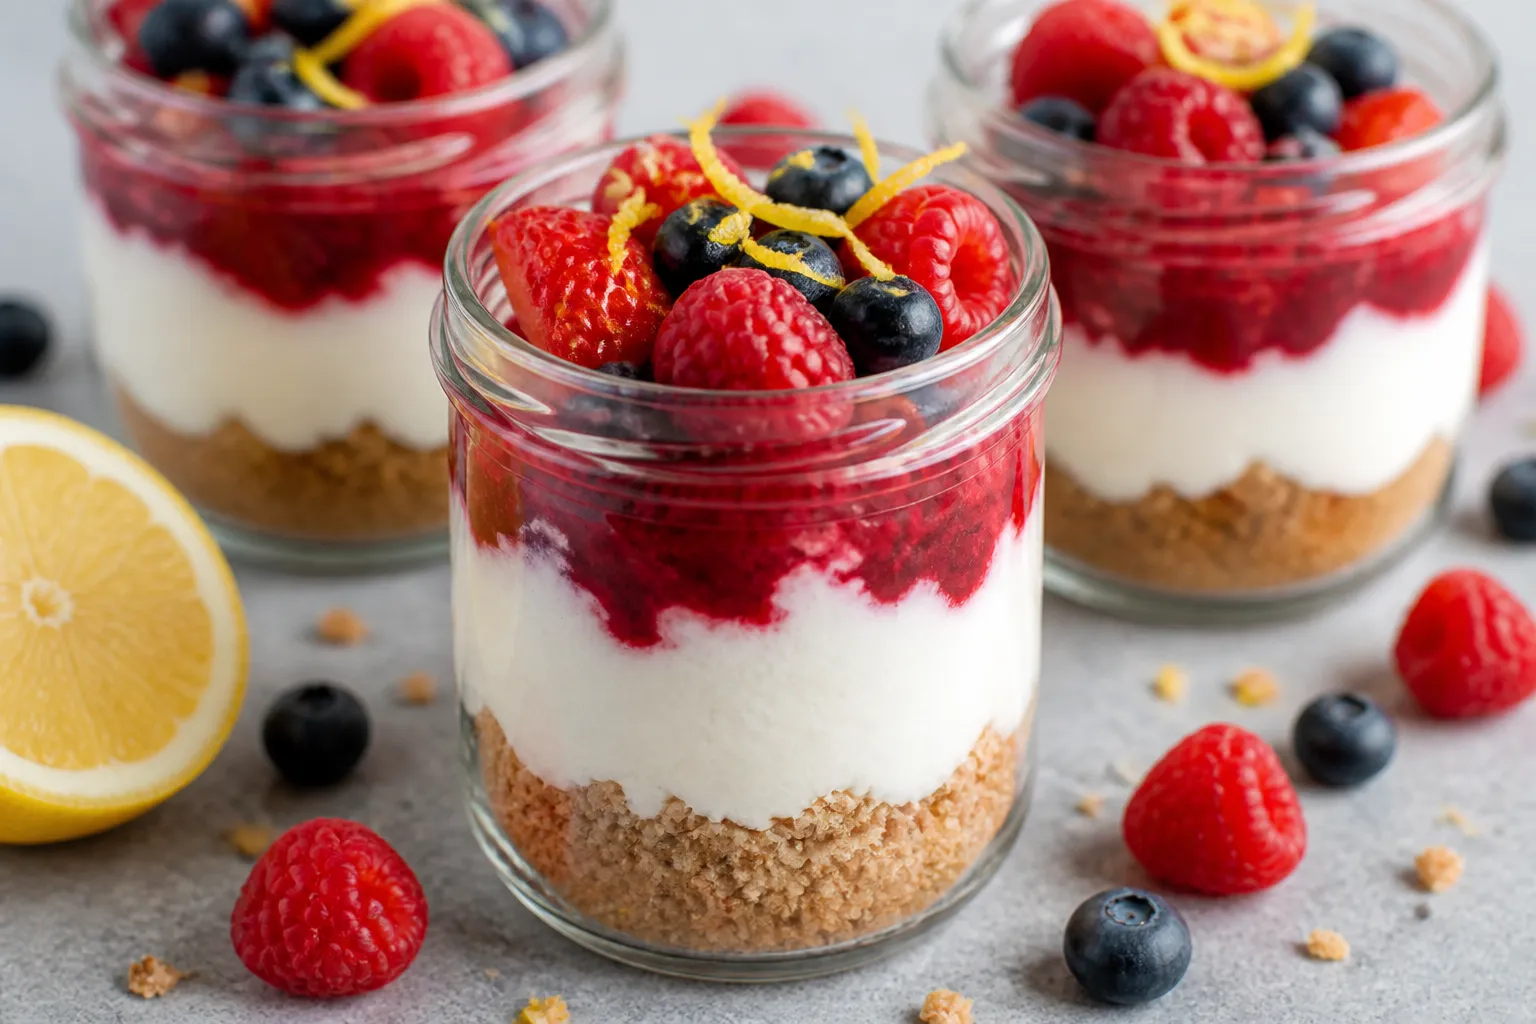
If you love cheesecake but want something lighter, these Greek yogurt cheesecake jars hit the sweet spot. They’re creamy, tangy, and taste like dessert, yet they’re packed with protein and low in carbs. No baking, no water baths, no fuss—just a quick whip, a chill, and you’re set.
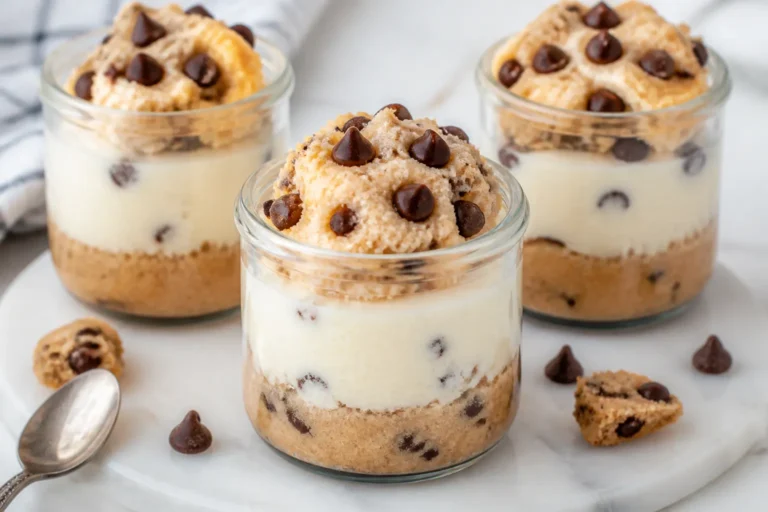
They’re perfect for meal prep, portion control, and quick weeknight treats. Best of all, you can customize the flavors to suit whatever you’re craving.
High Protein Low Carb Greek Yogurt Cheesecake Jars - Creamy, Easy, and Satisfying
Ingredients
Method
- Soften your cream cheese: Let it sit at room temperature for 30–45 minutes. This step is key for a smooth, lump-free filling.
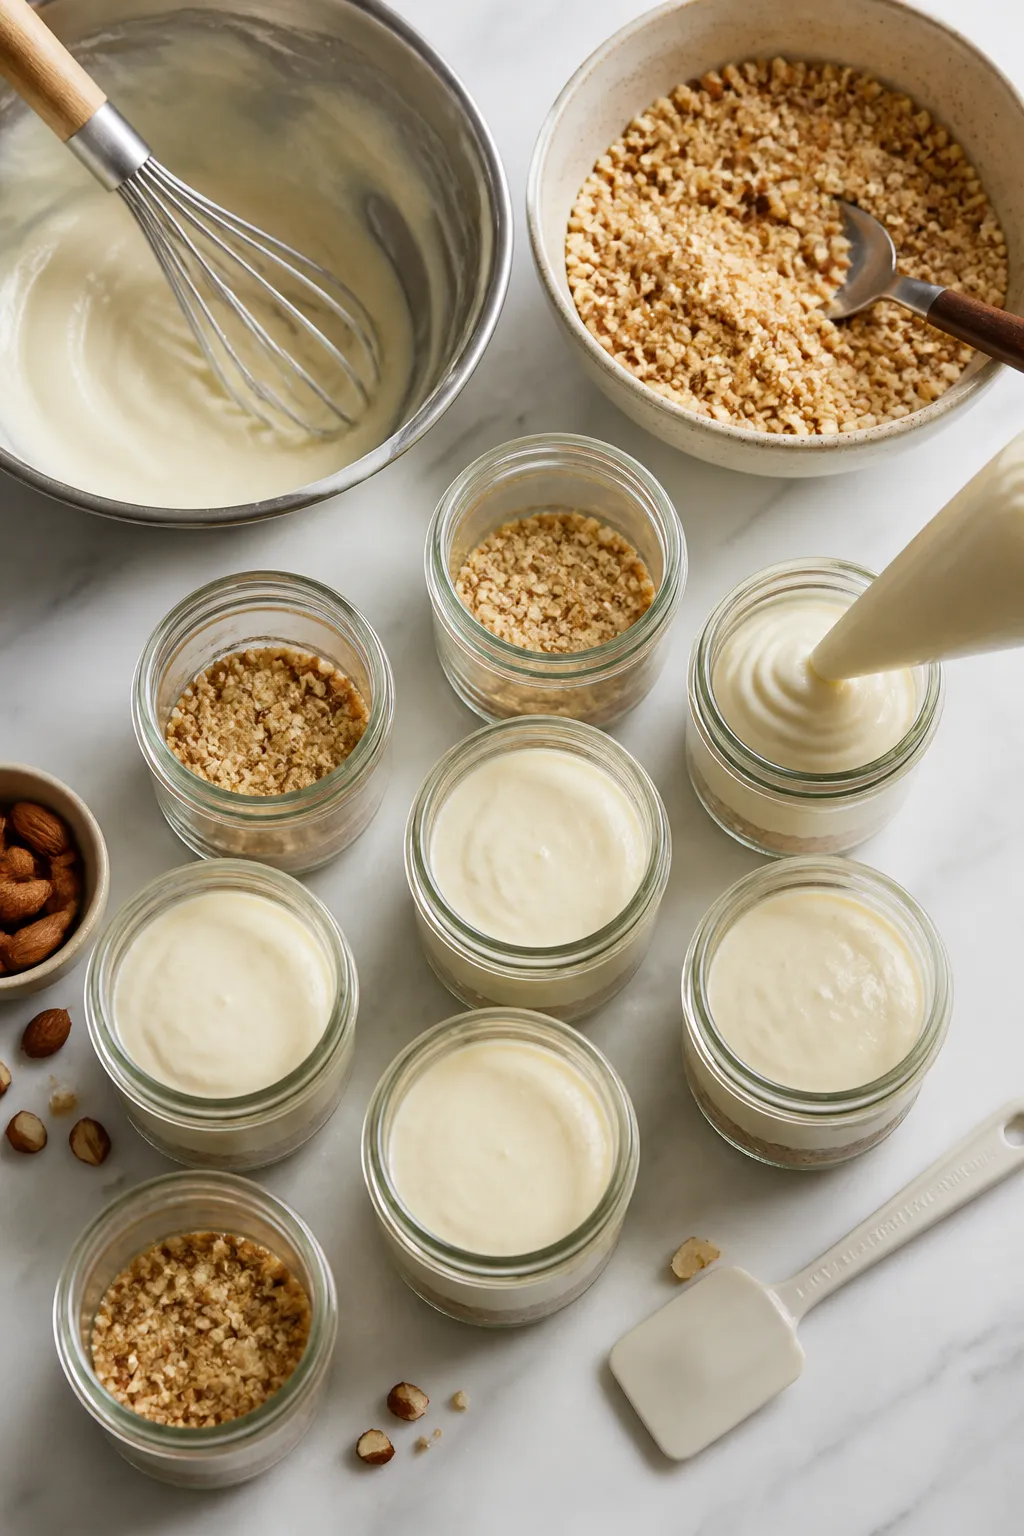
- Prep the jars: If using the nut “crust,” mix nuts or almond flour with melted butter and sweetener. Press 1–2 tablespoons into the bottom of each jar. Keep it loose so it doesn’t become hard.
- Blend the base: In a bowl, beat the softened cream cheese with the sweetener and salt until totally smooth. Scrape the bowl so no lumps hide on the sides.
- Add flavor: Mix in vanilla and lemon juice. Taste and adjust sweetness or tang. The flavor should be a touch bolder than you want because chilling mutes it slightly.
- Whisk in yogurt: Add Greek yogurt in two additions. Beat on low until just combined. Don’t overmix; too much air can make it fluffy instead of creamy.
- Optional set: If you want a firmer, sliceable texture, bloom the gelatin in cold water, then warm gently until dissolved. Whisk it into the cheesecake mixture.
- Fill the jars: Spoon or pipe the mixture into each jar over the crust (or straight into the jar if skipping the crust). Tap gently to release air bubbles.
- Chill: Cover and refrigerate for at least 2 hours, ideally 4. The flavor melds and the texture sets as it cools.
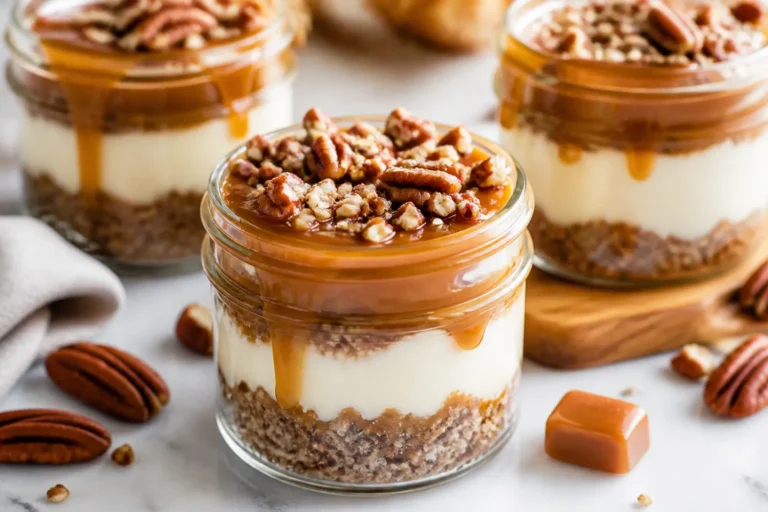
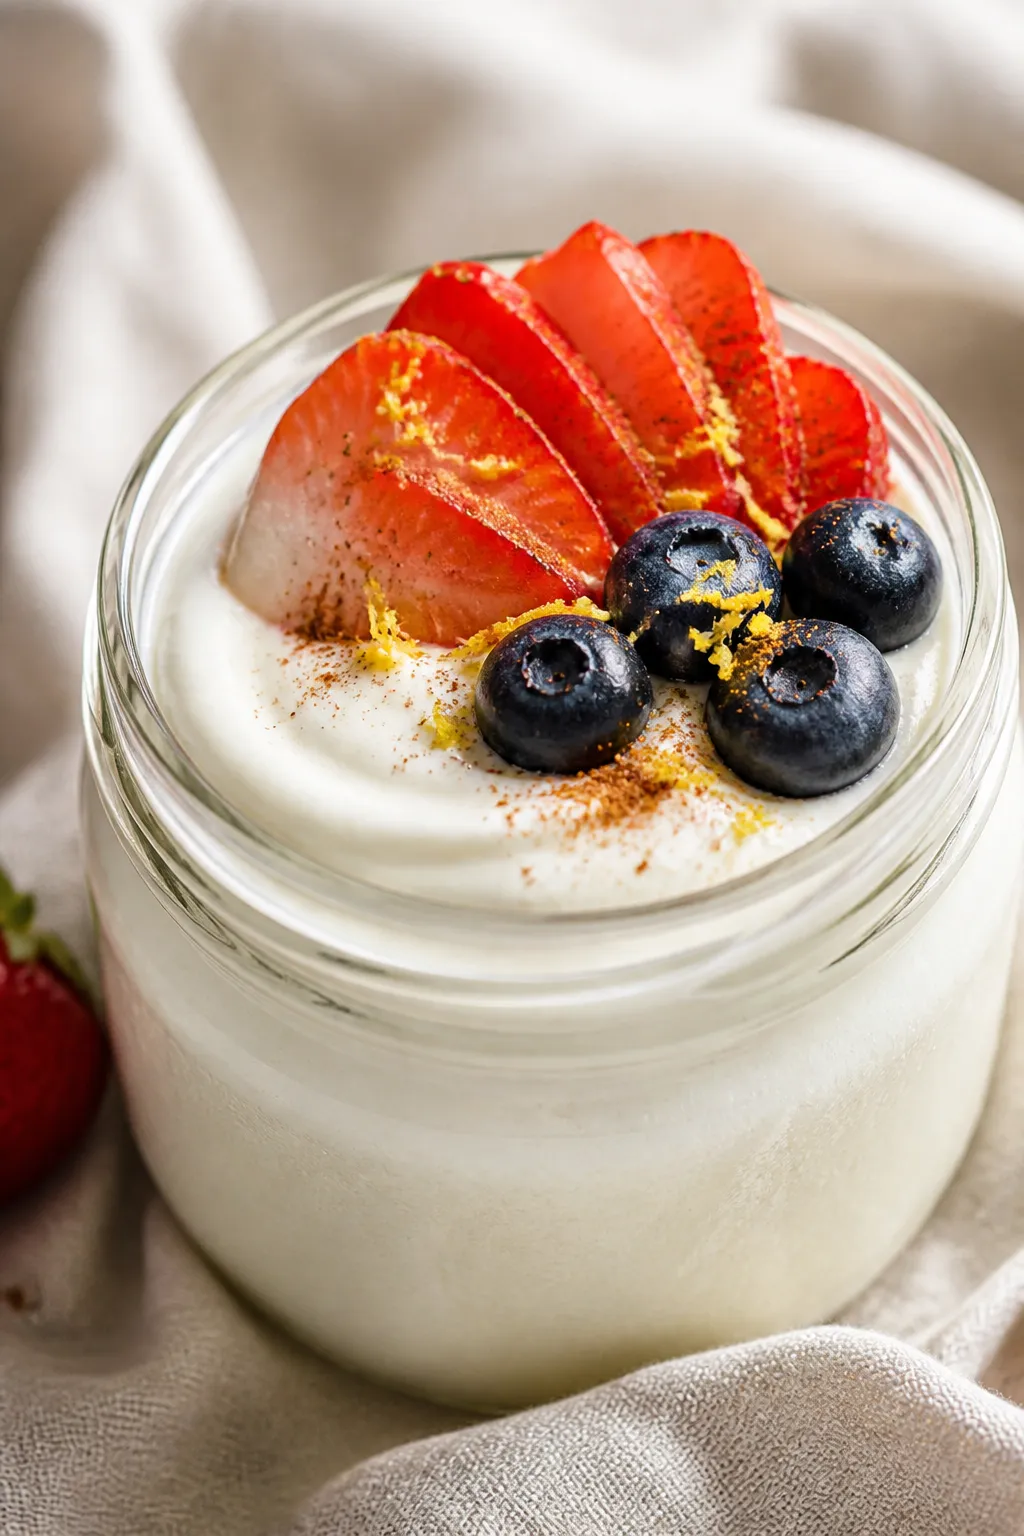
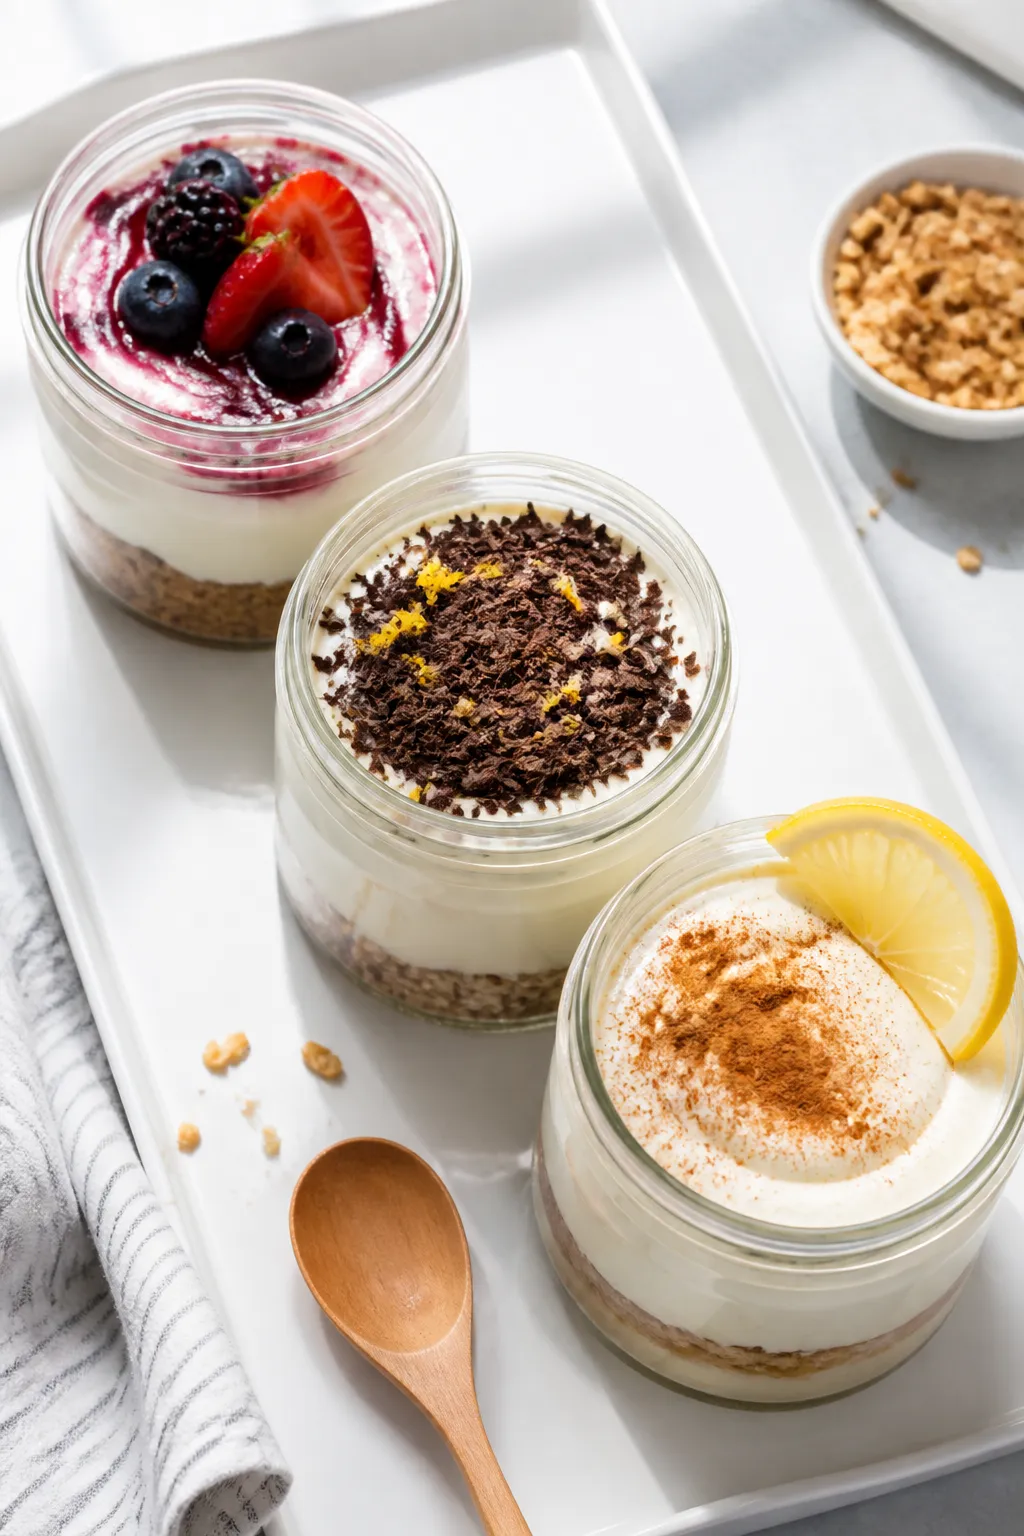
- Add toppings: Just before serving, finish with fresh berries, a spoon of sugar-free compote, lemon zest, or a dusting of cinnamon. Keep toppings light to stay low carb.
- Serve: Enjoy straight from the jar, cold. They’re great as a snack, dessert, or post-workout treat.

Why This Recipe Works
- High protein, low carb balance: Greek yogurt and light cream cheese create a rich, cheesecake-like texture while keeping carbs in check.
- No-bake convenience: The mixture sets in the fridge, so you skip complicated steps and get dessert faster.
- Built-in portion control: Individual jars help manage serving sizes and make storage easy.
- Customizable flavor: Swap sweeteners, extracts, and toppings to match your diet and taste.
- Velvety texture: Using room-temperature dairy and a brief chill keeps the filling smooth and scoopable.
Ingredients
- 8 ounces (225 g) light cream cheese, softened to room temperature
- 2 cups (480 g) plain 2% or nonfat Greek yogurt (choose thick, strained yogurt)
- 1/3 cup powdered erythritol or allulose (or 1/4 cup liquid sweetener; adjust to taste)
- 2 teaspoons vanilla extract
- 1 tablespoon lemon juice (freshly squeezed)
- 1/4 teaspoon fine sea salt
- Optional thickener: 1–2 teaspoons unflavored gelatin bloomed in 1 tablespoon cold water, then dissolved
- Optional crust layer (low carb): 1/2 cup finely chopped roasted nuts or almond flour mixed with 1 tablespoon melted butter and a pinch of sweetener
- Toppings: sliced berries, sugar-free fruit compote, lemon zest, dark chocolate shavings, or a sprinkle of cinnamon
- Equipment: 6–8 small jars or ramekins with lids, hand mixer or whisk, mixing bowls
How to Make It
- Soften your cream cheese: Let it sit at room temperature for 30–45 minutes. This step is key for a smooth, lump-free filling.
- Prep the jars: If using the nut “crust,” mix nuts or almond flour with melted butter and sweetener.
Press 1–2 tablespoons into the bottom of each jar. Keep it loose so it doesn’t become hard.
- Blend the base: In a bowl, beat the softened cream cheese with the sweetener and salt until totally smooth. Scrape the bowl so no lumps hide on the sides.
- Add flavor: Mix in vanilla and lemon juice.
Taste and adjust sweetness or tang. The flavor should be a touch bolder than you want because chilling mutes it slightly.
- Whisk in yogurt: Add Greek yogurt in two additions. Beat on low until just combined.
Don’t overmix; too much air can make it fluffy instead of creamy.
- Optional set: If you want a firmer, sliceable texture, bloom the gelatin in cold water, then warm gently until dissolved. Whisk it into the cheesecake mixture.
- Fill the jars: Spoon or pipe the mixture into each jar over the crust (or straight into the jar if skipping the crust). Tap gently to release air bubbles.
- Chill: Cover and refrigerate for at least 2 hours, ideally 4.
The flavor melds and the texture sets as it cools.
- Add toppings: Just before serving, finish with fresh berries, a spoon of sugar-free compote, lemon zest, or a dusting of cinnamon. Keep toppings light to stay low carb.
- Serve: Enjoy straight from the jar, cold. They’re great as a snack, dessert, or post-workout treat.
Keeping It Fresh
- Refrigeration: Store jars sealed in the fridge for 4–5 days.
Add fresh fruit right before eating to keep it bright and juicy.
- No freezer for dairy: Freezing can cause graininess and water separation. If you must, freeze without toppings and expect a slight texture change.
- Travel tip: For on-the-go, pack the jars in an insulated bag with an ice pack. Add toppings when you arrive.
Health Benefits
- Protein support: Greek yogurt and cream cheese provide high-quality protein that helps with satiety and muscle repair.
- Lower carbs: Using low-carb sweeteners and skipping a traditional cookie crust cuts carbs significantly.
- Probiotics: Live-culture Greek yogurt may support gut health.
Check labels to ensure the yogurt contains active cultures.
- Portion control: Individual jars help prevent mindless snacking and make calories easier to track.
- Flexible fats: Choose nonfat or 2% yogurt and light cream cheese to fit your macro targets without sacrificing creaminess.
Pitfalls to Watch Out For
- Lumpy texture: Cold cream cheese leads to lumps. Always start with room-temperature cream cheese and beat it smooth before adding yogurt.
- Too tangy or not sweet enough: Taste as you go. Chilling reduces perceived sweetness, so aim a touch sweeter than you think you need.
- Watery yogurt: Some yogurts are looser.
If yours is runny, strain it through a coffee filter or cheesecloth for 30–60 minutes to thicken.
- Overmixing: Whipping too much air can make the texture fluffy and cause weeping. Mix just until smooth.
- Hidden sugars in toppings: Jams and granolas add carbs fast. Stick with fresh berries or sugar-free compote to keep it low carb.
Alternatives
- Sweeteners: Use allulose for the smoothest texture, erythritol for a sharper sweetness, or a monk fruit blend.
Liquid stevia drops work, but start small to avoid bitterness.
- Dairy-free option: Use a thick dairy-free yogurt (coconut or almond) and dairy-free cream cheese. You may need gelatin or agar-agar for structure.
- Flavor swaps: Try almond extract, lemon zest, cocoa powder, instant espresso, or pumpkin spice. For chocolate, whisk in 2 tablespoons unsweetened cocoa and a splash of almond milk.
- Protein boost: Add 1–2 scoops unflavored or vanilla whey or casein.
If it gets too thick, loosen with 1–2 tablespoons milk or almond milk.
- Crust options: Skip the crust for the lowest carbs, or use crushed keto cookies or toasted coconut flakes for crunch.
How many jars does this recipe make?
It typically yields 6–8 small jars, depending on jar size and whether you use a crust. For 4-ounce jars, plan on about 8 servings; for 6-ounce jars, around 6.
Can I make it without cream cheese?
Yes. Replace cream cheese with an equal amount of extra-thick Greek yogurt or skyr, but add 1–2 teaspoons gelatin to help it set and maintain a cheesecake-like texture.
What’s the best yogurt to use?
Choose a thick, strained Greek yogurt with minimal added sugar. 2% gives a rich mouthfeel without many extra calories, while nonfat keeps it lean with a slightly tangier bite.
Is this recipe keto-friendly?
It can be.
Use a keto-approved sweetener, skip the fruit-heavy toppings, and avoid any crust with carbs. Stick to berries, cocoa, or sugar-free sauces.
How can I meal-prep these for the week?
Fill jars with the cheesecake mixture, seal, and chill. Store toppings separately and add right before eating for the best texture and freshness.
They keep well for up to 5 days.
Why use lemon juice if it’s cheesecake?
A small amount of acid brightens the flavor and balances the dairy richness, making the cheesecake taste more like the real deal.
Can I make a larger batch for a party?
Absolutely. Double or triple the recipe and portion into mini jars or a trifle dish. If using one large dish, add gelatin so slices hold their shape when served.
Wrapping Up
These High Protein Low Carb Greek Yogurt Cheesecake Jars bring dessert flavor with everyday nutrition.
They’re quick to mix, easy to store, and endlessly customizable. Keep a few in the fridge for a fast, satisfying treat that won’t throw off your macros. With simple ingredients and smart swaps, you get cheesecake joy any night of the week—no oven required.
Printable Recipe Card
Want just the essential recipe details without scrolling through the article? Get our printable recipe card with just the ingredients and instructions.