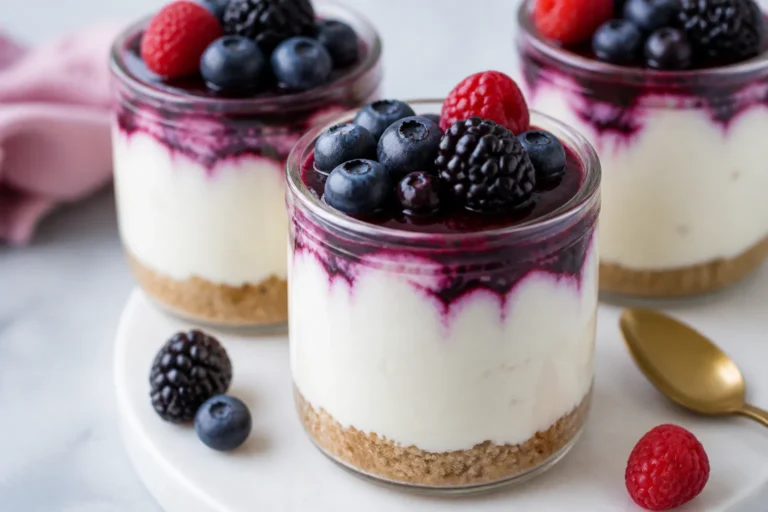
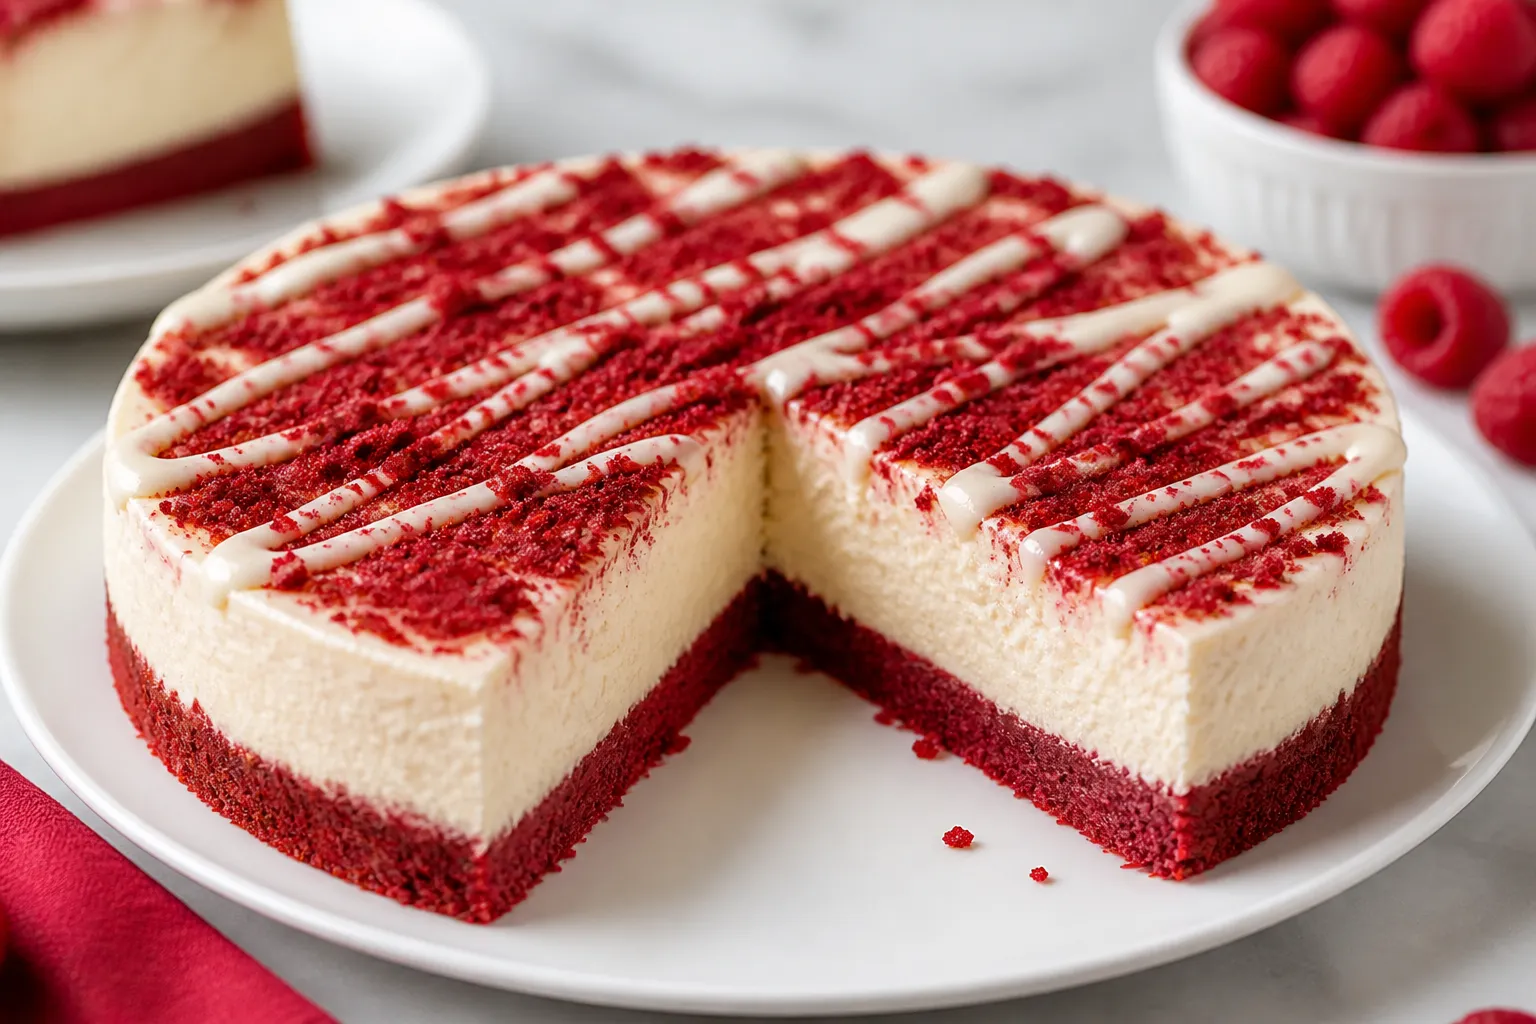
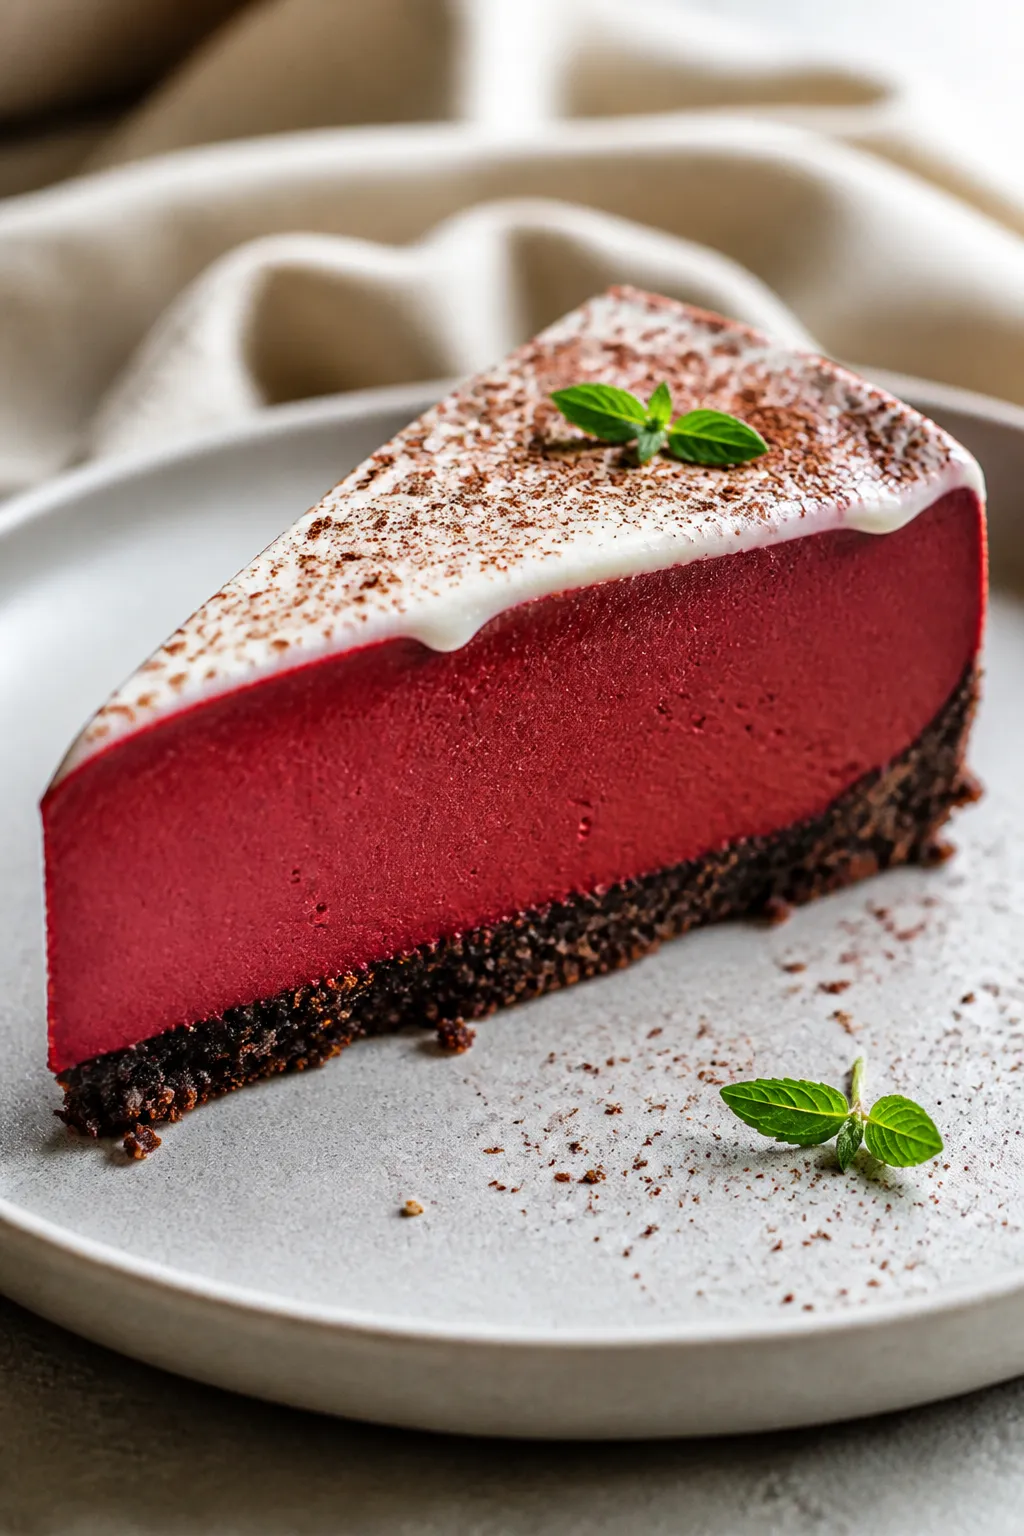
High Protein Low Carb Red Velvet Protein Cheesecake – Creamy, Rich, and Better for You
If you love dessert but still want to hit your protein goals, this red velvet protein cheesecake checks every box. It’s creamy, rich, and completely satisfying without the sugar crash. The texture is cheesecake-smooth, the color is classic red velvet, and the macros are friendly for low-carb or high-protein lifestyles.
You can make it ahead, slice it through the week, and never feel like you’re missing out. It’s dessert that works as a smart snack, post-workout treat, or a date-night finale.
High Protein Low Carb Red Velvet Protein Cheesecake - Creamy, Rich, and Better for You
Ingredients
Method
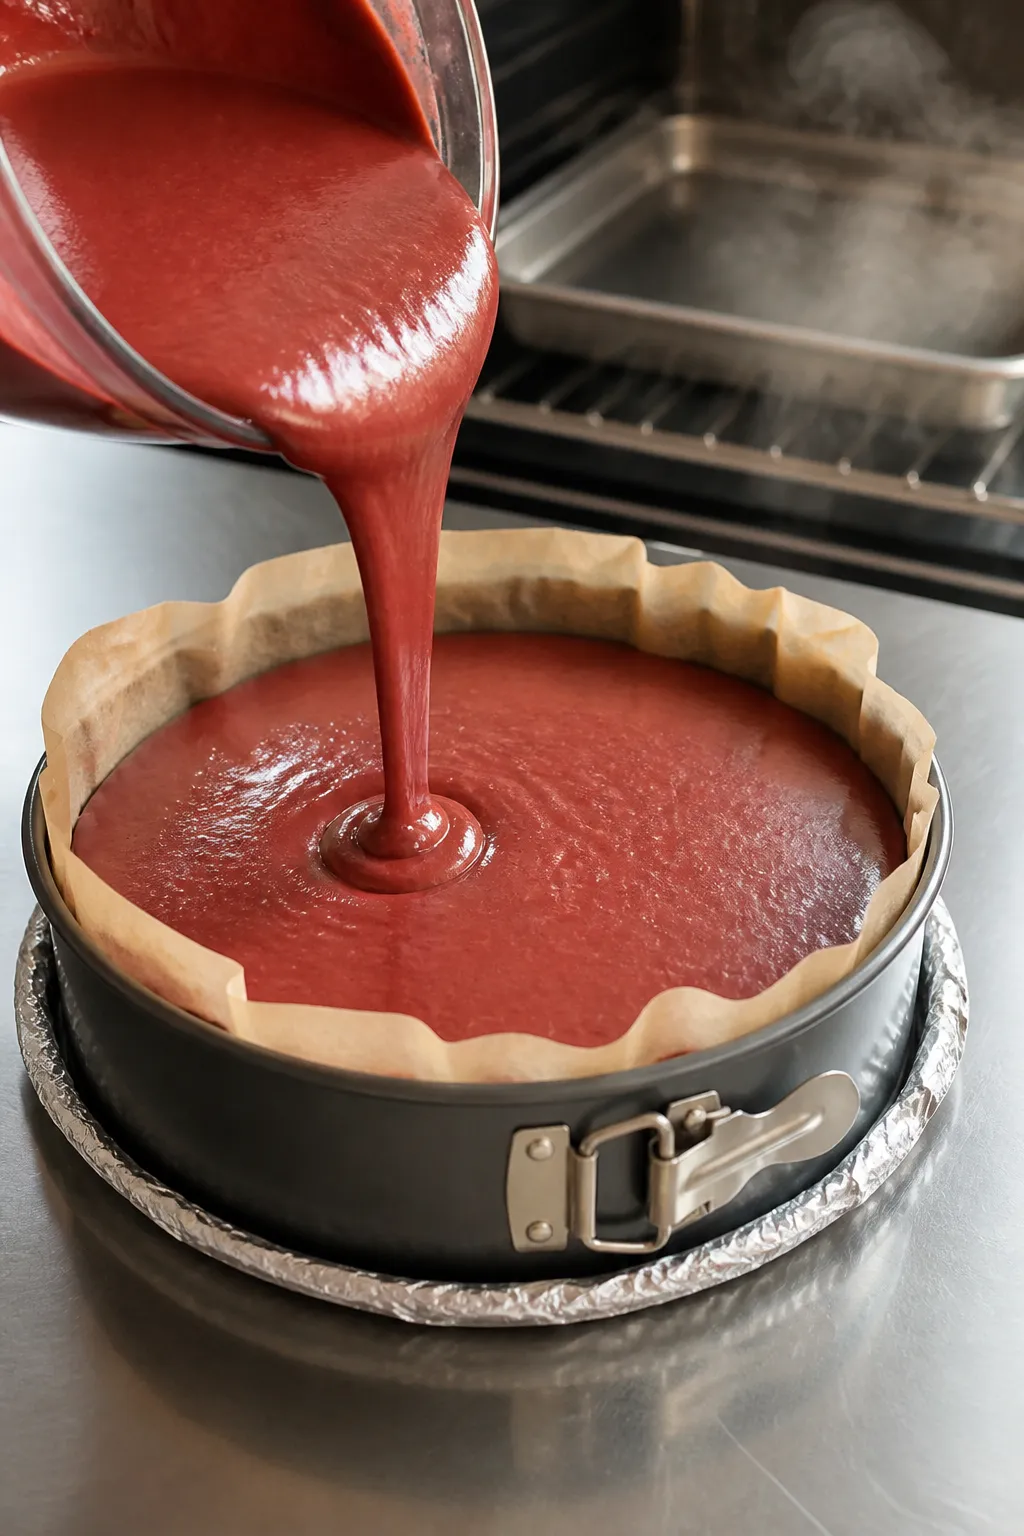
- Prep the pan: Line the bottom of a 9-inch springform pan with parchment and lightly grease the sides. Preheat oven to 300°F (150°C). Place a pan of hot water on the lower rack to create gentle humidity.
- Make the crust (optional): Mix almond flour, melted butter, sweetener, and salt. Press firmly into the bottom of the pan. Bake for 8–10 minutes until just set. Cool while you make the filling.
- Beat the base: In a large bowl, beat softened cream cheese until smooth with no lumps, about 1–2 minutes on medium speed. Scrape down the bowl.
- Add yogurt and sweetener: Mix in Greek yogurt and granulated sweetener until creamy. Avoid whipping too much air into the batter.
- Flavor it: Add cocoa powder, vanilla, buttermilk, vinegar, and salt. Mix until fully combined and smooth.
- Blend in protein powder: Sift in the protein powder to prevent clumps. Mix on low until just incorporated. If the batter is very thick, add 1–2 tablespoons milk.
- Add eggs: Beat in eggs one at a time on low speed. Stop as soon as the streaks disappear.
- Color: Stir in red food coloring until you reach a deep red velvet hue. Remember that baking slightly dulls the color.
- Fill and smooth: Pour the batter into the prepared pan. Tap the pan a few times on the counter to pop surface bubbles.
- Bake low and slow: Bake at 300°F (150°C) for 35–45 minutes. The edges should be set and the center should still have a slight jiggle, like set Jell-O.
- Cool gradually: Turn off the oven, crack the door, and let the cheesecake rest inside for 30 minutes. Then transfer to a rack and cool to room temperature.
- Chill to set: Cover and chill at least 6 hours, preferably overnight. This step ensures the best texture.
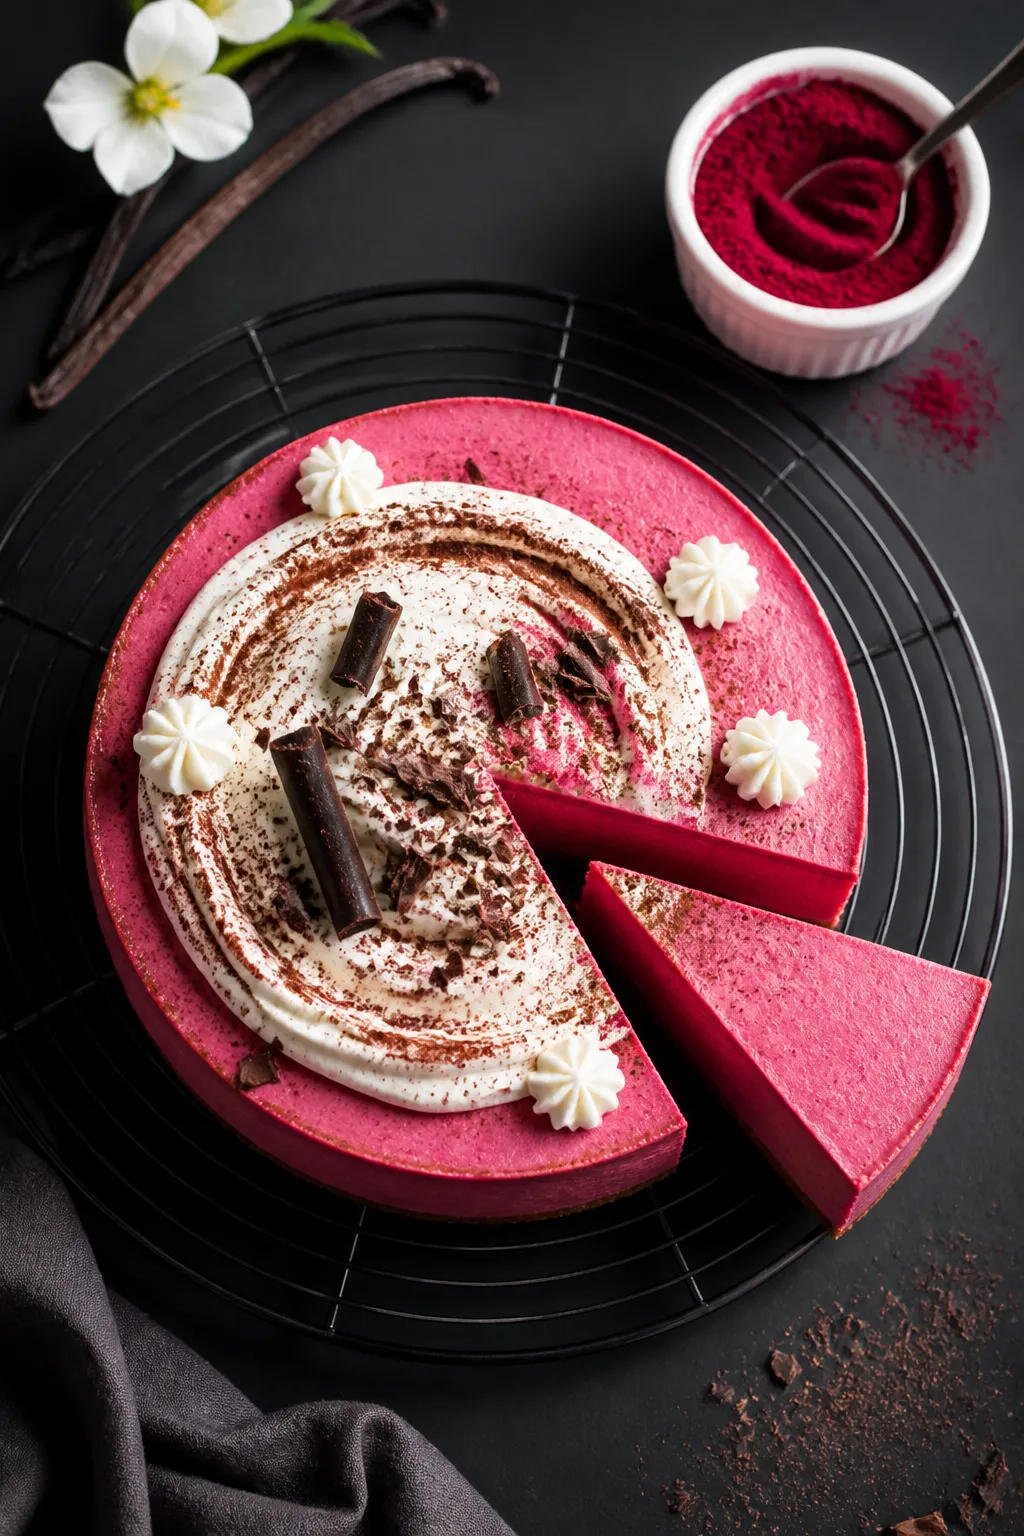
- Finish and serve: If you like, spread a thin layer of sweetened Greek yogurt or add a light dollop of whipped topping. Slice with a warm, clean knife for neat edges.

What Makes This Recipe So Good
- High protein, low carb: Each slice delivers a solid hit of protein with minimal carbs, thanks to Greek yogurt, light cream cheese, and whey or casein protein powder.
- Real cheesecake texture: No chalky bite, no rubbery feel. It’s baked low and slow for a smooth, classic finish.
- Balanced sweetness: Made with zero- or low-calorie sweetener so you get flavor without the sugar spike.
- Easy prep: Simple ingredients, one bowl for the filling, and a foolproof crust-free base or almond crust option.
- Make-ahead friendly: Chills beautifully and tastes even better the next day.
What You’ll Need
- Cream cheese: 16 oz (450 g) light or fat-free cream cheese, softened to room temperature.
- Greek yogurt: 1 cup (240 g) nonfat or 2% plain Greek yogurt for creaminess and protein.
- Protein powder: 1/2 to 3/4 cup (40–60 g) vanilla or unflavored whey, casein, or a whey/casein blend.
Choose a brand you like the taste of.
- Sweetener: 1/2 to 3/4 cup granulated erythritol, allulose, or a blend. Adjust to taste.
- Cocoa powder: 2 tablespoons unsweetened natural cocoa for that classic red velvet hint of chocolate.
- Eggs: 3 large eggs at room temperature to bind and smooth out the filling.
- Vanilla extract: 1 1/2 teaspoons for warmth and depth.
- Buttermilk or milk: 2 tablespoons. Buttermilk adds subtle tang like traditional red velvet; almond milk works too.
- Red food coloring: 1–2 teaspoons gel or 1–2 tablespoons liquid, depending on the brand and how vibrant you want it.
- Vinegar: 1 teaspoon white or apple cider vinegar to brighten the red velvet flavor.
- Salt: A pinch to balance sweetness.
- Optional almond crust: 1 1/2 cups almond flour, 2 tablespoons melted butter or coconut oil, 2 tablespoons granulated sweetener, pinch of salt.
- Optional topping: Light whipped topping or a thin layer of Greek yogurt sweetened with a little sweetener and vanilla.
Instructions
- Prep the pan: Line the bottom of a 9-inch springform pan with parchment and lightly grease the sides.
Preheat oven to 300°F (150°C). Place a pan of hot water on the lower rack to create gentle humidity.
- Make the crust (optional): Mix almond flour, melted butter, sweetener, and salt. Press firmly into the bottom of the pan.
Bake for 8–10 minutes until just set. Cool while you make the filling.
- Beat the base: In a large bowl, beat softened cream cheese until smooth with no lumps, about 1–2 minutes on medium speed. Scrape down the bowl.
- Add yogurt and sweetener: Mix in Greek yogurt and granulated sweetener until creamy.
Avoid whipping too much air into the batter.
- Flavor it: Add cocoa powder, vanilla, buttermilk, vinegar, and salt. Mix until fully combined and smooth.
- Blend in protein powder: Sift in the protein powder to prevent clumps. Mix on low until just incorporated.
If the batter is very thick, add 1–2 tablespoons milk.
- Add eggs: Beat in eggs one at a time on low speed. Stop as soon as the streaks disappear.
- Color: Stir in red food coloring until you reach a deep red velvet hue. Remember that baking slightly dulls the color.
- Fill and smooth: Pour the batter into the prepared pan.
Tap the pan a few times on the counter to pop surface bubbles.
- Bake low and slow: Bake at 300°F (150°C) for 35–45 minutes. The edges should be set and the center should still have a slight jiggle, like set Jell-O.
- Cool gradually: Turn off the oven, crack the door, and let the cheesecake rest inside for 30 minutes. Then transfer to a rack and cool to room temperature.
- Chill to set: Cover and chill at least 6 hours, preferably overnight.
This step ensures the best texture.
- Finish and serve: If you like, spread a thin layer of sweetened Greek yogurt or add a light dollop of whipped topping. Slice with a warm, clean knife for neat edges.
Keeping It Fresh
- Refrigerate: Store covered in the fridge for 5–6 days. Keep it tightly wrapped to prevent drying out or absorbing fridge odors.
- Freeze: Slice, wrap each piece in plastic, then foil, and freeze for up to 2 months.
Thaw overnight in the fridge.
- Best texture window: Days 2–4 are peak creaminess. The flavors meld and the structure fully sets.
Health Benefits
- Protein for satiety: The combo of Greek yogurt, cream cheese, and protein powder keeps you fuller longer and supports muscle recovery.
- Lower carbs, steady energy: Using non-nutritive sweetener reduces sugar spikes, making it friendlier for low-carb approaches.
- Better fats, fewer calories: Light cream cheese and optional almond crust help keep calories in check without losing flavor.
- Calcium and probiotics: Greek yogurt provides calcium, and if your yogurt is cultured post-pasteurization, you may get some beneficial bacteria.
What Not to Do
- Don’t overmix: Too much air causes cracks and a spongy texture. Mix on low and stop when combined.
- Don’t skip room temperature dairy: Cold ingredients clump, leading to lumps and uneven baking.
- Don’t overbake: If the center is fully set in the oven, it will be dry when cooled.
Pull it while it still jiggles slightly.
- Don’t use harsh heat: Baking at high temps risks curdling and cracking. Gentle heat is key.
- Don’t overload with cocoa: Too much cocoa makes the cheesecake dense and bitter, drowning the red velvet vibe.
Alternatives
- No-crust option: Skip the almond crust entirely for the lowest-carb route. Line with parchment and bake as directed.
- Different protein powders: Casein yields a thicker, custard-like texture.
Whey gives a lighter bite. A 50/50 blend often hits the sweet spot.
- Natural coloring: Use beet powder (1–2 teaspoons) for a more natural red tone. Expect a subtler color and a very mild earthy note.
- Dairy tweaks: Swap part of the cream cheese for fat-free cottage cheese blended smooth.
It bumps protein even higher while keeping calories down.
- Sweeteners: Allulose gives the smoothest texture. Erythritol is crisper but can crystallize slightly; cutting it with allulose helps.
- Mini cheesecakes: Portion into a lined muffin tin and bake 16–20 minutes. Great for meal prep or parties.
FAQ
How much protein is in a slice?
It depends on your protein powder and whether you use a crust.
With light cream cheese, nonfat Greek yogurt, and a whey/casein blend, you can expect around 12–18 grams per slice when cut into 10 servings.
Can I make it without food coloring?
Yes. The flavor won’t change. If you still want a red hue without artificial dye, try beet powder.
Or skip the color and enjoy a “chocolate velvet” style cheesecake.
Why did my cheesecake crack?
Cracks usually come from overmixing, overbaking, or sudden temperature changes. Mix on low, bake at 300°F (150°C), use a steamy oven environment, and cool gradually with the door cracked.
What protein powder works best?
A whey/casein blend gives the most traditional cheesecake texture. Pure whey works but can be a bit lighter.
Pure casein runs thicker and richer. Choose a flavor you enjoy, ideally vanilla or unflavored.
Can I use regular sugar?
You can, but it won’t be low carb. If you prefer sugar, use 1/2 to 3/4 cup and bake as directed.
For a lower-carb option with a similar taste, try allulose or a monk fruit blend.
How do I know when it’s done?
Look for set edges and a 2–3 inch jiggly center. If you gently shake the pan and it ripples like set gelatin, it’s ready. It will firm up fully as it cools and chills.
Can I make it gluten-free?
Yes.
The base recipe is naturally gluten-free when you skip a traditional graham crust. If you use the almond crust, it’s also gluten-free. Just check your protein powder and add-ins to be safe.
What pan can I use if I don’t have a springform?
Use a deep 8- or 9-inch cake pan lined with parchment up the sides.
Chill well, then lift out using the parchment sling. Slice carefully.
Wrapping Up
This High Protein Low Carb Red Velvet Protein Cheesecake gives you classic dessert vibes with smarter macros. It’s smooth, gently chocolatey, and sweet without being heavy.
Keep a few slices in the fridge for a ready-to-go treat that actually supports your goals. Whether it’s a weekend bake or weekday prep, this recipe proves you don’t have to choose between delicious and nutritious.
Printable Recipe Card
Want just the essential recipe details without scrolling through the article? Get our printable recipe card with just the ingredients and instructions.