High Protein Vanilla Bean Pudding – Creamy, Simple, and Satisfying
If you’re craving something sweet that still supports your goals, this high protein vanilla bean pudding hits the mark. It’s thick, creamy, and tastes like classic vanilla custard—without the fussy steps. You can whip it up with basic ingredients you likely have on hand, and it sets into a silky dessert you’ll want on repeat.
FREE 7-Day Easy Dinner Reset
Get 7 healthy, family-friendly dinners complete with recipes and simple meal plans delivered straight to your inbox.
It’s great for meal prep, an afternoon pick-me-up, or a light dessert after dinner. Best of all, it’s flexible, so you can tweak the sweetness, texture, and toppings to match your mood.
Ingredients
Method
- Whisk the dry base: In a medium saucepan (off heat), whisk cornstarch, protein powder, and salt until no lumps remain. This helps the starch and protein disperse evenly.
- Add the liquid: Slowly pour in the milk, whisking constantly to form a smooth mixture. Make sure there are no dry pockets at the bottom.
- Sweeten and flavor: Whisk in the maple syrup or sweetener and the vanilla bean paste (or seeds/extract). Start with the lower amount of sweetener; you can adjust later.
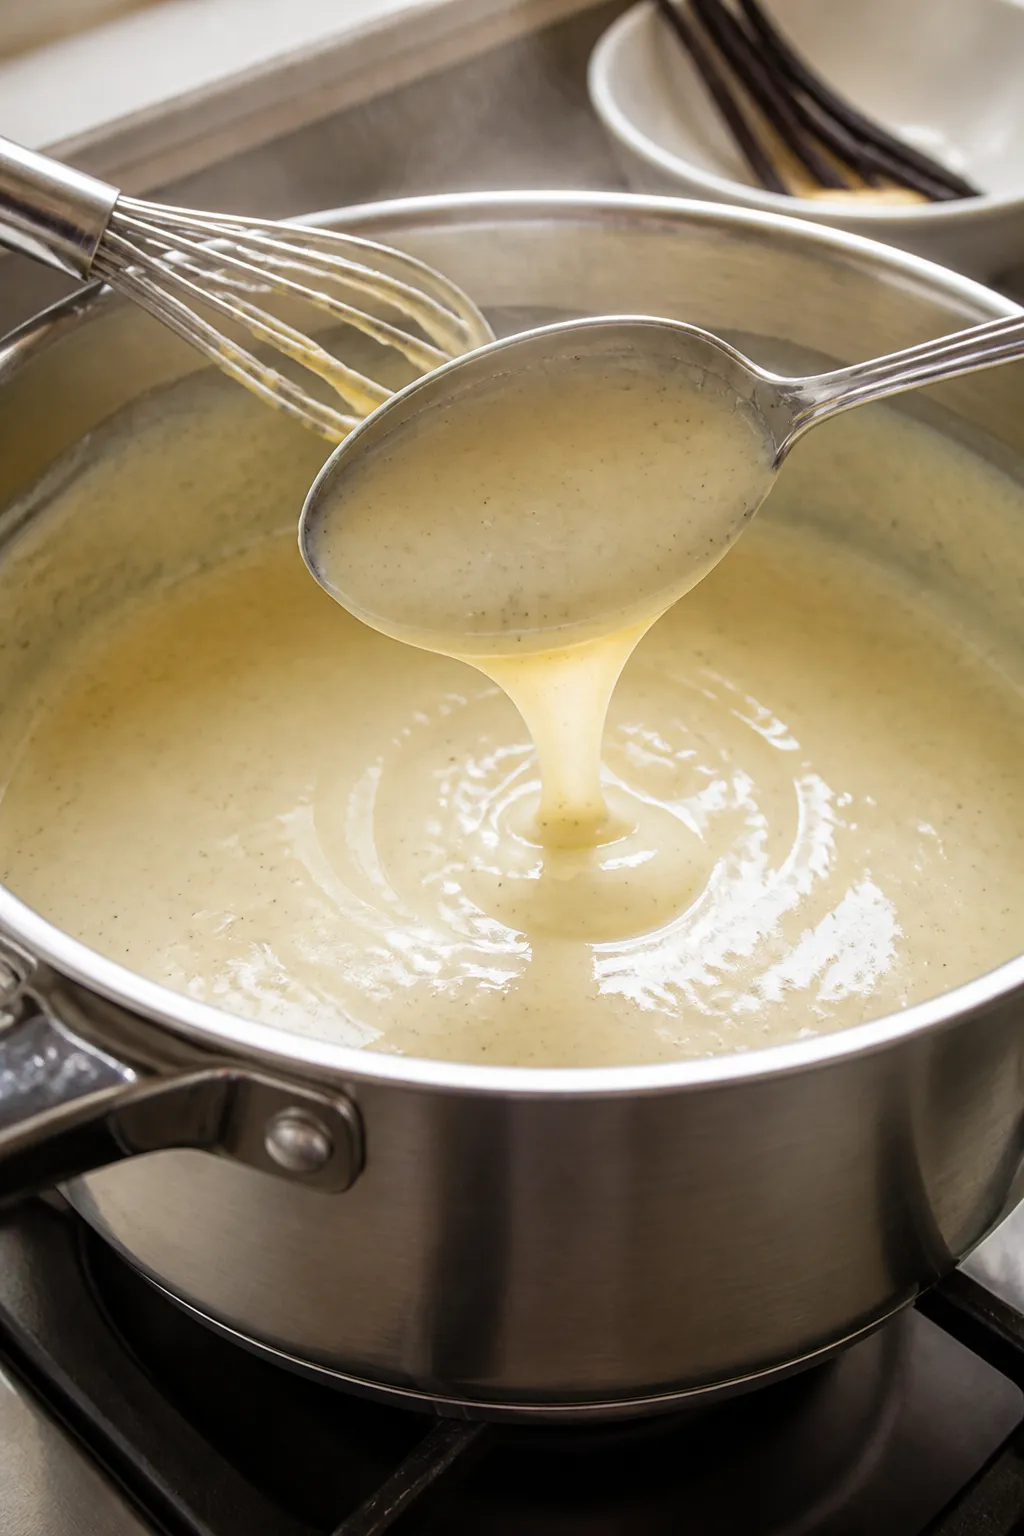
- Cook until thick: Place the pan over medium heat. Cook, whisking often at first and constantly as it warms, until the mixture comes to a gentle bubble and thickens, 5–8 minutes. It should coat the back of a spoon.
- Remove from heat and enrich: Take the pan off the heat. If using butter or coconut cream, whisk it in until glossy. This step adds body and a more custard-like finish.
- Temper in the yogurt: Let the pudding cool for 3–5 minutes so it’s hot but not steaming. Whisk in the Greek yogurt until fully smooth. This keeps the yogurt from curdling and preserves its protein.
- Taste and adjust: Check sweetness and vanilla. Add another splash of vanilla or a touch more sweetener if needed. If it’s too thick, whisk in a tablespoon or two of milk.
- Strain for silkiness (optional): For an ultra-smooth texture, pass the pudding through a fine-mesh sieve into a bowl or large measuring cup.
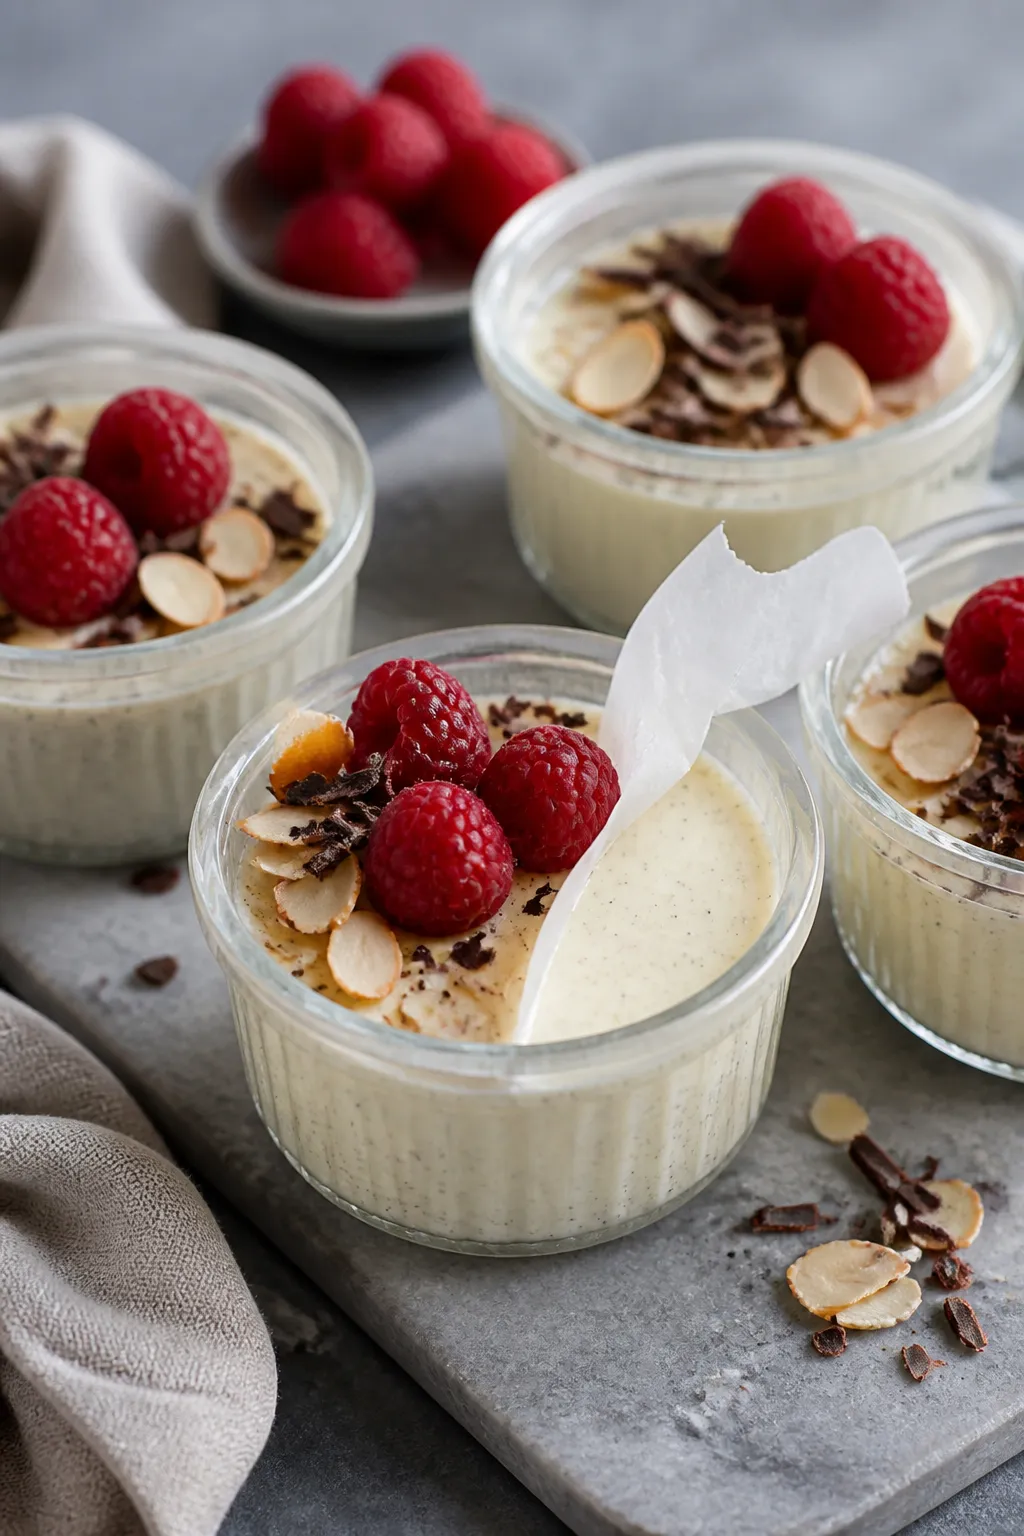
- Portion and chill: Divide into 4–6 ramekins or jars. Press a small piece of parchment or plastic wrap directly onto the surface to prevent a skin. Chill at least 2 hours, or until set.
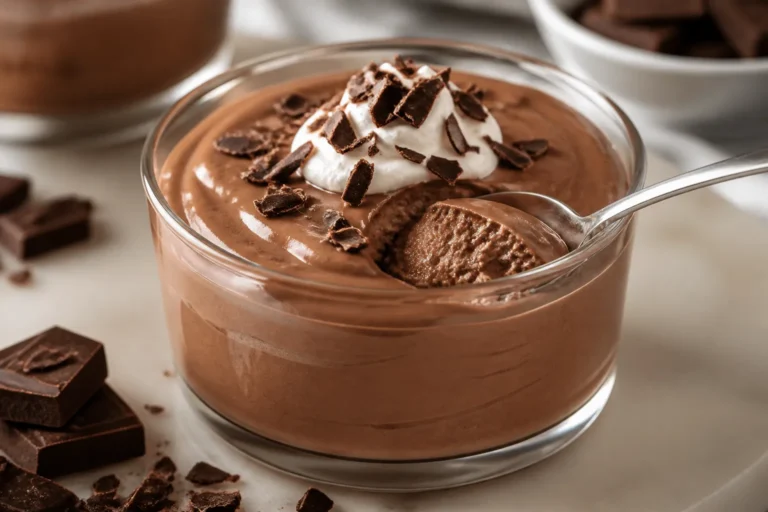
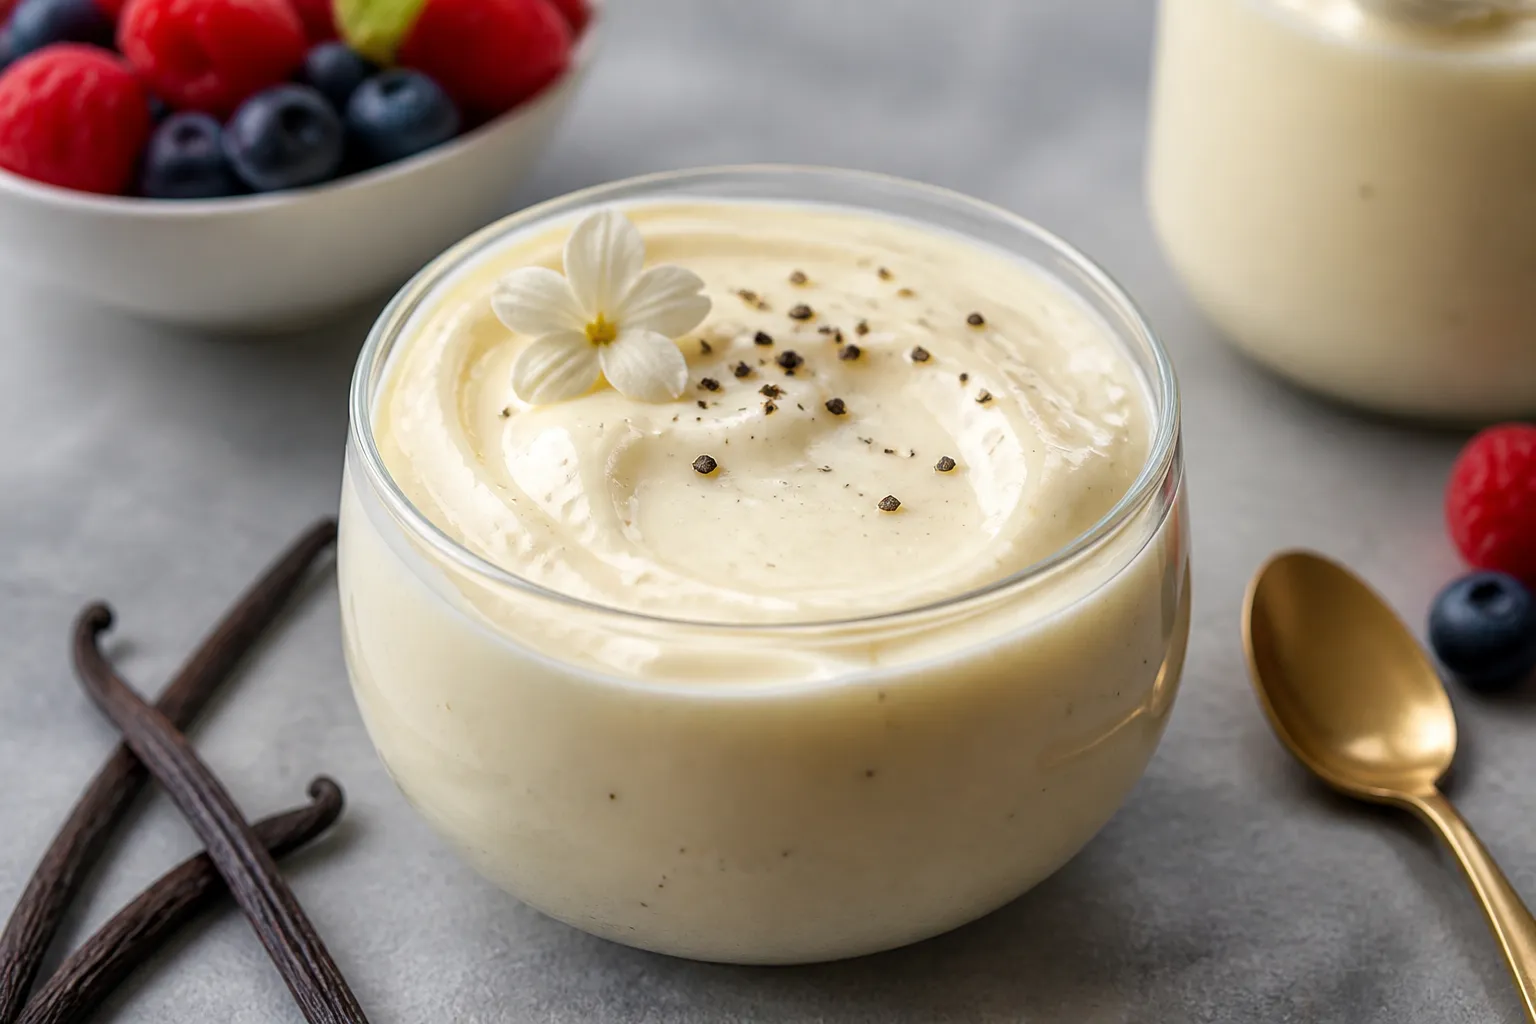
- Serve: Top with berries, nuts, or a sprinkle of dark chocolate. Enjoy cold.
What Makes This Recipe So Good
- Balanced and satisfying: Each serving packs a solid dose of protein to keep you full and energized.
- Real vanilla flavor: Vanilla bean paste or scraped vanilla beans give it that true, bakery-style taste.
- No baking needed: A quick stovetop simmer is all it takes. No eggs to temper and no oven to heat.
- Make-ahead friendly: It sets well in the fridge and keeps its smooth texture for days.
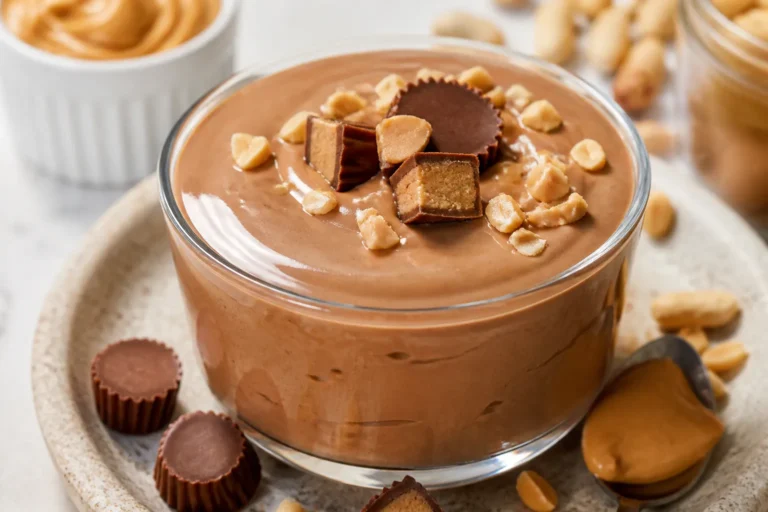
- Versatile base: Add fruit, nuts, or chocolate shavings, or swap milks to adjust creaminess.
Ingredients
- 2 cups unsweetened milk of choice (dairy or non-dairy; whole milk or soy milk give the creamiest result)
- 1 cup plain Greek yogurt (2% or whole for extra creaminess)
- 2 scoops vanilla or unflavored whey or plant-based protein powder (about 50–60 g total)
- 3 tablespoons cornstarch (or 2 tablespoons cornstarch + 1 tablespoon instant clear gelatin for extra set)
- 3–4 tablespoons maple syrup, honey, or granulated sweetener of choice, to taste
- 1–2 teaspoons vanilla bean paste (or seeds from 1 vanilla bean; or 2 teaspoons pure vanilla extract)
- Pinch of fine sea salt
- Optional: 1 tablespoon unsalted butter or 2 tablespoons coconut cream for a richer finish
- Optional toppings: fresh berries, toasted almonds, cacao nibs, shaved dark chocolate, or a dusting of cinnamon
Instructions
- Whisk the dry base: In a medium saucepan (off heat), whisk cornstarch, protein powder, and salt until no lumps remain.
This helps the starch and protein disperse evenly.
- Add the liquid: Slowly pour in the milk, whisking constantly to form a smooth mixture. Make sure there are no dry pockets at the bottom.
- Sweeten and flavor: Whisk in the maple syrup or sweetener and the vanilla bean paste (or seeds/extract). Start with the lower amount of sweetener; you can adjust later.
- Cook until thick: Place the pan over medium heat.
Cook, whisking often at first and constantly as it warms, until the mixture comes to a gentle bubble and thickens, 5–8 minutes. It should coat the back of a spoon.
- Remove from heat and enrich: Take the pan off the heat. If using butter or coconut cream, whisk it in until glossy.
This step adds body and a more custard-like finish.
- Temper in the yogurt: Let the pudding cool for 3–5 minutes so it’s hot but not steaming. Whisk in the Greek yogurt until fully smooth. This keeps the yogurt from curdling and preserves its protein.
- Taste and adjust: Check sweetness and vanilla.
Add another splash of vanilla or a touch more sweetener if needed. If it’s too thick, whisk in a tablespoon or two of milk.
- Strain for silkiness (optional): For an ultra-smooth texture, pass the pudding through a fine-mesh sieve into a bowl or large measuring cup.
- Portion and chill: Divide into 4–6 ramekins or jars. Press a small piece of parchment or plastic wrap directly onto the surface to prevent a skin.
Chill at least 2 hours, or until set.
- Serve: Top with berries, nuts, or a sprinkle of dark chocolate. Enjoy cold.
Storage Instructions
- Refrigerator: Cover tightly and store for up to 4 days. Keep the wrap touching the surface to prevent a skin.
- Make-ahead: Portion into single-serve jars for easy snacks.
Add toppings right before eating to keep them crisp.
- Freezer: Not recommended; the texture can turn grainy once thawed.
- Refresh: If the pudding firms up too much, whisk in a splash of milk before serving.
Why This is Good for You
- High-quality protein: Greek yogurt and protein powder team up to support muscle repair and help curb hunger between meals.
- Balanced energy: A mix of protein, modest carbs, and optional healthy fats keeps you satisfied without a sugar crash.
- Calcium and micronutrients: Dairy milk and yogurt contribute calcium and potassium. If using fortified non-dairy milk, you’ll still get a boost.
- Lower sugar, big flavor: Real vanilla adds a lot of flavor so you can keep sweeteners moderate.
Pitfalls to Watch Out For
- Lumpy texture: Whisk dry ingredients well before adding milk, then whisk constantly as it heats. Strain if needed.
- Overheating the yogurt: Adding yogurt to boiling-hot pudding can cause graininess.
Let it cool briefly first.
- Too runny or too firm: If it’s runny, cook a minute longer to activate the starch. If it’s too firm after chilling, whisk in a bit of milk before serving.
- Protein powder quirks: Some powders thicken more than others. Whey isolate tends to stay smooth; some plant blends can get pasty.
Adjust milk by 1–3 tablespoons as needed.
- Flavor fade: Taste after chilling. Cold mutes sweetness and vanilla, so you might want an extra dash of extract when serving.
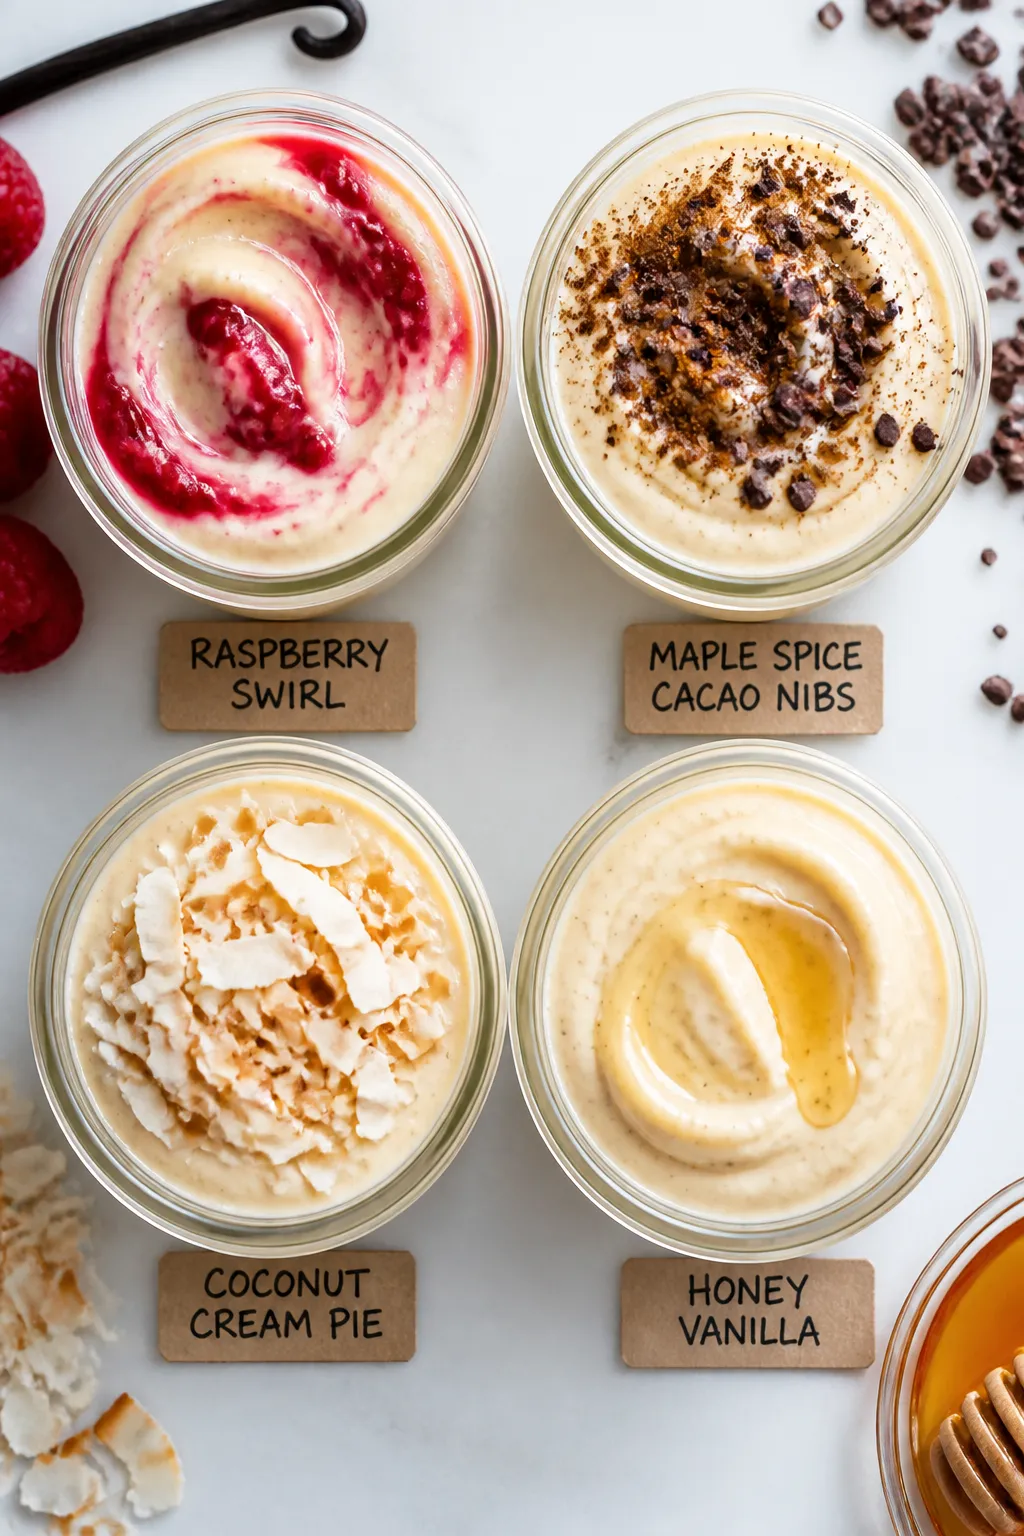
Variations You Can Try
- Vanilla almond crunch: Stir in 1/2 teaspoon almond extract and top with toasted sliced almonds and a drizzle of honey.
- Cookie crumble: Add crushed graham crackers or vanilla wafers right before serving for texture.
- Berry swirl: Spoon in a swirl of mashed raspberries or a quick chia jam for a tart contrast.
- Mocha twist: Mix 1 teaspoon instant espresso into the milk and finish with shaved dark chocolate.
- Coconut cream pie vibes: Use canned light coconut milk for part of the milk and top with toasted coconut flakes.
- Maple spice: Swap some sweetener for pure maple syrup and add a pinch of cinnamon and nutmeg.
- Lower lactose: Use lactose-free milk and whey isolate or a plant protein. Greek-style lactose-free yogurt works well, too.
FAQ
Can I make this without cornstarch?
Never Wonder What's For Dinner Again
Get 7 healthy, family-friendly dinners complete with recipes, grocery lists, and simple meal plans delivered straight to your inbox.
Yes.
You can use arrowroot starch in the same amount, but the texture will be slightly more gel-like. Another option is 1 tablespoon instant clear gelatin plus 1–2 tablespoons cornstarch to reduce total starch and still set well.
What protein powder works best?
Whey isolate or a high-quality whey blend delivers the smoothest, least chalky texture. If you prefer plant-based, look for a fine, neutral-tasting pea or pea-rice blend and add an extra splash of milk to prevent gumminess.
How much protein is in a serving?
It varies by brand, but with two scoops of protein powder and Greek yogurt, you’ll typically get about 18–25 grams of protein per serving if you divide the batch into four portions.
Can I use vanilla extract instead of vanilla bean paste?
Absolutely.
Use 2 teaspoons pure vanilla extract. The flavor is a touch lighter than paste or scraped beans, but still delicious.
Why did my pudding get a skin on top?
Exposure to air causes a skin to form as it cools. Press parchment or plastic wrap directly onto the surface before chilling to prevent it.
Can I make it dairy-free?
Yes.
Use a creamy non-dairy milk (soy or full-fat oat for best texture), a plant-based protein powder, and a thick dairy-free yogurt such as coconut or soy yogurt.
How do I fix a lumpy pudding?
Whisk vigorously while it cooks and strain through a fine-mesh sieve while still warm. A quick blitz with an immersion blender also smooths things out.
Is it okay to warm it up before eating?
You can gently warm it on low heat or in short microwave bursts, but the texture is best cold. Avoid overheating to keep it silky.
Final Thoughts
This high protein vanilla bean pudding brings together comfort and nutrition in one simple bowl.
It’s quick to make, easy to customize, and satisfying any time of day. With a few pantry staples and real vanilla, you get a dessert that tastes indulgent without going off track. Keep a few jars in the fridge, switch up the toppings, and you’ve got a reliable treat you’ll look forward to all week.
Printable Recipe Card
Want just the essential recipe details without scrolling through the article? Get our printable recipe card with just the ingredients and instructions.
Loved This Recipe?
If you're looking for more simple, healthy dinners your family will actually eat, grab my FREE 7-Day Easy Dinner Reset. You'll get 7 easy dinner recipes, simple grocery lists, and a done-for-you plan that takes the stress out of mealtime.