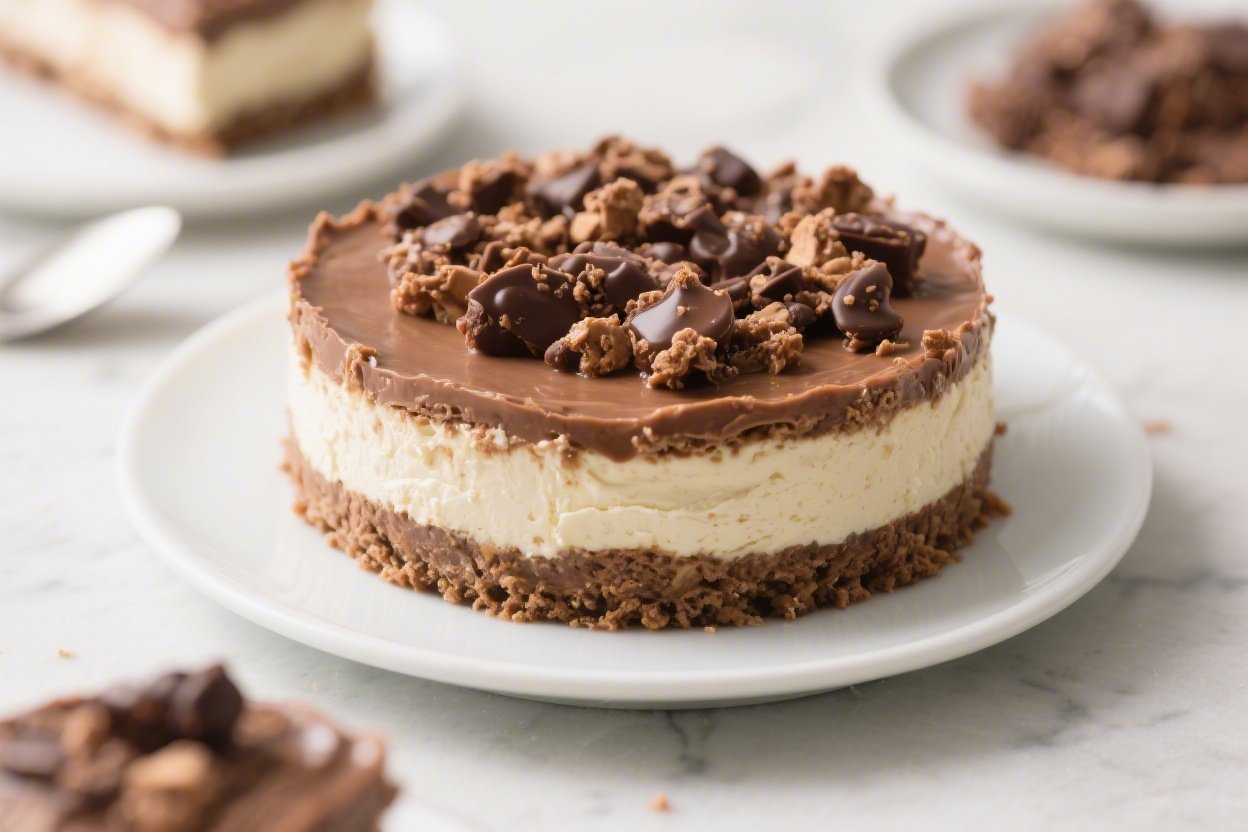
No Bake Cookie Dough Cheesecake – Creamy, Safe-To-Eat, and Crowd-Pleasing
This cheesecake hits all the cravings at once: creamy, rich, and loaded with soft, safe-to-eat cookie dough. There’s no oven, no water bath, and no stress. Just a buttery crust, a velvety cheesecake filling, and bites of chocolate chip cookie dough in every slice.
It’s the kind of dessert that looks impressive but comes together with simple steps and easy ingredients. If you love cookie dough, this might be your new go-to treat for birthdays, potlucks, or weeknight celebrations.
Ingredients
Method
- Prepare the pan. Line the bottom of a 9-inch springform pan with parchment paper. Lightly grease the sides for easier release.
- Make the crust. Stir graham crumbs, sugar, and salt with melted butter until the crumbs feel like wet sand. Press firmly into the pan, going slightly up the sides. Use a flat-bottomed cup to compact it well. Chill while you make the filling.
- Heat-treat the flour. Spread the flour on a baking sheet and bake at 350°F (175°C) for 5–7 minutes, or microwave in 15–20 second bursts, stirring, until it reaches 165°F (74°C). Let it cool completely. This step makes the flour safe to eat.
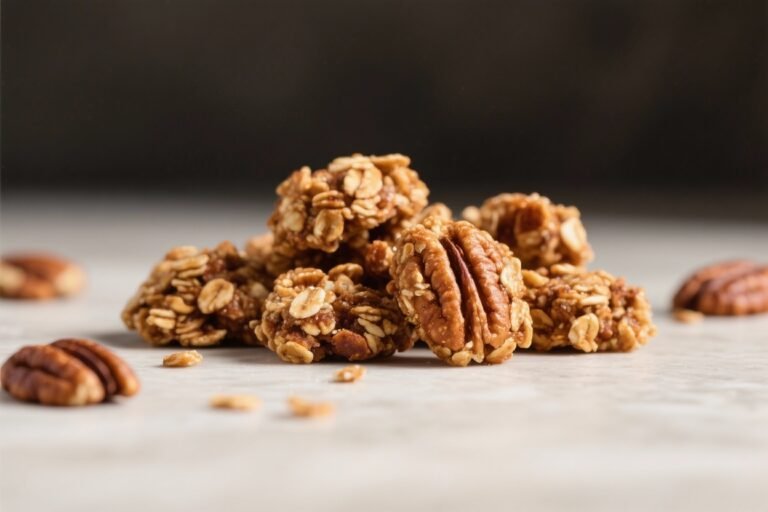
- Make the edible cookie dough. Beat softened butter with brown sugar and granulated sugar until creamy. Mix in milk, vanilla, and salt. Add cooled, heat-treated flour and mix just until combined. Fold in mini chocolate chips. If too stiff, add 1–2 teaspoons more milk. Roll half the dough into small marble-sized balls; crumble the rest into pea-sized chunks. Chill to firm up.
- Whip the cream. In a cold bowl, beat heavy cream to firm peaks. Set aside.
- Make the cheesecake base. In another bowl, beat cream cheese until smooth and fluffy, 1–2 minutes. Add powdered sugar, vanilla, and a pinch of salt. Beat until silky and lump-free.
- Fold it together. Gently fold the whipped cream into the cream cheese mixture in two additions. Stop as soon as it’s combined and airy. Fold in the crumbled cookie dough pieces (save the little dough balls for the top).
- Assemble. Spoon the filling onto the chilled crust and smooth the top. Press the reserved cookie dough balls across the surface. Sprinkle with extra chips if you like.
- Chill. Cover and refrigerate for at least 6 hours, preferably overnight. The longer chill helps it slice cleanly and hold its shape.
- Serve. Run a thin knife around the edge, release the ring, and slice with a warm, clean knife. Add whipped cream or a light chocolate drizzle if you want extra flair.
Overeating is a pattern. This helps you fix that problem. A quick reset for cravings, snacking, and “I’ll start tomorrow” moments.
Built for busy home cooks who want real-life structure. Simple steps that fit meal prep, family dinners, and late-night snack attacks.
What Makes This Special
This recipe brings together the best parts of cookie dough and cheesecake without turning on the oven. You’ll make an edible cookie dough that’s safe to eat, then fold chunks into a fluffy no-bake cheesecake.
The crust is buttery and crisp, which balances the smooth filling. It chills up nicely and slices clean, so it’s perfect for sharing. Plus, most of the ingredients are pantry staples, and the steps are beginner-friendly.
Ingredients
- For the Crust:
- 2 cups (200 g) graham cracker crumbs (or digestive biscuits)
- 1/2 cup (113 g) unsalted butter, melted
- 2 tablespoons granulated sugar
- Pinch of salt
- For the Edible Cookie Dough:
- 1 cup (120 g) all-purpose flour, heat-treated (see steps)
- 1/2 cup (113 g) unsalted butter, softened
- 1/2 cup (100 g) light brown sugar, packed
- 1/4 cup (50 g) granulated sugar
- 2 tablespoons milk (plus more as needed)
- 1 teaspoon vanilla extract
- 1/2 teaspoon fine salt
- 3/4 cup (135 g) mini chocolate chips
- For the Cheesecake Filling:
- 16 oz (450 g) cream cheese, room temperature
- 1 cup (240 ml) heavy whipping cream, cold
- 3/4 cup (90 g) powdered sugar
- 1 teaspoon vanilla extract
- Pinch of salt
- Optional Toppings:
- Whipped cream
- Chocolate drizzle or ganache
- Extra mini chocolate chips or cookie dough pieces
How to Make It
- Prepare the pan. Line the bottom of a 9-inch springform pan with parchment paper.
Lightly grease the sides for easier release.
- Make the crust. Stir graham crumbs, sugar, and salt with melted butter until the crumbs feel like wet sand. Press firmly into the pan, going slightly up the sides. Use a flat-bottomed cup to compact it well.
Chill while you make the filling.
- Heat-treat the flour. Spread the flour on a baking sheet and bake at 350°F (175°C) for 5–7 minutes, or microwave in 15–20 second bursts, stirring, until it reaches 165°F (74°C). Let it cool completely. This step makes the flour safe to eat.
- Make the edible cookie dough. Beat softened butter with brown sugar and granulated sugar until creamy.
Mix in milk, vanilla, and salt. Add cooled, heat-treated flour and mix just until combined. Fold in mini chocolate chips.
If too stiff, add 1–2 teaspoons more milk. Roll half the dough into small marble-sized balls; crumble the rest into pea-sized chunks. Chill to firm up.
- Whip the cream. In a cold bowl, beat heavy cream to firm peaks.
Set aside.
- Make the cheesecake base. In another bowl, beat cream cheese until smooth and fluffy, 1–2 minutes. Add powdered sugar, vanilla, and a pinch of salt. Beat until silky and lump-free.
- Fold it together. Gently fold the whipped cream into the cream cheese mixture in two additions.
Stop as soon as it’s combined and airy. Fold in the crumbled cookie dough pieces (save the little dough balls for the top).
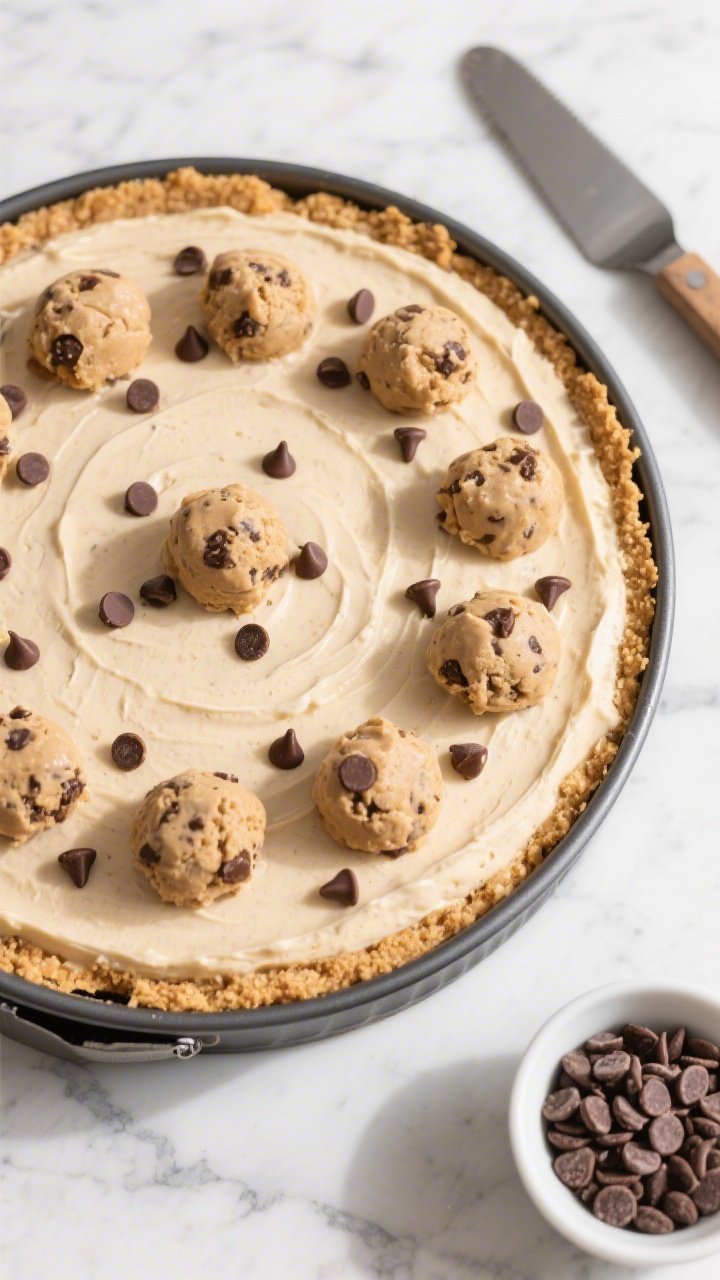
- Assemble. Spoon the filling onto the chilled crust and smooth the top. Press the reserved cookie dough balls across the surface.
Sprinkle with extra chips if you like.
- Chill. Cover and refrigerate for at least 6 hours, preferably overnight. The longer chill helps it slice cleanly and hold its shape.
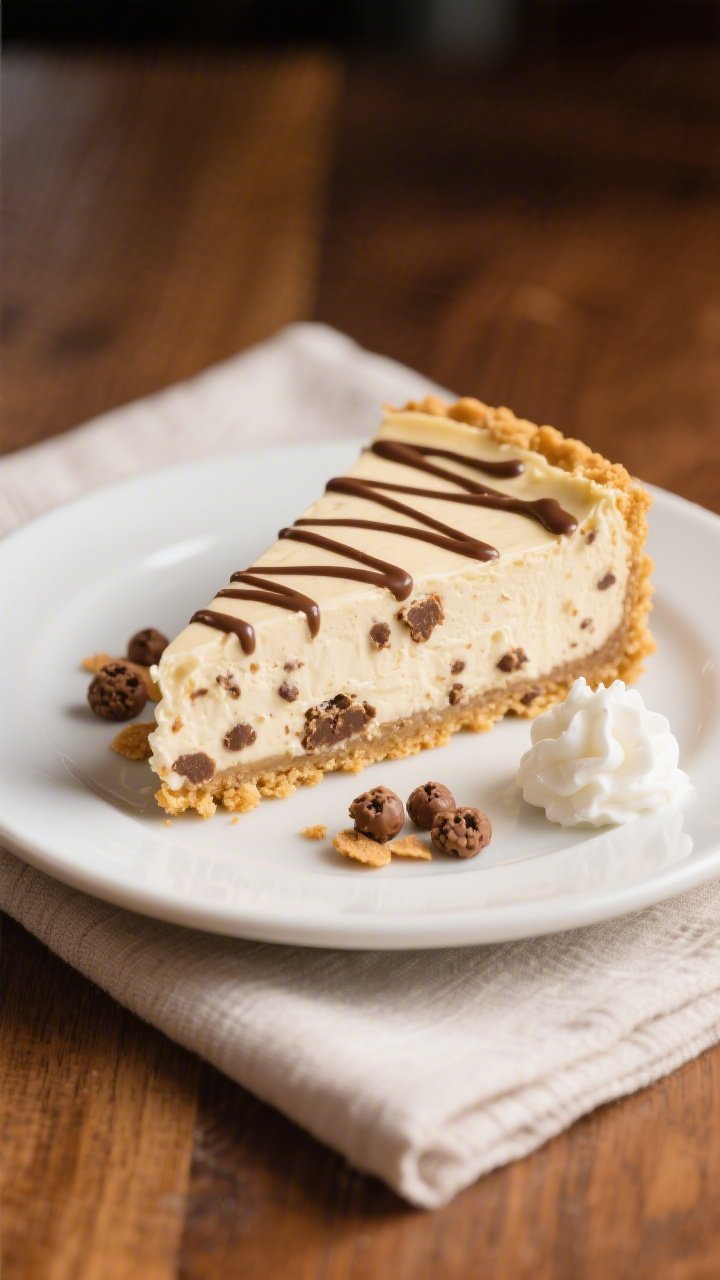
- Serve. Run a thin knife around the edge, release the ring, and slice with a warm, clean knife. Add whipped cream or a light chocolate drizzle if you want extra flair.
How to Store
Keep the cheesecake covered in the fridge for up to 4–5 days.
For the cleanest slices, chill well and wipe the knife between cuts. You can also freeze individual slices: wrap tightly and freeze for up to 2 months. Thaw in the fridge overnight before serving.
Avoid leaving it at room temperature for more than 2 hours.

Benefits of This Recipe
- No oven needed: Great for warm days or small kitchens.
- Safe-to-eat cookie dough: Heat-treated flour means you can enjoy it worry-free.
- Creamy yet stable: Whipped cream adds lightness, and the chill time sets it without gelatin.
- Make-ahead friendly: It tastes even better the next day.
- Flexible base: Swap the crust, change the chips, or drizzle with caramel or ganache.
What Not to Do
- Don’t skip heat-treating the flour. Raw flour isn’t safe to eat. Cool it before mixing.
- Don’t use warm cream cheese or warm whipped cream. Heat makes the filling loose and harder to set.
- Don’t overmix after adding whipped cream. Gentle folding keeps it airy and stable.
- Don’t rush the chill time. Less than 6 hours can lead to messy slices and a soft center.
- Don’t pack the crust too lightly. A firmly pressed crust prevents crumbling when you slice.
Alternatives
- Crust swaps: Use crushed chocolate wafers, Oreos (skip the added sugar), or Biscoff cookies for a spiced twist.
- Flavor twists: Stir in peanut butter chips, white chocolate chips, or chopped toffee instead of mini chips.
- Gluten-free: Use certified gluten-free cookies for the crust and a gluten-free flour blend for the dough. Still heat-treat the flour blend.
- Lighter version: Use Neufchâtel (reduced-fat cream cheese) and reduce the cookie dough mix-ins slightly.
The texture stays creamy.
- Mini cheesecakes: Make in a muffin tin with liners. Chill 3–4 hours. Great for portion control and parties.
- Ganache finish: Pour a thin layer of cooled chocolate ganache on top before chilling to set.
Adds a glossy finish and extra chocolate punch.
FAQ
Is the cookie dough safe to eat?
Yes. This recipe uses heat-treated flour and no raw eggs, so the dough is safe when prepared as directed. Make sure the flour cools after heat-treating before mixing.
Can I use store-bought edible cookie dough?
Absolutely.
Use about 1 to 1 1/2 cups. Roll some into tiny balls for the top and crumble the rest into the filling. Check sweetness, as some brands are very sweet—adjust the powdered sugar in the cheesecake by a tablespoon or two if needed.
My cheesecake didn’t set.
What went wrong?
Common reasons include under-whipped cream, overmixing after folding, warm ingredients, or not chilling long enough. Next time, whip the cream to firm peaks, fold gently, and chill at least 6 hours or overnight.
Can I make it without a springform pan?
Yes. Use a deep 9-inch pie dish or an 8×8-inch pan and serve as bars.
Line with parchment for easy lifting. Slices might be smaller but just as tasty.
Can I reduce the sweetness?
Cut the powdered sugar in the filling to 1/2 cup and use dark chocolate chips in the dough. You can also choose a less sweet crust, like digestive biscuits, and skip extra toppings.
How do I heat-treat flour in the microwave?
Place flour in a microwave-safe bowl.
Heat for 60–90 seconds total, stopping every 15–20 seconds to stir. Use an instant-read thermometer to ensure it reaches 165°F (74°C). Let it cool before adding to the dough.
Can I make this ahead?
Yes.
This dessert is ideal for making a day in advance. It actually tastes better after a full overnight chill because the flavors meld and the texture firms up.
What kind of cream cheese should I use?
Use full-fat, brick-style cream cheese for the best texture and flavor. Avoid whipped tubs, which have more air and stabilizers and can affect the set.
Wrapping Up
No Bake Cookie Dough Cheesecake is pure comfort in a chilled slice.
With a safe, soft cookie dough and a fluffy cheesecake base, it checks every dessert box without a single minute in the oven. Keep the steps simple, give it time to chill, and you’ll have a showstopper that’s easy to share and even easier to love. Once you try it, you’ll want to keep the ingredients on hand for the next craving.
Printable Recipe Card
Want just the essential recipe details without scrolling through the article? Get our printable recipe card with just the ingredients and instructions.