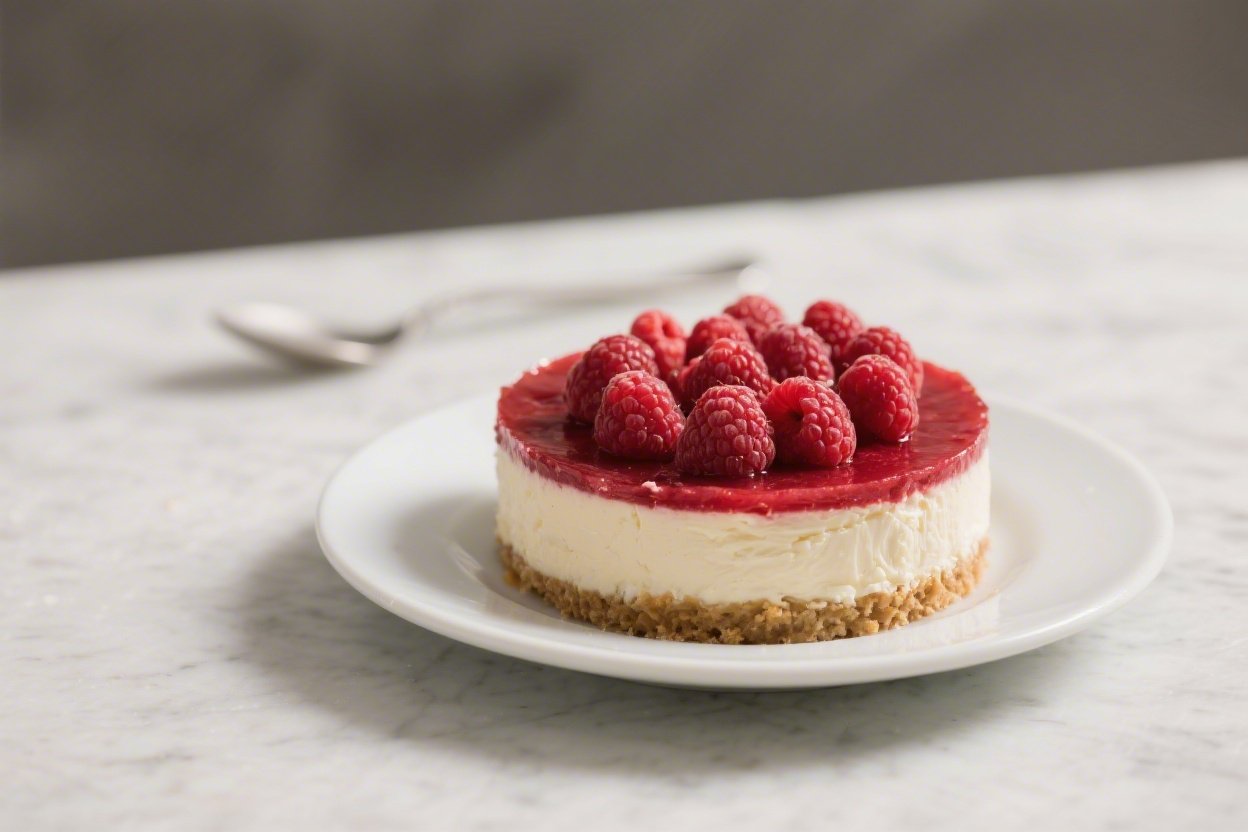
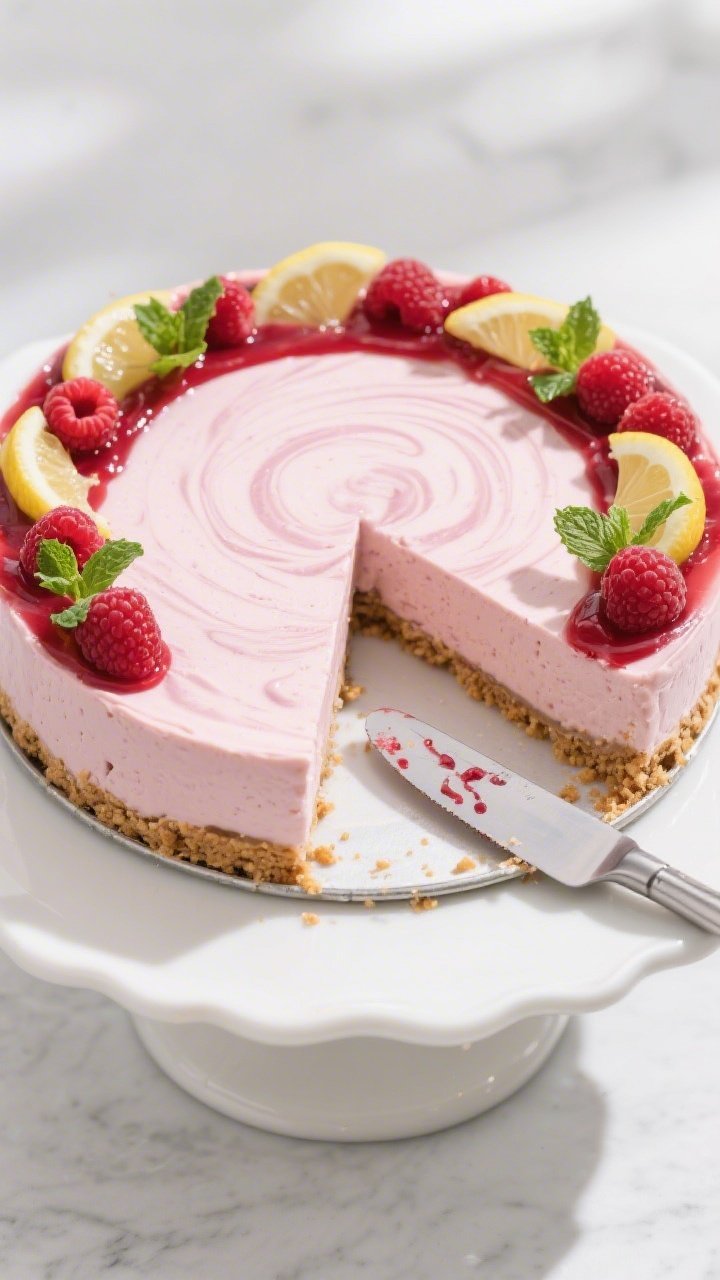
No Bake Raspberry Cheesecake – A Creamy, Fresh, and Easy Dessert
No Bake Raspberry Cheesecake is the kind of dessert you make when you want something special without turning on the oven. It’s silky, tangy, and not too sweet, with a bright raspberry flavor in every bite. The crust comes together in minutes, and the filling is smooth and stable without baking.
It sets up beautifully in the fridge, making it perfect for parties or a make-ahead treat. If you love cheesecake but want something lighter and fuss-free, this version will quickly become a favorite.
Ingredients
Method
- Prep the pan: Line the bottom of a 9-inch (23 cm) springform pan with parchment. Lightly grease the sides if you like for easier release.
- Make the crust: In a bowl, mix graham crumbs, sugar, and salt. Stir in melted butter until the mixture feels like damp sand and clumps when pressed.
- Press and chill: Firmly press the crust into the bottom of the pan and slightly up the sides. Use the bottom of a measuring cup to compact it. Chill for 15–20 minutes.
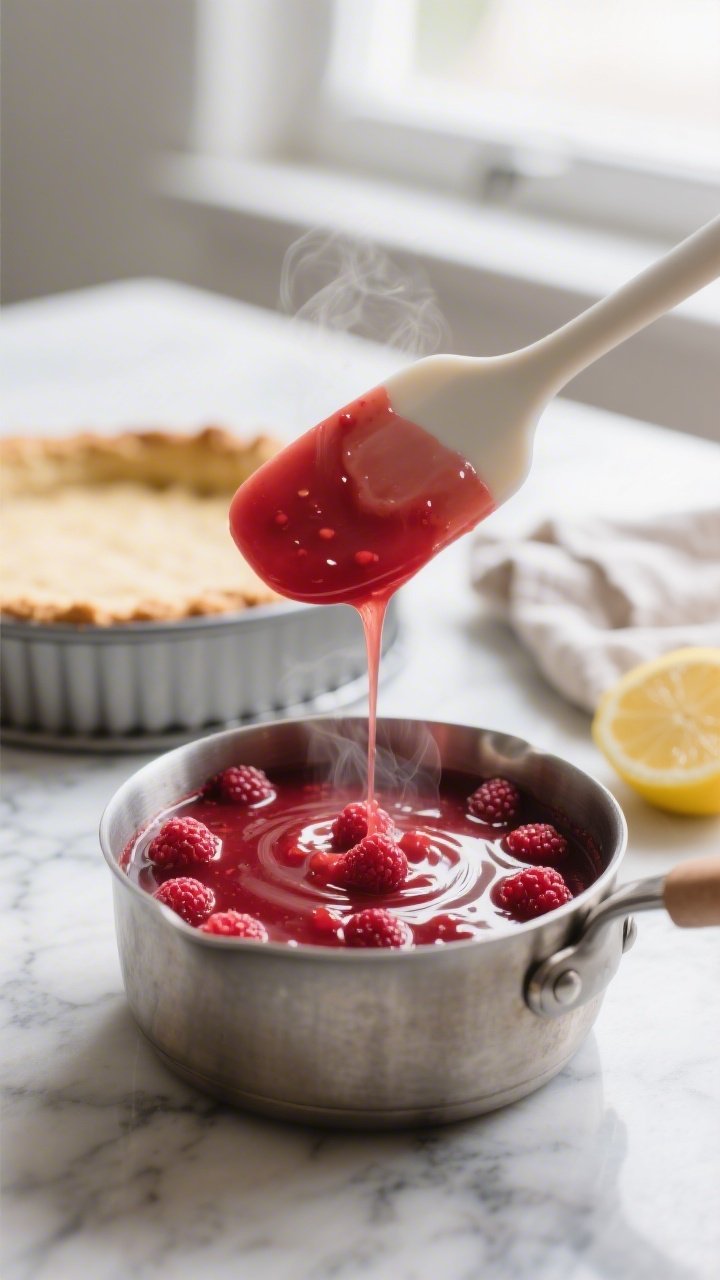
- Cook the raspberry sauce: In a small saucepan, add 1 1/2 cups raspberries, sugar, and lemon juice. Cook over medium heat, stirring, until the berries break down and release juices, about 5 minutes.
- Thicken the sauce: Stir in the cornstarch slurry and cook 1–2 minutes until glossy and thick. Remove from heat, stir in vanilla if using, and let cool to room temperature. Reserve the remaining 1/2 cup raspberries for folding or garnish.
- Beat the cream cheese: In a large bowl, beat cream cheese until very smooth, about 2 minutes. Scrape the bowl. Add powdered sugar, vanilla, lemon zest, and lemon juice. Beat until creamy and no lumps remain.
- Whip the cream: In a separate cold bowl, whip the heavy cream to stiff peaks. Do not overbeat; it should be firm but still silky.
- Combine gently: Fold one-third of the whipped cream into the cream cheese to lighten it. Fold in the remaining whipped cream until no streaks remain.
- Flavor the filling: Fold in 1/3 to 1/2 cup of the cooled raspberry sauce to create a light ripple. You can keep it marbled or fully mix for a pink filling. Avoid overmixing.
- Assemble: Spoon the filling over the chilled crust. Smooth the top with an offset spatula.
- Top with sauce: Spread the remaining raspberry sauce over the top in a thin, even layer. Add a handful of the reserved raspberries on top if you like.
- Chill to set: Cover and refrigerate at least 6 hours, preferably overnight, until the cheesecake is firm and sliceable.
- Release and serve: Run a thin knife around the edge before unclipping the springform. Garnish with fresh raspberries, lemon slices, or mint. Slice with a hot, dry knife for clean cuts.
Overeating is a pattern. This helps you fix that problem. A quick reset for cravings, snacking, and “I’ll start tomorrow” moments.
Built for busy home cooks who want real-life structure. Simple steps that fit meal prep, family dinners, and late-night snack attacks.
What Makes This Special
- No oven needed: Perfect for warm days or busy schedules.
- Fresh raspberry flavor: Real raspberries in the sauce and topping for a natural, vibrant taste.
- Creamy but light texture: The combination of cream cheese and whipped cream creates a smooth, airy filling.
- Make-ahead friendly: Sets in the fridge and holds well, so you can prepare it a day in advance.
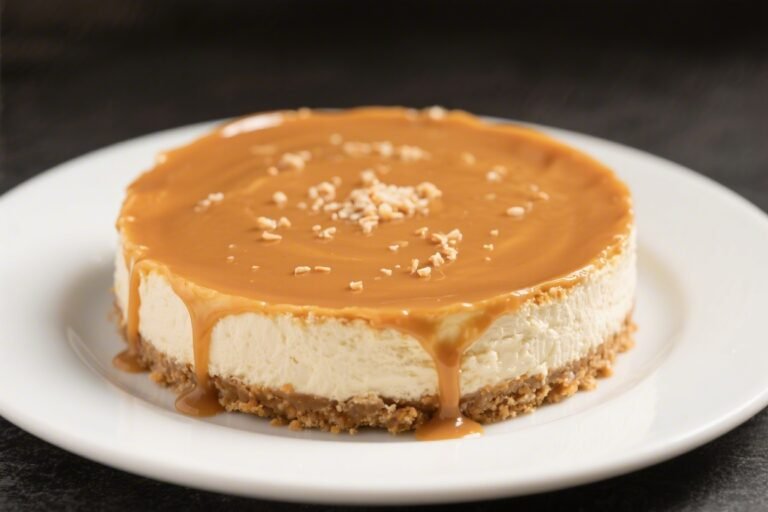
- Great presentation: A glossy raspberry topping makes it look bakery-worthy with minimal effort.
Ingredients
- For the crust:
- 2 cups (200 g) graham cracker crumbs or digestive biscuit crumbs
- 6 tablespoons (85 g) unsalted butter, melted
- 2 tablespoons granulated sugar (optional)
- Pinch of salt
- For the raspberry sauce and topping:
- 2 cups (250 g) fresh or frozen raspberries, divided
- 1/3 cup (65 g) granulated sugar
- 1 tablespoon lemon juice
- 2 teaspoons cornstarch mixed with 2 teaspoons cold water
- 1 teaspoon vanilla extract (optional)
- For the cheesecake filling:
- 16 oz (450 g) full-fat cream cheese, softened
- 3/4 cup (90 g) powdered sugar
- 1 teaspoon vanilla extract
- 1 tablespoon lemon zest (optional, but brightens flavor)
- 1 tablespoon lemon juice
- 1 cup (240 ml) cold heavy whipping cream
- To finish:
- 1 cup (125 g) fresh raspberries for garnish
- Thin lemon slices or mint leaves (optional)
Instructions
- Prep the pan: Line the bottom of a 9-inch (23 cm) springform pan with parchment. Lightly grease the sides if you like for easier release.
- Make the crust: In a bowl, mix graham crumbs, sugar, and salt.
Stir in melted butter until the mixture feels like damp sand and clumps when pressed.
- Press and chill: Firmly press the crust into the bottom of the pan and slightly up the sides. Use the bottom of a measuring cup to compact it. Chill for 15–20 minutes.
- Cook the raspberry sauce: In a small saucepan, add 1 1/2 cups raspberries, sugar, and lemon juice.
Cook over medium heat, stirring, until the berries break down and release juices, about 5 minutes.
- Thicken the sauce: Stir in the cornstarch slurry and cook 1–2 minutes until glossy and thick. Remove from heat, stir in vanilla if using, and let cool to room temperature. Reserve the remaining 1/2 cup raspberries for folding or garnish.
- Beat the cream cheese: In a large bowl, beat cream cheese until very smooth, about 2 minutes.
Scrape the bowl. Add powdered sugar, vanilla, lemon zest, and lemon juice. Beat until creamy and no lumps remain.
- Whip the cream: In a separate cold bowl, whip the heavy cream to stiff peaks.
Do not overbeat; it should be firm but still silky.
- Combine gently: Fold one-third of the whipped cream into the cream cheese to lighten it. Fold in the remaining whipped cream until no streaks remain.
- Flavor the filling: Fold in 1/3 to 1/2 cup of the cooled raspberry sauce to create a light ripple. You can keep it marbled or fully mix for a pink filling.
Avoid overmixing.
- Assemble: Spoon the filling over the chilled crust. Smooth the top with an offset spatula.
- Top with sauce: Spread the remaining raspberry sauce over the top in a thin, even layer. Add a handful of the reserved raspberries on top if you like.
- Chill to set: Cover and refrigerate at least 6 hours, preferably overnight, until the cheesecake is firm and sliceable.
- Release and serve: Run a thin knife around the edge before unclipping the springform.
Garnish with fresh raspberries, lemon slices, or mint. Slice with a hot, dry knife for clean cuts.
Storage Instructions
- Refrigerate: Keep covered and chilled for up to 4 days. The crust stays crisper if stored in a covered cake container rather than plastic wrap pressed on top.
- Freeze: Freeze slices on a tray until solid, then wrap in plastic and foil.
Store up to 1 month. Thaw in the fridge overnight for best texture.
- Avoid condensation: When bringing to room temp for serving, uncover briefly to prevent excess moisture on the surface.

Health Benefits
- Raspberries are nutrient-dense: They provide fiber, vitamin C, and antioxidants that support immune health and digestion.
- Portion control is easy: A rich dessert served in modest slices still satisfies, helping you enjoy dessert without overdoing it.
- Lower sugar tweaks: You can reduce added sugar slightly or use a no-added-sugar crumb to tailor sweetness to your needs.
- Balanced fats: Full-fat dairy creates a satisfying texture, which can help curb cravings with a smaller serving.
What Not to Do
- Don’t skip softening the cream cheese: Cold cream cheese leads to lumps that never fully blend out.
- Don’t overwhip the cream: Overbeaten cream turns grainy and can cause the filling to split.
- Don’t add warm sauce to the filling: It will thin the mixture and prevent proper setting.
- Don’t rush the chill time: Less than 6 hours often means a soft center that won’t slice cleanly.
- Don’t forget the salt in the crust: A tiny pinch sharpens flavor and balances sweetness.
Recipe Variations
- Chocolate crust: Use chocolate wafer cookies or Oreos (no filling removal needed) for a deeper, brownie-like base.
- Lemon-raspberry swirl: Add extra lemon zest to the filling and keep the raspberry sauce as a bold swirl rather than a full top layer.
- Greek yogurt boost: Replace 4 oz (115 g) cream cheese with thick Greek yogurt for a tangier, slightly lighter filling.
- Nutty crunch: Stir 1/3 cup finely chopped toasted almonds or pistachios into the crust for texture.
- Berry switch: Swap raspberries for strawberries, blackberries, or a mixed-berry blend. Adjust sugar to taste since sweetness varies.
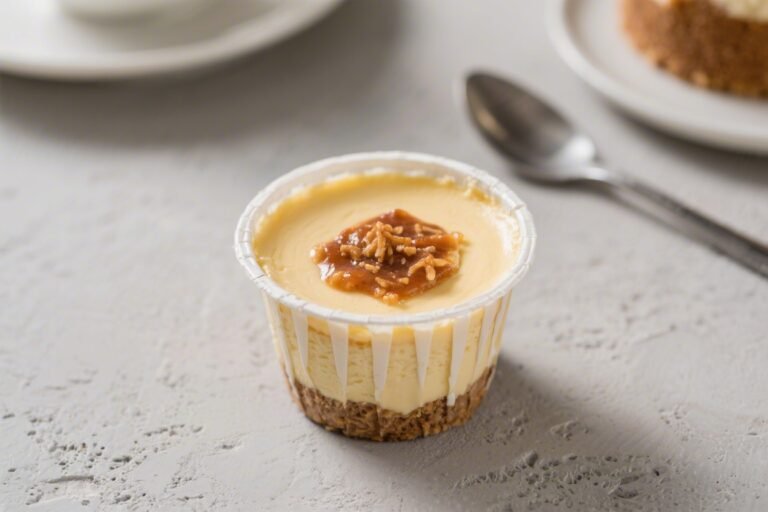
- Mini cheesecakes: Press crust into lined muffin tins and fill.
Chill 3–4 hours. Great for portion control and parties.
- Gelatin-stabilized: If serving outdoors or in heat, dissolve 1 teaspoon powdered gelatin in 1 tablespoon water, melt gently, cool, and fold into the filling for extra hold.
Can I Use Frozen Raspberries?
Yes. Frozen raspberries work well for the sauce since they break down easily.
If using them for garnish, thaw and blot dry to avoid extra moisture.
How Do I Keep the Crust From Crumbling?
Use enough butter and pack the crumbs firmly. Chilling the crust before adding the filling helps it set. If it still crumbles, add 1 more tablespoon melted butter next time.
Why Is My Cheesecake Not Setting?
Most often, it needs more chill time.
Also check that the whipped cream reached stiff peaks and that you didn’t add warm sauce to the filling. If your kitchen is very warm, give it overnight in the fridge.
Can I Make It Less Sweet?
Reduce the powdered sugar in the filling to 1/2 cup and taste. You can also lower the sugar in the sauce slightly, especially if your berries are very ripe.
What If I Don’t Have a Springform Pan?
Use a 9-inch pie dish or a square 8-inch pan.
Line with parchment with overhang for easy lifting. Slices may be more rustic, but the taste is the same.
Can I Make It Ahead?
Absolutely. It’s best when made the day before serving.
Assemble, cover, and chill overnight, then garnish just before serving.
In Conclusion
This No Bake Raspberry Cheesecake delivers creamy texture, bright fruit flavor, and a stunning finish without any oven time. It’s simple to prepare, holds up beautifully, and tastes like a bakery treat. Whether you’re celebrating or just craving something sweet, this recipe is dependable, elegant, and easy to customize.
Keep it classic, add a swirl, or try a new crust—either way, you’ll end up with a dessert that disappears fast.
Printable Recipe Card
Want just the essential recipe details without scrolling through the article? Get our printable recipe card with just the ingredients and instructions.