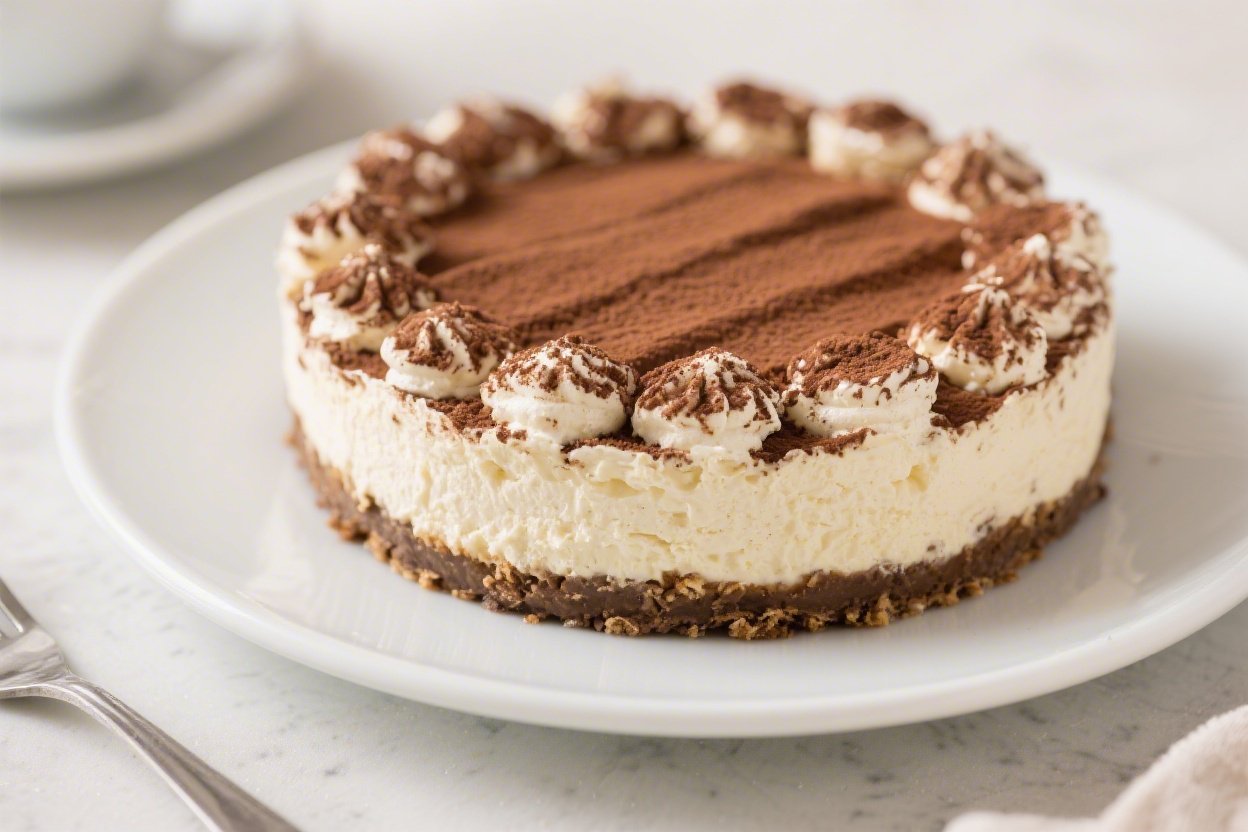
No Bake Tiramisu Cheesecake – Creamy, Coffee-Kissed, and Effortless
No oven, no stress, and all the classic tiramisu charm—this no bake tiramisu cheesecake is the kind of dessert that looks fancy but feels easy. It’s rich and creamy, with a gentle coffee kick and a hint of cocoa. The texture is lush, the flavor is balanced, and it sets up beautifully in the fridge.
Serve it for a dinner party or a cozy weekend treat; either way, expect it to disappear fast. If you love tiramisu and cheesecake, this is your sweet spot.
Ingredients
Method
- Prepare the pan: Line the bottom of a 9-inch (23 cm) springform pan with parchment. Lightly grease the sides for easy release.
- Make the crust: Stir graham crumbs, sugar, and salt. Add melted butter and mix until the texture resembles wet sand. Press firmly into the pan, going slightly up the sides. Chill for 15 minutes to set.
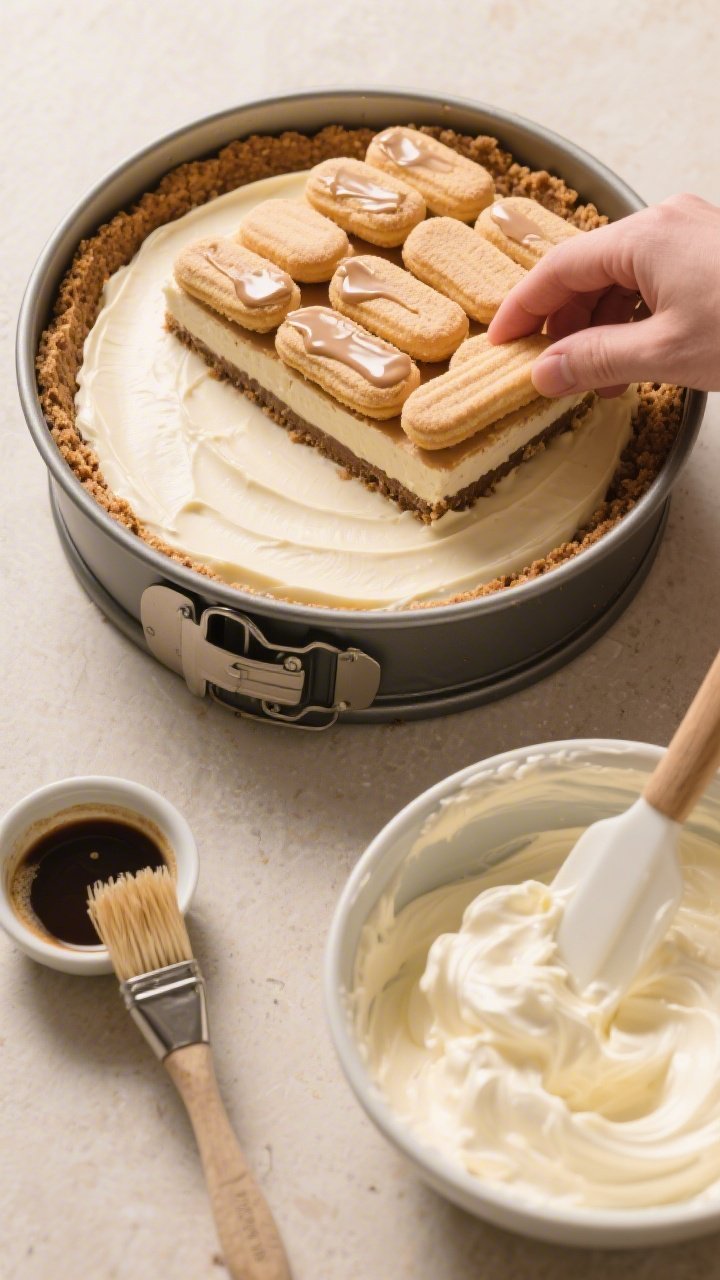
- Optional border: If using ladyfingers, quickly brush the flat side with the espresso mixture and stand them upright around the edge of the pan. Don’t soak—just a light kiss of coffee.
- Bloom the gelatin (optional): Sprinkle gelatin over 2 tablespoons cold water. Let sit 5 minutes. Microwave 10–15 seconds to dissolve. Cool to room temp. This helps the cheesecake slice cleanly, especially in warm weather.
- Whip the cream: In a cold bowl, beat heavy cream to medium-stiff peaks. Don’t overbeat. Set aside in the fridge.
- Mix the base: In another bowl, beat cream cheese until smooth and fluffy, about 1–2 minutes. Add mascarpone, powdered sugar, and vanilla. Beat on low until smooth and lump-free.
- Add the coffee: Stir in the cooled dissolved espresso. Taste and adjust—add more if you want a stronger note.
- Stabilize (if using gelatin): Whisk a spoonful of the cheesecake mixture into the cooled gelatin to temper, then stream it back into the bowl while mixing on low.
- Fold in cream: Gently fold the whipped cream into the coffee-cheesecake mixture in two additions. Keep it airy.
- Layer (optional): Pour half the filling over the crust. Add a single layer of lightly brushed ladyfingers (don’t soak). Top with the remaining filling and smooth the surface.
- Chill to set: Cover and refrigerate at least 6 hours, ideally overnight. The flavor deepens and the texture firms up.
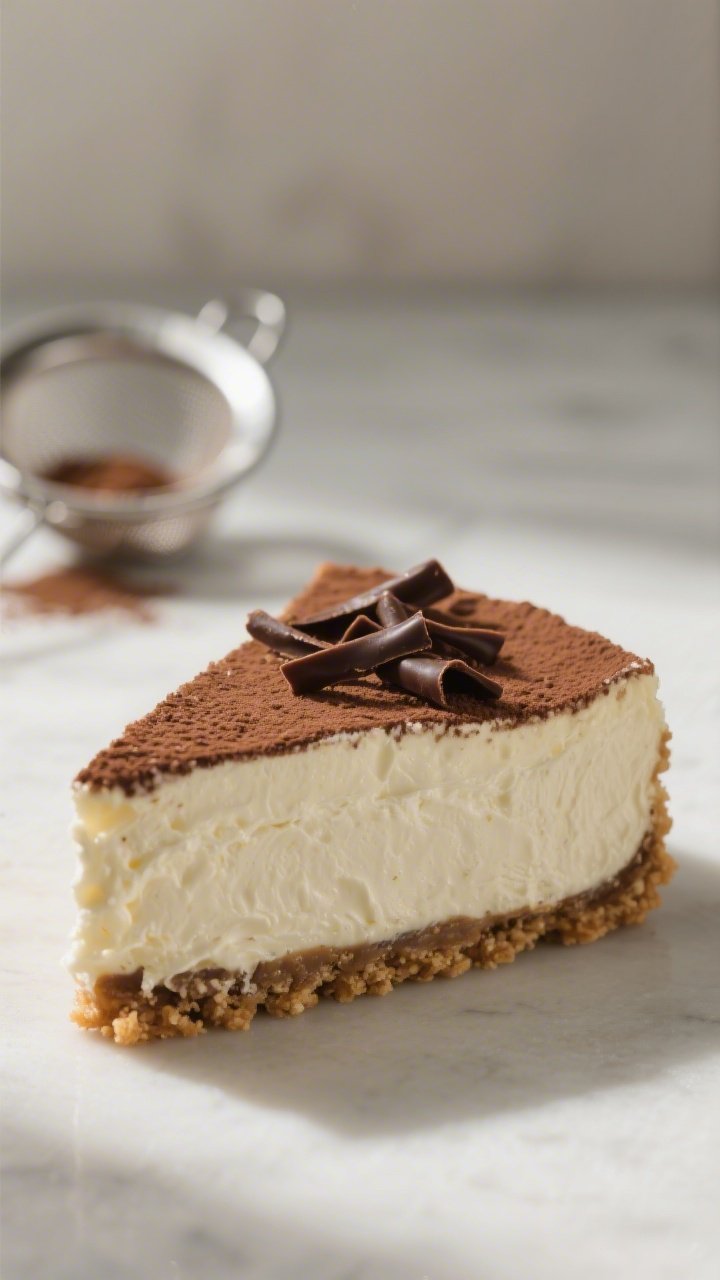
- Finish and serve: Run a thin knife around the edge, release the springform, and dust the top generously with cocoa powder. Add chocolate shavings if you like. Slice with a warm, clean knife for neat edges.
Overeating is a pattern. This helps you fix that problem. A quick reset for cravings, snacking, and “I’ll start tomorrow” moments.
Built for busy home cooks who want real-life structure. Simple steps that fit meal prep, family dinners, and late-night snack attacks.
What Makes This Special
- No-bake convenience: No oven needed, which makes it perfect for warm days or busy schedules.
- Tiramisu flavors, cheesecake texture: Silky mascarpone and cream cheese meet espresso and cocoa in one dreamy bite.
- Make-ahead friendly: It needs chill time, so you can prep it the night before and forget about it until serving.
- Flexible and forgiving: Swap the crust, adjust the coffee strength, or make it alcohol-free—it still turns out great.
- Show-stopping look: Clean slices, cocoa dusting, and optional ladyfinger borders make it look like a bakery creation.
Ingredients
- For the crust:
- 1 3/4 cups (175 g) graham cracker crumbs (or digestive biscuits)
- 6 tablespoons (85 g) unsalted butter, melted
- 2 tablespoons granulated sugar
- Pinch of fine salt
- For the espresso soak (optional, for ladyfingers or drizzle):
- 1/2 cup (120 ml) strong brewed espresso or very strong coffee, cooled
- 1–2 tablespoons coffee liqueur (Kahlúa or similar), optional
- 1 teaspoon vanilla extract
- For the filling:
- 12 oz (340 g) full-fat cream cheese, softened
- 12 oz (340 g) mascarpone cheese, chilled
- 3/4 cup (90 g) powdered sugar, sifted
- 1 teaspoon vanilla extract
- 1 tablespoon instant espresso powder (or 2 teaspoons instant coffee), dissolved in 1 tablespoon hot water and cooled
- 1 1/4 cups (300 ml) cold heavy cream
- 1 1/2 teaspoons unflavored powdered gelatin + 2 tablespoons cold water (optional, for extra stability)
- For assembly and topping:
- 8–10 crisp ladyfinger biscuits (optional, for a border or inner layer)
- Unsweetened cocoa powder, for dusting
- Dark chocolate shavings or curls (optional)
Step-by-Step Instructions
- Prepare the pan: Line the bottom of a 9-inch (23 cm) springform pan with parchment. Lightly grease the sides for easy release.
- Make the crust: Stir graham crumbs, sugar, and salt.
Add melted butter and mix until the texture resembles wet sand. Press firmly into the pan, going slightly up the sides. Chill for 15 minutes to set.
- Optional border: If using ladyfingers, quickly brush the flat side with the espresso mixture and stand them upright around the edge of the pan.
Don’t soak—just a light kiss of coffee.
- Bloom the gelatin (optional): Sprinkle gelatin over 2 tablespoons cold water. Let sit 5 minutes. Microwave 10–15 seconds to dissolve.
Cool to room temp. This helps the cheesecake slice cleanly, especially in warm weather.
- Whip the cream: In a cold bowl, beat heavy cream to medium-stiff peaks. Don’t overbeat.
Set aside in the fridge.
- Mix the base: In another bowl, beat cream cheese until smooth and fluffy, about 1–2 minutes. Add mascarpone, powdered sugar, and vanilla. Beat on low until smooth and lump-free.
- Add the coffee: Stir in the cooled dissolved espresso.
Taste and adjust—add more if you want a stronger note.
- Stabilize (if using gelatin): Whisk a spoonful of the cheesecake mixture into the cooled gelatin to temper, then stream it back into the bowl while mixing on low.
- Fold in cream: Gently fold the whipped cream into the coffee-cheesecake mixture in two additions. Keep it airy.
- Layer (optional): Pour half the filling over the crust. Add a single layer of lightly brushed ladyfingers (don’t soak).
Top with the remaining filling and smooth the surface.
- Chill to set: Cover and refrigerate at least 6 hours, ideally overnight. The flavor deepens and the texture firms up.
- Finish and serve: Run a thin knife around the edge, release the springform, and dust the top generously with cocoa powder. Add chocolate shavings if you like.
Slice with a warm, clean knife for neat edges.
Storage Instructions
- Refrigerate: Keep covered in the fridge for up to 4 days. The flavor is often best on day two.
- Freeze: Freeze whole or in slices, well-wrapped, for up to 1 month. Thaw overnight in the fridge.
Dust with fresh cocoa after thawing.
- Avoid condensation: When removing from the fridge, wipe the lid to prevent drips on the cocoa top.

Why This is Good for You
- Portion-friendly richness: A small slice satisfies, which helps with mindful indulging.
- Protein and calcium: Mascarpone and cream cheese bring some protein and calcium alongside the treat factor.
- No oven heat: Keeps the kitchen cool and the process simple, which can lower stress and effort.
- Make-ahead ease: Planning dessert ahead can support balanced meals and more relaxed gatherings.
What Not to Do
- Don’t over-soak ladyfingers: Too much liquid will bleed into the filling and make the cake soggy.
- Don’t skip chill time: Cutting early leads to messy slices and a soft set.
- Don’t use low-fat cheeses: Reduced-fat mascarpone or cream cheese can turn grainy and watery.
- Don’t overbeat the cream: Over-whipped cream separates and ruins the silky texture.
- Don’t add hot gelatin: Warm is fine; hot can create lumps. Cool it before adding.
Alternatives
- Crust swaps: Use chocolate wafer cookies, Biscoff, or Oreos (remove the filling for less sweetness, or keep it and reduce added sugar).
- Alcohol-free: Skip the liqueur and boost flavor with extra vanilla or a splash of almond extract.
- Espresso-free: Use decaf espresso or earl grey/chai concentrate for a twist. Keep it light to avoid watering the filling.
- Gluten-free: Choose certified gluten-free cookies and ladyfingers.
- Stabilizer swap: Instead of gelatin, add 2–3 tablespoons of instant vanilla pudding mix to the filling for a firmer set.
- Mini versions: Assemble in jars or a muffin tin with liners for individual servings.
Chill times may shorten slightly.
FAQ
Can I make this without mascarpone?
Yes. Use all cream cheese and add 2 tablespoons of sour cream for tang. The flavor shifts slightly away from classic tiramisu, but it’s still delicious and creamy.
How strong should the coffee be?
Stronger than what you’d drink.
Aim for espresso strength so a small amount delivers full flavor without adding too much liquid.
Do I need gelatin for it to set?
No. It will set in the fridge thanks to the cheeses and whipped cream. Gelatin simply gives cleaner slices in warm weather or for long transport.
Can I make it ahead?
Absolutely.
Prepare it the day before serving. Dust with cocoa right before bringing it to the table for the freshest look.
What if I don’t have a springform pan?
Use a deep 9-inch pie dish or an 8-inch square pan lined with parchment overhang. Slice and lift out using the parchment “handles.”
Why is my filling grainy?
This usually means the cheeses were too cold or overmixed.
Beat cream cheese until smooth first, then add mascarpone gently, and avoid overbeating after adding the whipped cream.
How do I get clean slices?
Chill the cheesecake well, wipe your knife between cuts, and dip the blade in hot water, drying it each time. A gentle sawing motion helps preserve the layers.
Can I reduce the sugar?
Yes. Cut the powdered sugar to 1/2 cup for a less sweet version.
The coffee and cocoa will stand out more, which many people love.
Final Thoughts
This no bake tiramisu cheesecake brings the best of two classics together with almost zero fuss. It’s creamy, balanced, and feels special without demanding your oven or your entire afternoon. Make it your own—stronger coffee, a different crust, or neat mini portions—and let the fridge do the hard work.
When you’re ready to serve, a dusting of cocoa and a few chocolate curls are all it needs. Simple, elegant, and reliably delicious.
Printable Recipe Card
Want just the essential recipe details without scrolling through the article? Get our printable recipe card with just the ingredients and instructions.