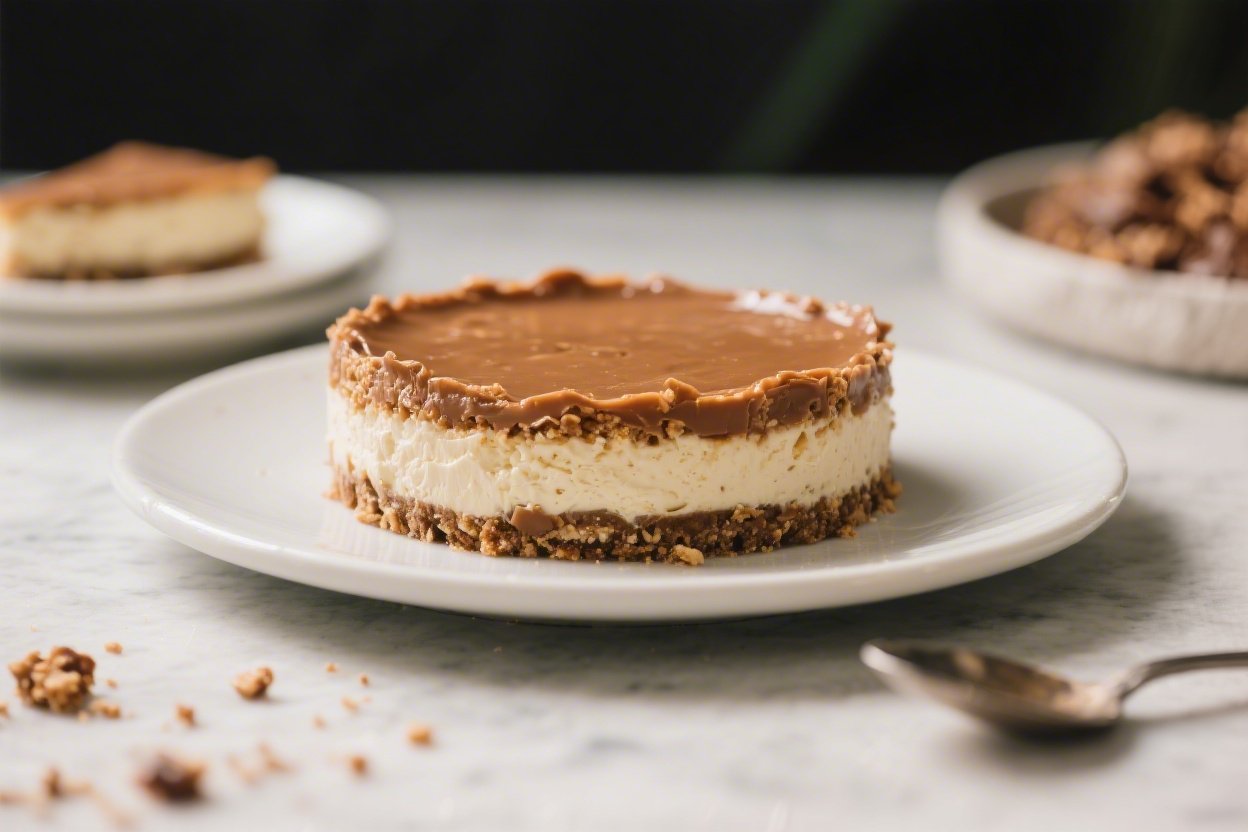
No Bake Toffee Crunch Cheesecake – Creamy, Crunchy, and Effortless
This is the kind of dessert that makes people think you spent hours in the kitchen, when really, you barely turned on a light. A no bake toffee crunch cheesecake is silky, sweet, and full of caramel-chocolate bits that add just the right amount of texture. It chills to perfection, slices beautifully, and disappears even faster.
If you like a creamy filling with a little bite and a buttery crust that holds it all together, you’re in the right place. Bring it to a potluck, a birthday dinner, or just a cozy night at home—you’ll have zero leftovers.
Ingredients
Method
- Prep the pan. Line the bottom of a 9-inch springform pan with parchment for easy removal. Lightly grease the sides if you’d like cleaner edges.
- Make the crust. In a bowl, mix cookie crumbs, melted butter, sugar (if using), and a pinch of salt until the texture feels like wet sand. Press firmly into the bottom and slightly up the sides of the pan. Use the flat bottom of a measuring cup to compact it well.
- Chill the crust. Place the pan in the fridge for 15–20 minutes while you make the filling. A cold, firm crust keeps the slices neat.
- Beat the cream cheese. In a large bowl, beat softened cream cheese with granulated sugar until completely smooth and glossy, about 2–3 minutes. Scrape the bowl to avoid lumps.
- Add flavor. Mix in sour cream, vanilla, lemon juice, and a pinch of salt. Beat until combined and silky.
- Whip the cream. In a separate chilled bowl, whip the heavy cream and powdered sugar to stiff peaks. It should hold its shape and not slide off the whisk.
- Fold it in. Gently fold the whipped cream into the cream cheese mixture in two to three additions. Use a light hand to keep the mixture airy.
- Stir in the toffee. Fold in 1 to 1 1/4 cups toffee bits. Save a handful for the top. Distribute them evenly so you get crunch in every bite.
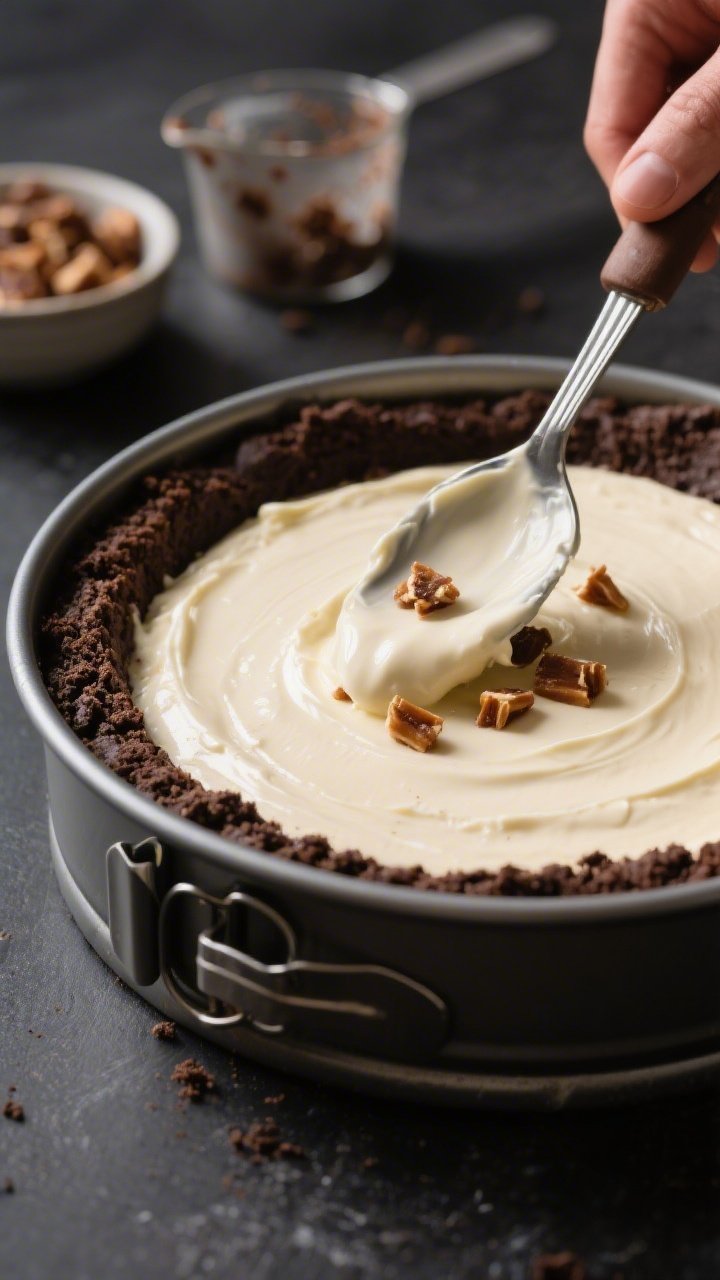
- Fill the pan. Spoon the filling over the chilled crust and smooth the top with an offset spatula. Tap the pan gently on the counter to settle any air pockets.
- Chill to set. Cover and refrigerate for at least 6 hours, preferably overnight. This step is essential for a clean slice and firm texture.
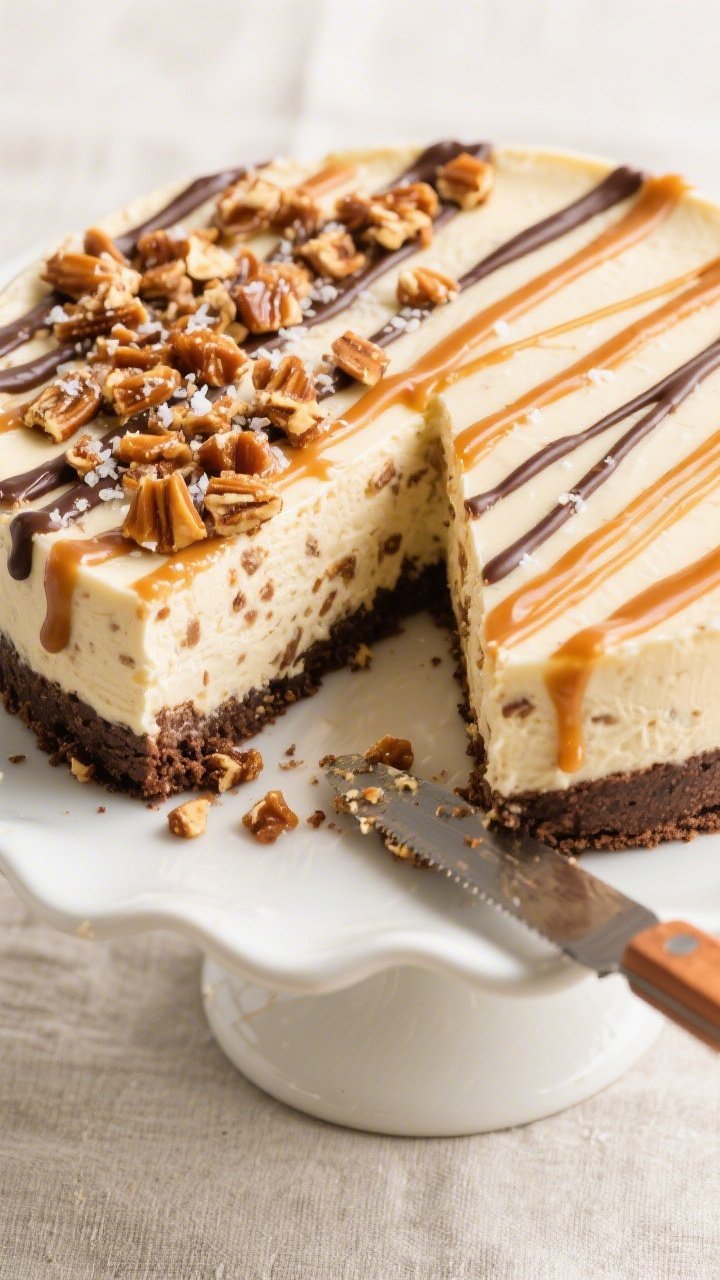
- Finish and serve. Run a thin knife around the edge before releasing the springform. Top with more toffee bits, a drizzle of caramel or chocolate, and a sprinkle of flaky salt. Slice with a warm, dry knife for sharp edges.
Overeating is a pattern. This helps you fix that problem. A quick reset for cravings, snacking, and “I’ll start tomorrow” moments.
Built for busy home cooks who want real-life structure. Simple steps that fit meal prep, family dinners, and late-night snack attacks.
What Makes This Special
This cheesecake checks every box: no oven, minimal fuss, and a flavor that feels like a mix between a candy bar and a classic dessert. The crust is buttery and crisp, so it balances the smooth filling.
Toffee bits scattered throughout give each bite a light crunch and a caramel note that keeps things interesting. Best of all, it sets firmly in the fridge, so you get clean slices without the stress of baking or cracking.
What You’ll Need
- For the crust:
- 2 cups (about 200 g) chocolate cookie crumbs or graham cracker crumbs
- 6 tablespoons (85 g) unsalted butter, melted
- 2 tablespoons granulated sugar (optional, skip if using chocolate cookies)
- Pinch of fine salt
- For the filling:
- 24 ounces (680 g) cream cheese, softened to room temperature
- 3/4 cup (150 g) granulated sugar
- 1/3 cup (80 ml) sour cream
- 2 teaspoons pure vanilla extract
- 1 tablespoon lemon juice (brightens the flavor)
- 1 1/4 cups (300 ml) cold heavy whipping cream
- 1/3 cup powdered sugar
- 1 to 1 1/4 cups toffee bits (such as chocolate-covered toffee pieces), plus extra for topping
- Pinch of fine salt
- For topping (optional but great):
- Warm caramel sauce
- Melted chocolate or chocolate drizzle
- Additional toffee bits
- Flaky sea salt, for finishing
- Tools:
- 9-inch springform pan
- Mixing bowls
- Hand mixer or stand mixer with whisk and paddle attachments
- Rubber spatula
- Parchment paper (optional)
Step-by-Step Instructions
- Prep the pan. Line the bottom of a 9-inch springform pan with parchment for easy removal. Lightly grease the sides if you’d like cleaner edges.
- Make the crust. In a bowl, mix cookie crumbs, melted butter, sugar (if using), and a pinch of salt until the texture feels like wet sand.
Press firmly into the bottom and slightly up the sides of the pan. Use the flat bottom of a measuring cup to compact it well.
- Chill the crust. Place the pan in the fridge for 15–20 minutes while you make the filling. A cold, firm crust keeps the slices neat.
- Beat the cream cheese. In a large bowl, beat softened cream cheese with granulated sugar until completely smooth and glossy, about 2–3 minutes.
Scrape the bowl to avoid lumps.
- Add flavor. Mix in sour cream, vanilla, lemon juice, and a pinch of salt. Beat until combined and silky.
- Whip the cream. In a separate chilled bowl, whip the heavy cream and powdered sugar to stiff peaks. It should hold its shape and not slide off the whisk.
- Fold it in. Gently fold the whipped cream into the cream cheese mixture in two to three additions.
Use a light hand to keep the mixture airy.
- Stir in the toffee. Fold in 1 to 1 1/4 cups toffee bits. Save a handful for the top. Distribute them evenly so you get crunch in every bite.
- Fill the pan. Spoon the filling over the chilled crust and smooth the top with an offset spatula.
Tap the pan gently on the counter to settle any air pockets.
- Chill to set. Cover and refrigerate for at least 6 hours, preferably overnight. This step is essential for a clean slice and firm texture.
- Finish and serve. Run a thin knife around the edge before releasing the springform. Top with more toffee bits, a drizzle of caramel or chocolate, and a sprinkle of flaky salt.
Slice with a warm, dry knife for sharp edges.
Keeping It Fresh
Cheesecake keeps best well-covered in the fridge. Store it in the springform pan with a tight wrap or transfer slices to an airtight container. It will hold for 4–5 days with great texture.
For longer storage, freeze slices individually, wrapped in plastic and foil, for up to 2 months. Thaw in the refrigerator overnight for the best consistency.

Why This is Good for You
- No oven stress. You skip the baking, water baths, and worry about cracking. It’s beginner-friendly and fast to assemble.
- Balanced texture. The whipped cream lightens the filling, so it’s rich but not heavy.
Toffee gives contrast without overwhelming sweetness.
- Make-ahead magic. It actually tastes better after a long chill, so it’s perfect for hosting or busy schedules.
- Flexible flavors. This base recipe welcomes swaps, from different crusts to custom mix-ins and toppings.
What Not to Do
- Don’t skip softening the cream cheese. Cold cream cheese creates lumps that are hard to fix later.
- Don’t overmix after adding whipped cream. You’ll knock out the air and end up with a dense filling.
- Don’t use warm toffee bits in the batter. If they’ve been sitting in a hot kitchen or car, chill them briefly so they don’t melt into streaks.
- Don’t rush the chill time. If it hasn’t set fully, the slices will slump. Overnight is best.
- Don’t soak the crust with sauce. Add caramel or chocolate right before serving so the crust stays crisp.
Variations You Can Try
- Chocolate cookie crust with espresso. Add 1 teaspoon instant espresso powder to the crust for a mocha edge.
- Salted pretzel crust. Swap half the cookie crumbs for finely crushed pretzels for a sweet-salty twist.
- Peanut butter swirl. Warm 1/3 cup creamy peanut butter and swirl it into the top of the filling before chilling. Add chopped peanut butter cups on top.
- Brown butter crust. Brown the butter before mixing with crumbs for deeper, nutty flavor.
- Caramel apple crunch. Fold in finely diced, sautéed apples (cooled) with cinnamon and top with caramel and toffee.
- Gluten-free option. Use gluten-free cookies or graham-style crumbs for the crust; the rest is naturally gluten-free (check toffee brand).
- Mini cheesecakes. Press crust into lined muffin tins, fill, and chill.
Great for parties and easy to serve.
FAQ
Can I use whipped topping instead of heavy cream?
Yes, you can fold in about 3 cups of whipped topping in place of whipped cream. The texture will be slightly sweeter and more stabilized, and the flavor a bit less rich. If you can, still add a small pinch of salt to keep the sweetness in check.
What if I don’t have a springform pan?
Use a 9-inch deep pie dish or a 9×9-inch square pan lined with parchment that overhangs the sides.
Press in the crust, add the filling, and chill. Lift the whole dessert out by the parchment, or slice directly in the pan.
How do I avoid a runny cheesecake?
Whip the cream to stiff peaks, fold gently, and give it enough time to set. Also, measure ingredients accurately.
Too much sour cream or not enough whipped cream can make the filling loose.
Can I make it less sweet?
Reduce the granulated sugar in the filling to 1/2 cup and use plain toffee bits instead of chocolate-coated ones. A darker chocolate drizzle and a touch of flaky sea salt also balance sweetness.
How do I cut clean slices?
Warm a sharp knife under hot water, wipe it dry, then slice with firm, even pressure. Clean and rewarm the knife between cuts.
Chilling the cheesecake overnight makes a big difference in slice quality.
Do I need gelatin to set it?
No, not for this recipe. The combination of whipped cream and cream cheese sets well with proper chilling. If your kitchen is very warm or you need extra insurance, dissolve 1 teaspoon gelatin in 1 tablespoon cold water, melt gently, and mix into the filling before adding toffee.
Can I make it ahead?
Absolutely.
Make it up to 2 days in advance. Add toppings just before serving so they look fresh and the crust stays crisp.
Wrapping Up
No bake toffee crunch cheesecake is the dessert to keep in your back pocket for busy weeks and special moments. It’s smooth, crunchy, and full of caramel charm without the hassle of baking.
With a little chilling time and a few simple steps, you’ll have a showstopper ready to slice. Keep the base recipe as your foundation and make it your own with toppings and swaps. One bite, and you’ll see why it never lasts long on the table.
Printable Recipe Card
Want just the essential recipe details without scrolling through the article? Get our printable recipe card with just the ingredients and instructions.