No Bake Triple Chocolate Cheesecake – Creamy, Rich, and Easy
No oven, no fuss, just a silky, chocolate-packed cheesecake that looks impressive and tastes even better. This No Bake Triple Chocolate Cheesecake layers dark, milk, and white chocolate into a cool, creamy dessert with a crunchy cookie crust. It’s perfect for holidays, birthdays, or any night you want something special without turning on the oven.
The texture is light yet indulgent, and the flavors are balanced—not too sweet, not too bitter. If you love chocolate in all its forms, this recipe is your new go-to.

Ingredients
Method
- Prep the pan: Line the bottom of a 9-inch springform pan with parchment. Lightly grease the sides to help with a clean release.
- Make the crust: Pulse the cookies (filling and all) into fine crumbs. Stir in melted butter until the mixture feels like damp sand.
- Press and chill: Firmly press crumbs into an even layer on the bottom and about 1 inch up the sides. Use a flat-bottom glass to compact. Chill while you make the filling.
- Melt the chocolates: Place dark, milk, and white chocolate in three separate heatproof bowls. Microwave each in 20–30 second bursts, stirring between, until smooth. Let cool to just warm, not hot.
- Whip the cream: In a cold bowl, whip heavy cream to stiff peaks. Beat in 1/4 cup powdered sugar. Set aside in the fridge.
- Beat the cream cheese: In a large bowl, beat cream cheese until very smooth, 2–3 minutes. Add remaining 1/2 cup powdered sugar, vanilla, and fine salt (plus espresso powder if using). Beat until fluffy and no lumps remain.
- Lighten the base: Gently fold half of the whipped cream into the cream cheese until combined. Fold in the rest. Don’t deflate it.
- Divide and flavor: Split the cheesecake base evenly into three bowls. Stir dark chocolate into one, milk chocolate into another, and white chocolate into the last. Work quickly so the chocolate doesn’t seize.
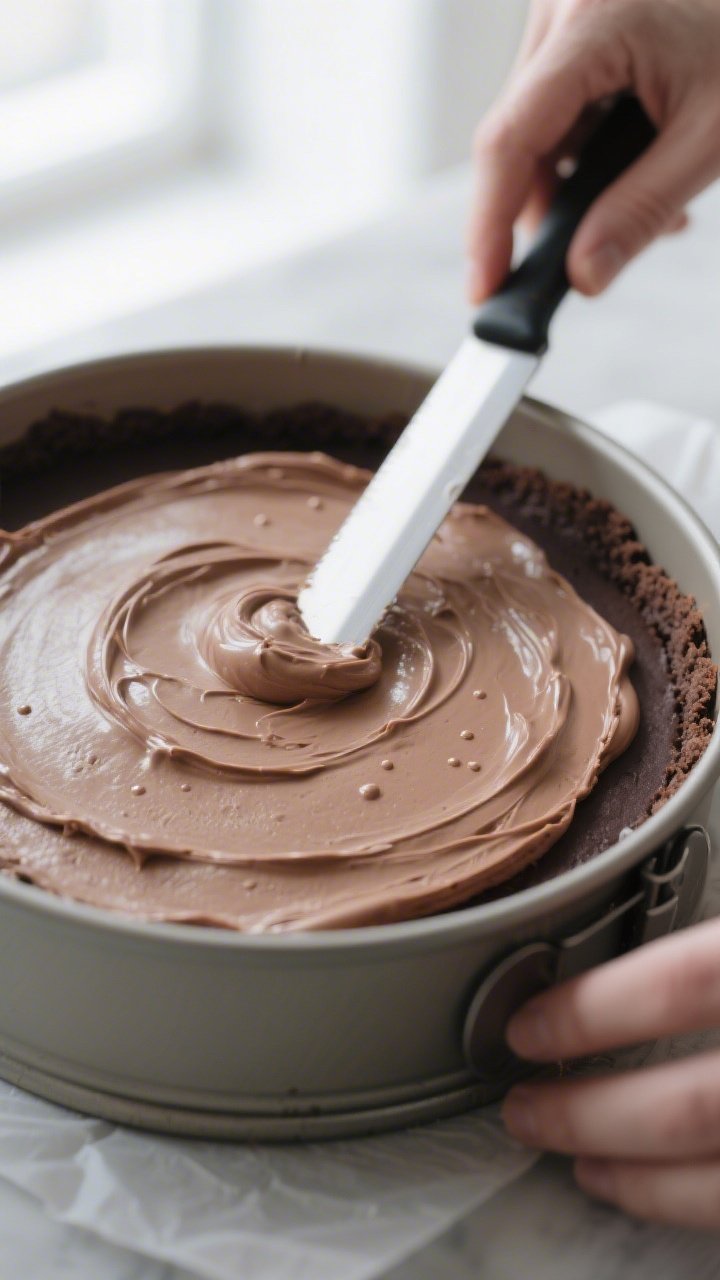
- Layer one: Spread the dark chocolate mixture over the crust. Smooth the top with an offset spatula. Chill 10 minutes to lightly set.
- Layer two: Add the milk chocolate layer. Smooth gently so you don’t disturb the base. Chill another 10 minutes.
- Layer three: Top with the white chocolate layer. Smooth the surface. Tap the pan lightly on the counter to release air bubbles.
- Chill to set: Cover and refrigerate at least 6 hours, preferably overnight. The longer chill helps clean slices.
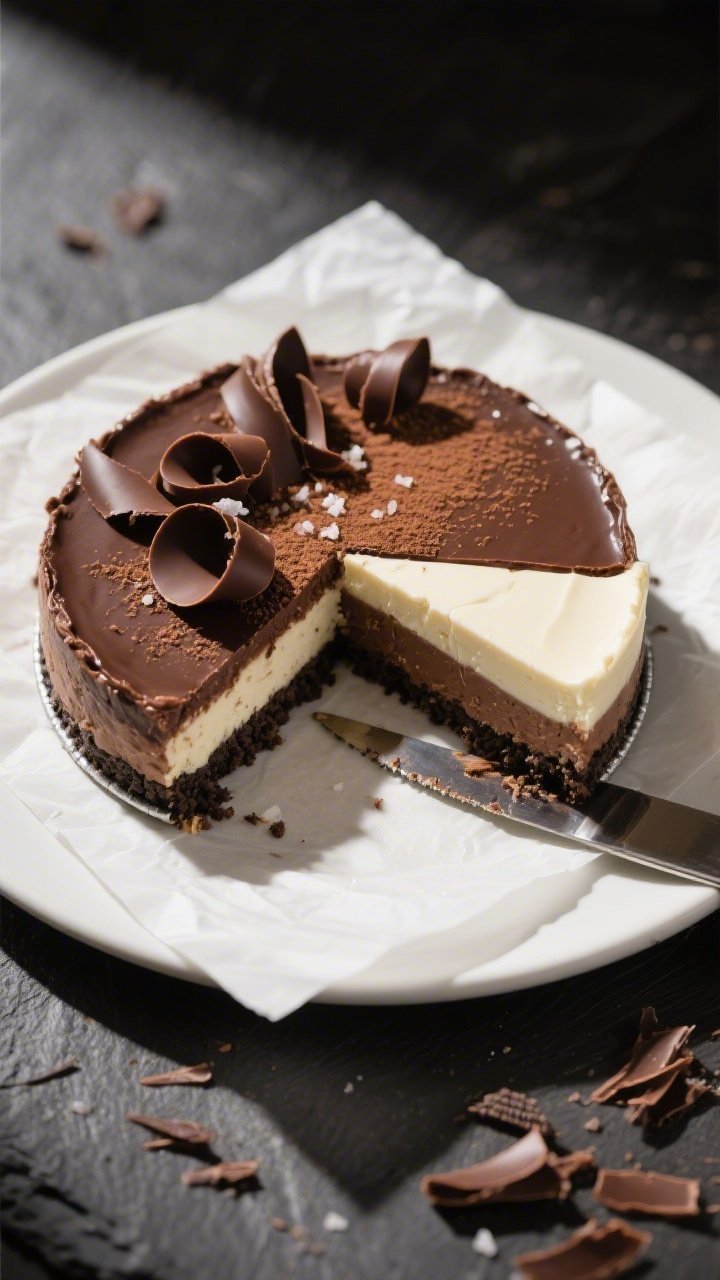
- Finish and serve: Run a thin knife around the inside edge, then release the springform ring. Garnish with chocolate curls, a dusting of cocoa, or a pinch of flaky salt. Slice with a hot, dry knife for neat edges.
Overeating is a pattern. This helps you fix that problem. A quick reset for cravings, snacking, and “I’ll start tomorrow” moments.
Built for busy home cooks who want real-life structure. Simple steps that fit meal prep, family dinners, and late-night snack attacks.
Why This Recipe Works
This no-bake method keeps the cheesecake soft and mousse-like, which pairs perfectly with the crisp, buttery crust. Using three types of chocolate builds depth: dark for intensity, milk for smooth sweetness, and white for a silky finish.
Cream cheese and whipped cream create a stable filling that sets in the fridge without gelatin. A hint of vanilla and salt brightens the chocolate, preventing it from tasting flat. Best of all, the steps are simple and forgiving, even if you’re new to cheesecakes.
Shopping List
- Chocolate: 4 oz dark (60–70%), 4 oz milk, 4 oz white chocolate, chopped
- Cream cheese: 24 oz (three 8-oz blocks), full-fat, room temperature
- Heavy whipping cream: 1 1/2 cups, cold
- Powdered sugar: 3/4 cup, divided
- Vanilla extract: 2 teaspoons
- Fine sea salt: 1/4 teaspoon
- Instant espresso powder (optional): 1/2 teaspoon to enhance chocolate flavor
- Chocolate sandwich cookies (like Oreos): 30–32 cookies
- Unsalted butter: 6 tablespoons, melted
- Pinch of flaky salt (optional): for topping
- Chocolate curls, chips, or cocoa powder (optional): for garnish
Instructions
- Prep the pan: Line the bottom of a 9-inch springform pan with parchment.
Lightly grease the sides to help with a clean release.
- Make the crust: Pulse the cookies (filling and all) into fine crumbs. Stir in melted butter until the mixture feels like damp sand.
- Press and chill: Firmly press crumbs into an even layer on the bottom and about 1 inch up the sides. Use a flat-bottom glass to compact.
Chill while you make the filling.
- Melt the chocolates: Place dark, milk, and white chocolate in three separate heatproof bowls. Microwave each in 20–30 second bursts, stirring between, until smooth. Let cool to just warm, not hot.
- Whip the cream: In a cold bowl, whip heavy cream to stiff peaks.
Beat in 1/4 cup powdered sugar. Set aside in the fridge.
- Beat the cream cheese: In a large bowl, beat cream cheese until very smooth, 2–3 minutes. Add remaining 1/2 cup powdered sugar, vanilla, and fine salt (plus espresso powder if using).
Beat until fluffy and no lumps remain.
- Lighten the base: Gently fold half of the whipped cream into the cream cheese until combined. Fold in the rest. Don’t deflate it.
- Divide and flavor: Split the cheesecake base evenly into three bowls.
Stir dark chocolate into one, milk chocolate into another, and white chocolate into the last. Work quickly so the chocolate doesn’t seize.
- Layer one: Spread the dark chocolate mixture over the crust. Smooth the top with an offset spatula.
Chill 10 minutes to lightly set.
- Layer two: Add the milk chocolate layer. Smooth gently so you don’t disturb the base. Chill another 10 minutes.
- Layer three: Top with the white chocolate layer.
Smooth the surface. Tap the pan lightly on the counter to release air bubbles.
- Chill to set: Cover and refrigerate at least 6 hours, preferably overnight. The longer chill helps clean slices.
- Finish and serve: Run a thin knife around the inside edge, then release the springform ring.
Garnish with chocolate curls, a dusting of cocoa, or a pinch of flaky salt. Slice with a hot, dry knife for neat edges.
Keeping It Fresh
Store the cheesecake covered in the fridge for up to 5 days. Keep it on the springform base or transfer to a flat plate and cover loosely with plastic wrap or a cake dome.
For longer storage, freeze individual slices on a sheet pan until firm, then wrap tightly and store in a freezer bag for up to 2 months. Thaw overnight in the fridge. Avoid leaving it at room temperature for more than 2 hours.

Why This is Good for You
This dessert is a treat, but there are a few upsides.
Dark chocolate contains antioxidants, and a small amount can satisfy big cravings, helping you enjoy dessert mindfully. A no-bake method means no added oils for baking and less heat in your kitchen, which is convenient. Most importantly, making dessert at home lets you control sweetness and portion size, so you can tailor it to your needs.
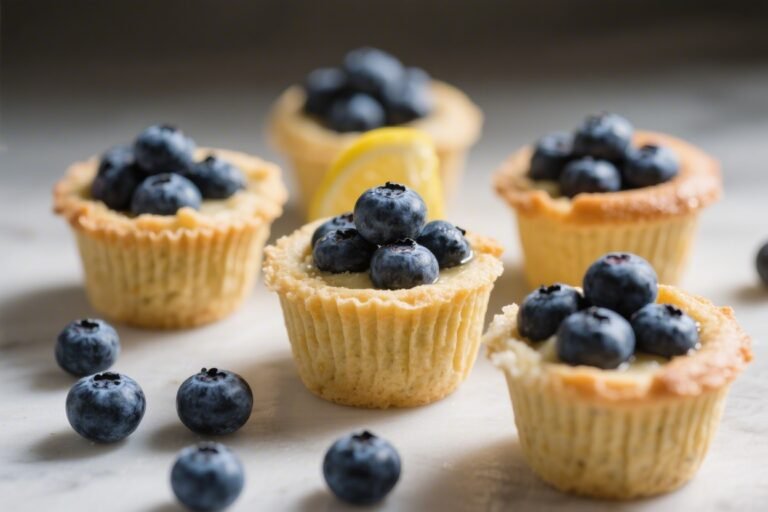
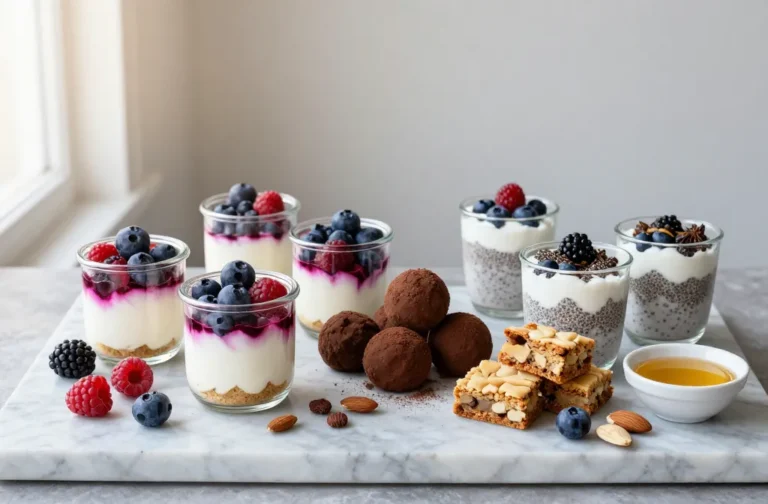
Enjoy a small slice and pair it with berries for freshness and a bit of fiber.
Pitfalls to Watch Out For
- Too-warm chocolate: If the melted chocolate is hot, it can seize the mixture or melt the whipped cream. Let it cool until slightly warm to the touch.
- Lumpy filling: Cold cream cheese won’t beat smooth. Start with room-temperature blocks and mix thoroughly before adding whipped cream.
- Deflated layers: Overmixing knocks out air.
Fold gently, and don’t press too hard when smoothing layers.
- Soft set: Rushing the chill time leads to messy slices. Plan for a full overnight set if you can.
- Crust crumbles: If the crust is too dry, add another tablespoon of melted butter. Press firmly and chill to help it hold.
Recipe Variations
- Chocolate Hazelnut: Swap 1/3 of the milk chocolate with chocolate-hazelnut spread.
Top with toasted chopped hazelnuts.
- Mint Chocolate: Add 1/2 teaspoon peppermint extract to the dark layer. Garnish with crushed chocolate mints.
- Salted Caramel White Chocolate: Swirl 2–3 tablespoons caramel into the white layer. Finish with flaky salt.
- Gluten-Free: Use gluten-free chocolate sandwich cookies for the crust.
- Lower Sweetness: Use 70–72% dark chocolate and reduce powdered sugar by 2 tablespoons.
- Mocha: Increase espresso powder to 1 teaspoon and add to the dark layer only.
Dust with cocoa.
- Berry Burst: Add a thin layer of raspberry jam on the crust before the dark chocolate layer. Serve with fresh raspberries.
FAQ
Can I make this ahead?
Yes. This cheesecake is ideal for making 1–2 days in advance.
The texture improves as it chills, and the layers slice more cleanly.
Do I need gelatin to set it?
No. The combination of whipped cream and cream cheese creates a stable mousse that firms up in the fridge without gelatin. Just allow enough chill time.
What if I don’t have a springform pan?
Use a 9-inch deep pie dish or an 8-inch square pan lined with an overhang of parchment for easy lifting.
Slices won’t be as tall but will taste the same.
Can I use chocolate chips instead of bars?
You can, but bar chocolate melts more smoothly. If using chips, add 1 teaspoon neutral oil per 4 ounces of chips to improve melt and texture.
How do I get clean slices?
Use a long, sharp knife warmed in hot water. Wipe the blade dry between cuts.
Chilling the cheesecake overnight helps a lot.
Is there a way to make it lighter?
Use Neufchâtel (reduced-fat cream cheese) and reduce the white chocolate by 1 ounce. The texture will be slightly softer but still delicious.
What if my chocolate seized?
If the chocolate turns grainy and thick, whisk in 1–2 teaspoons warm milk or cream until smooth. Let it cool again before folding into the base.
Can I make mini cheesecakes?
Yes.
Press crust into a lined muffin tin and layer the filling as directed. Chill 3–4 hours. They’re great for parties and easier to serve.
How sweet is this?
It’s moderately sweet, balanced by the dark chocolate.
If you prefer less sweetness, reduce powdered sugar slightly and choose higher-cacao dark chocolate.
What toppings work best?
Chocolate curls, cocoa powder, shaved chocolate, crushed cookies, or a small drizzle of warm ganache all complement the layers without overpowering them.
In Conclusion
This No Bake Triple Chocolate Cheesecake is rich, elegant, and surprisingly easy. With a crisp cookie crust and three creamy chocolate layers, it’s a guaranteed crowd-pleaser that doesn’t need an oven. Make it ahead, slice it clean, and enjoy a dessert that feels special any night of the week.
Keep the tips in mind, avoid the common pitfalls, and have fun putting your own spin on the variations. One slice, and you’ll see why this becomes a house favorite.
Printable Recipe Card
Want just the essential recipe details without scrolling through the article? Get our printable recipe card with just the ingredients and instructions.