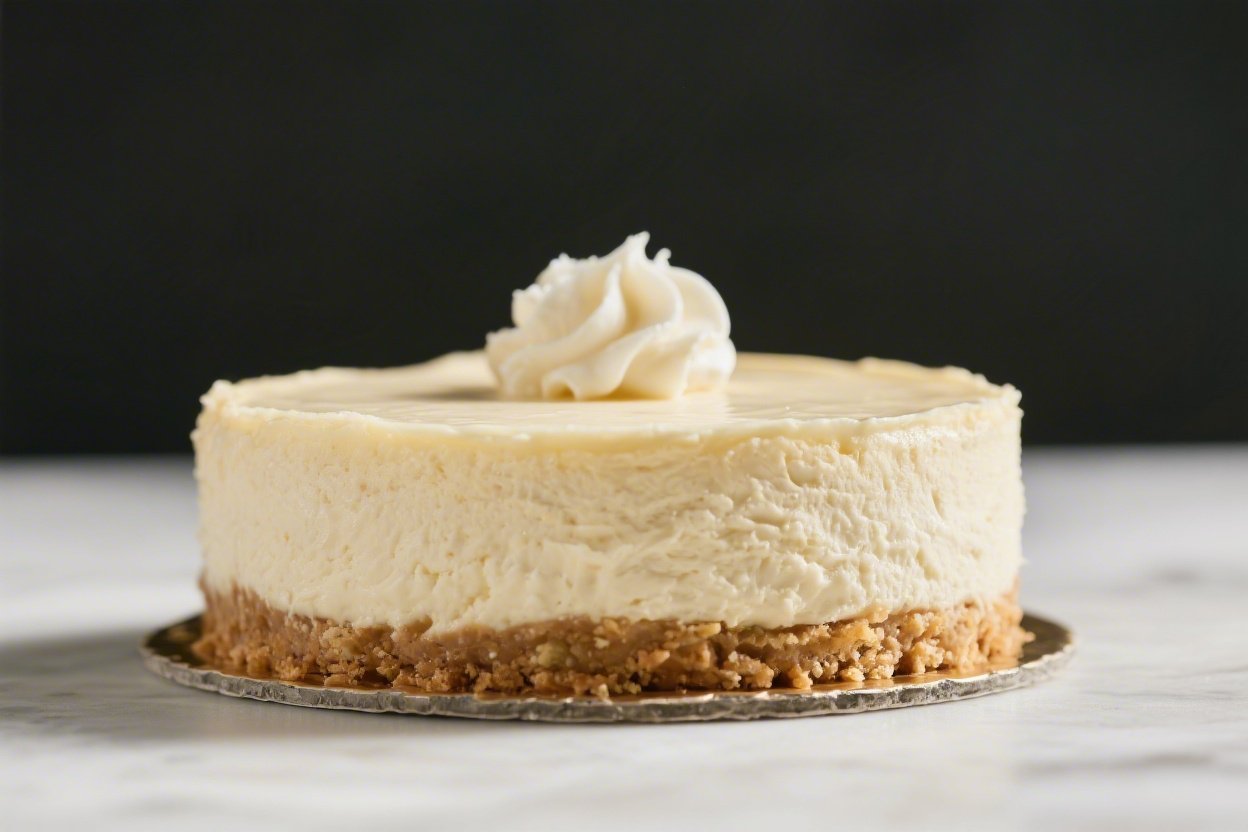
No Bake Vanilla Cheesecake – Creamy, Simple, and Crowd-Pleasing
No bake vanilla cheesecake is one of those desserts that feels special without being fussy. It’s creamy, silky, and lightly sweet with a clean vanilla flavor that pairs well with just about any topping. There’s no oven, no water bath, and no worry about cracks.
If you can stir and chill, you can make this. It’s a great make-ahead dessert for gatherings, birthdays, or weeknight treats when you want something impressive with minimal effort.
Ingredients
Method
- Prep the pan: Line the bottom of a 9-inch springform pan with parchment paper. Lightly grease the sides. This helps the cheesecake release cleanly.
- Make the crust: In a bowl, mix the cookie crumbs, sugar, melted butter, and a pinch of salt until the texture resembles damp sand. Press it firmly into the bottom of the pan, going slightly up the sides. Use the bottom of a measuring cup to compact it well.
- Chill the crust: Place the crust in the fridge for at least 20 minutes while you make the filling. This helps it set and stay crisp.
- Bloom the gelatin (optional): Sprinkle gelatin over 3 tablespoons cold water in a small bowl and let it sit for 5 minutes. Then gently warm it in the microwave for 10–15 seconds or in a hot water bath until fully dissolved. Let it cool to lukewarm.
- Whip the cream: In a cold bowl, whip the heavy cream and powdered sugar to medium-stiff peaks. Do not overwhip. Set aside in the fridge.
- Beat the cream cheese: In a separate large bowl, beat the softened cream cheese, granulated sugar, vanilla, lemon juice, and a pinch of salt until smooth and fluffy, about 2–3 minutes. Scrape the bowl to avoid lumps.
- Add gelatin (if using): With the mixer on low, stream the lukewarm gelatin into the cream cheese mixture. Mix just to combine.
- Fold in the whipped cream: Gently fold the whipped cream into the cream cheese mixture in two additions. Keep it light to maintain volume and a silky texture.
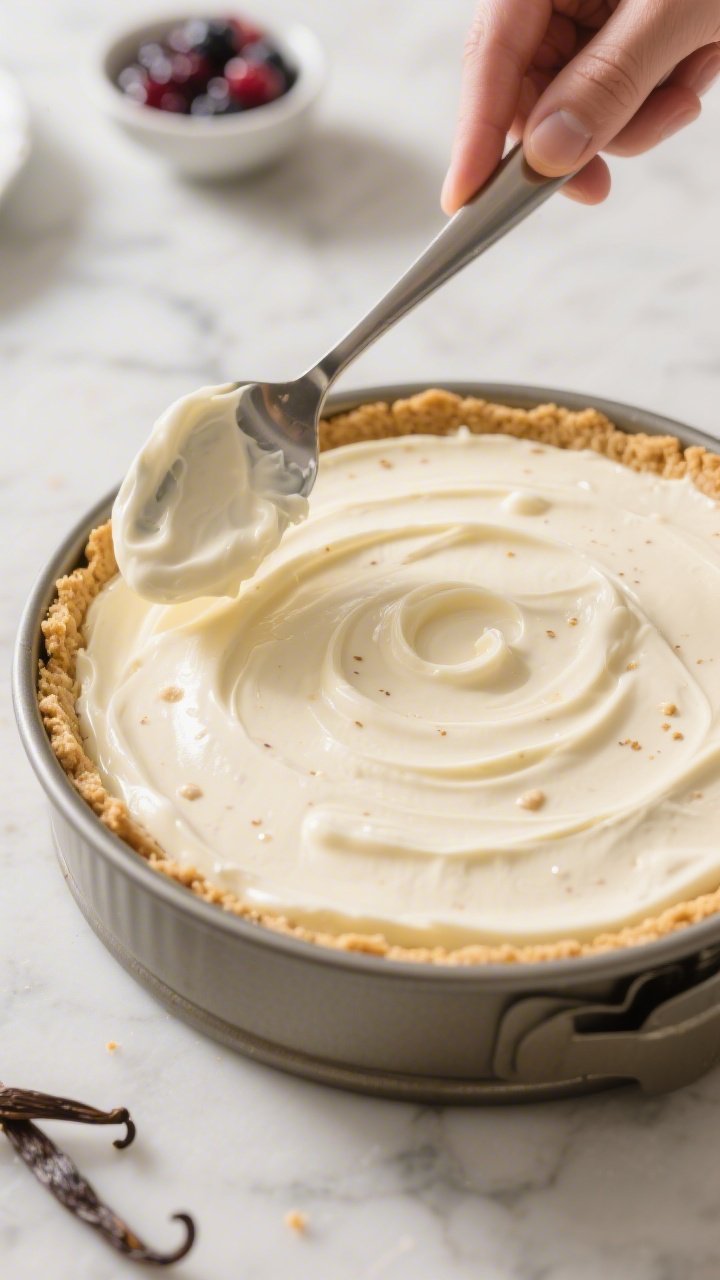
- Fill the pan: Spoon the filling over the chilled crust. Smooth the top with an offset spatula. Tap the pan lightly on the counter to release air bubbles.
- Chill to set: Cover and refrigerate for at least 6 hours, preferably overnight. The longer chill gives you cleaner slices and a stable texture.
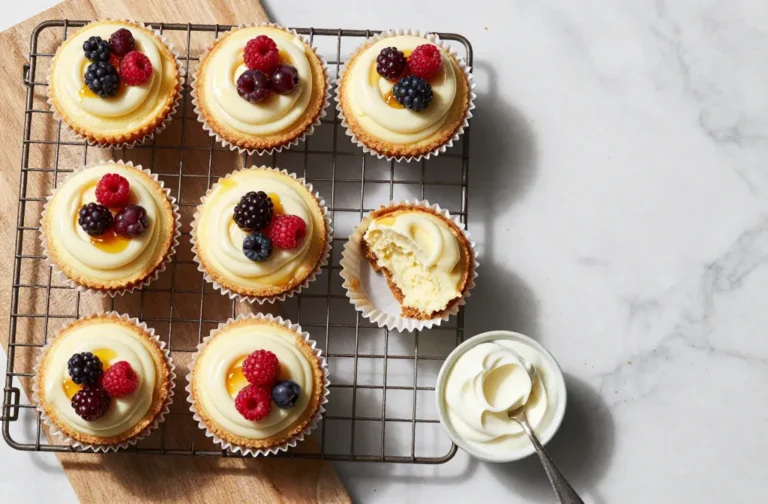
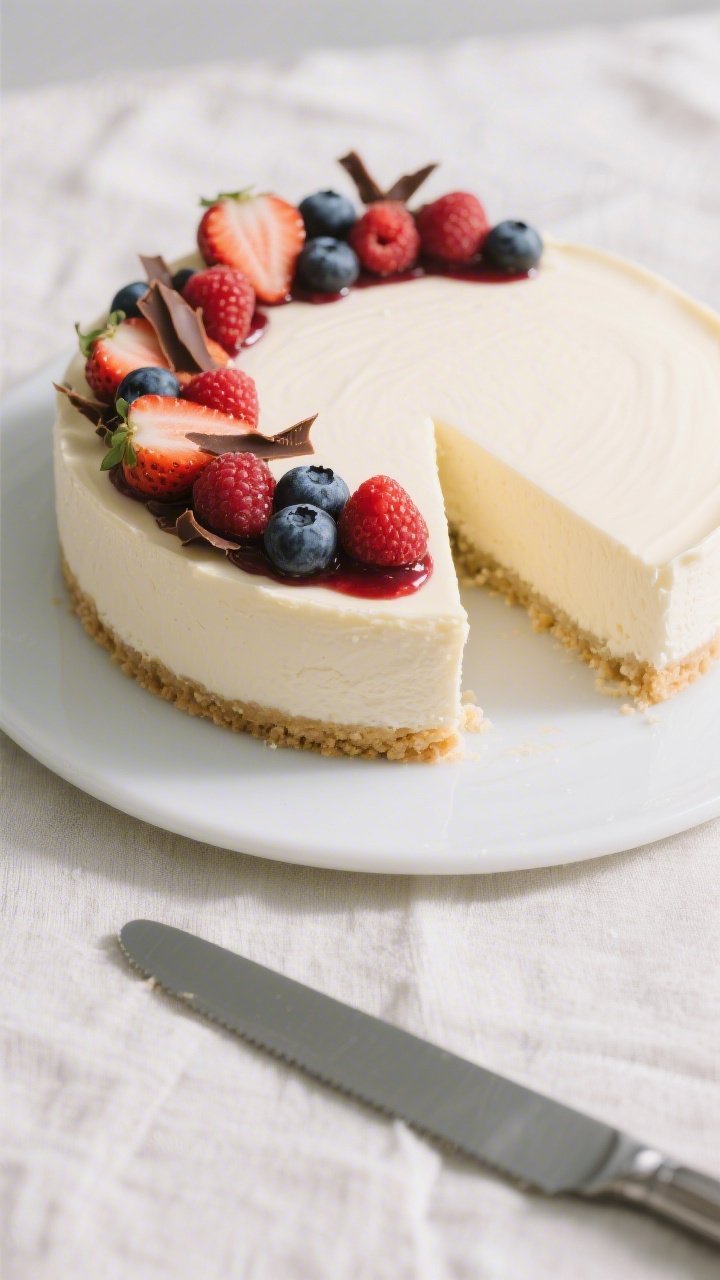
- Release and garnish: Run a thin knife around the edge before unlatching the springform. Add toppings like fresh berries, chocolate shavings, or a drizzle of sauce.
- Slice smart: Use a sharp knife dipped in hot water and wiped dry between cuts for neat slices.
Overeating is a pattern. This helps you fix that problem. A quick reset for cravings, snacking, and “I’ll start tomorrow” moments.
Built for busy home cooks who want real-life structure. Simple steps that fit meal prep, family dinners, and late-night snack attacks.
Why This Recipe Works
This cheesecake keeps things simple and reliable. The crust uses crushed cookies and butter, which sets firm once chilled and gives a crisp contrast to the creamy filling.
The filling leans on cream cheese, whipped cream, and a touch of gelatin or lemon juice to help it hold its shape without baking. Real vanilla extract or paste adds pure, fragrant flavor. Everything comes together fast, and the chill time does the heavy lifting.
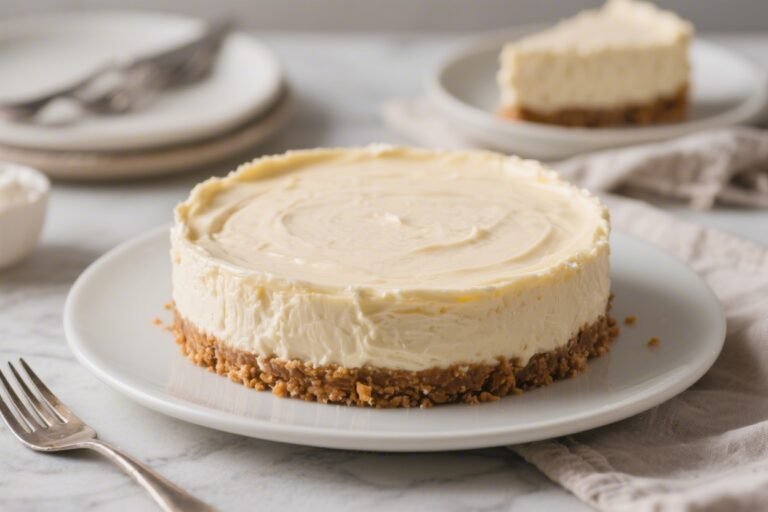
You get a clean slice, a plush texture, and a flavor that’s not overly sweet.
It’s versatile, too. You can serve it plain, add fresh berries, or spoon on a fruit compote. It’s the kind of dessert that makes people think you spent all day on it, when you really didn’t.
Ingredients
- Crust:
- 2 cups (200 g) graham cracker crumbs or digestive biscuit crumbs
- 1/3 cup (70 g) granulated sugar
- 8 tablespoons (113 g) unsalted butter, melted
- Pinch of salt
- Filling:
- 24 oz (680 g) full-fat cream cheese, at room temperature
- 3/4 cup (150 g) granulated sugar
- 1 tablespoon pure vanilla extract or 2 teaspoons vanilla bean paste
- 2 teaspoons lemon juice (fresh), optional but recommended
- 1 cup (240 ml) cold heavy whipping cream
- 1/2 cup (60 g) powdered sugar
- 1 packet (7 g) powdered gelatin + 3 tablespoons cold water, optional for extra stability
- Pinch of salt
- Toppings (optional):
- Fresh berries, berry compote, or sliced stone fruit
- Shaved chocolate or chocolate sauce
- Caramel sauce or lemon curd
How to Make It
- Prep the pan: Line the bottom of a 9-inch springform pan with parchment paper.
Lightly grease the sides. This helps the cheesecake release cleanly.
- Make the crust: In a bowl, mix the cookie crumbs, sugar, melted butter, and a pinch of salt until the texture resembles damp sand. Press it firmly into the bottom of the pan, going slightly up the sides.
Use the bottom of a measuring cup to compact it well.
- Chill the crust: Place the crust in the fridge for at least 20 minutes while you make the filling. This helps it set and stay crisp.
- Bloom the gelatin (optional): Sprinkle gelatin over 3 tablespoons cold water in a small bowl and let it sit for 5 minutes. Then gently warm it in the microwave for 10–15 seconds or in a hot water bath until fully dissolved.
Let it cool to lukewarm.
- Whip the cream: In a cold bowl, whip the heavy cream and powdered sugar to medium-stiff peaks. Do not overwhip. Set aside in the fridge.
- Beat the cream cheese: In a separate large bowl, beat the softened cream cheese, granulated sugar, vanilla, lemon juice, and a pinch of salt until smooth and fluffy, about 2–3 minutes.
Scrape the bowl to avoid lumps.
- Add gelatin (if using): With the mixer on low, stream the lukewarm gelatin into the cream cheese mixture. Mix just to combine.
- Fold in the whipped cream: Gently fold the whipped cream into the cream cheese mixture in two additions. Keep it light to maintain volume and a silky texture.
- Fill the pan: Spoon the filling over the chilled crust.
Smooth the top with an offset spatula. Tap the pan lightly on the counter to release air bubbles.
- Chill to set: Cover and refrigerate for at least 6 hours, preferably overnight. The longer chill gives you cleaner slices and a stable texture.
- Release and garnish: Run a thin knife around the edge before unlatching the springform.
Add toppings like fresh berries, chocolate shavings, or a drizzle of sauce.
- Slice smart: Use a sharp knife dipped in hot water and wiped dry between cuts for neat slices.
Storage Instructions
- Refrigerate: Keep the cheesecake covered in the fridge for up to 4–5 days. Store toppings separately to keep the surface clean and firm.
- Freeze: Freeze whole or sliced without fresh fruit toppings. Wrap tightly in plastic, then foil.
Freeze up to 1 month for best texture. Thaw overnight in the fridge.
- Transport: Keep it cold in a cooler bag with ice packs. Add toppings at your destination for a fresh look.

Why This is Good for You
No, this isn’t a “health food,” but it does have a few redeeming qualities.
Cream cheese provides protein and calcium, and real vanilla lets you enjoy strong flavor without heavy add-ins. Because it’s rich, a small slice is satisfying, which helps with portion control.
It’s also a gluten-flexible dessert. Use gluten-free cookies for the crust and you’re set.
If you’re watching sugar, you can reduce it slightly and lean on fruit toppings for natural sweetness. Most importantly, making dessert from scratch means you control the ingredients and avoid unnecessary additives.
Common Mistakes to Avoid
- Using cold cream cheese: This leads to lumps. Let it soften fully at room temperature for a smooth filling.
- Overwhipping the cream: Stiff, grainy cream won’t fold smoothly and can make the texture dense.
Aim for medium-stiff peaks.
- Skipping the chill time: The cheesecake needs several hours to set. Rushing it leads to messy slices and a loose texture.
- Adding hot gelatin: If you use gelatin, let it cool to lukewarm before adding. Hot gelatin can form strings or clumps.
- Underpacking the crust: A loosely packed crust crumbles.
Press it in firmly so it holds together.
- Too much lemon juice: A little brightens the flavor. Too much competes with the vanilla and can thin the mixture.
Alternatives
- Crust swaps: Try chocolate wafer cookies, Biscoff, Oreos (skip added sugar), or almond flour mixed with butter for a gluten-free option.
- Stabilizers: If you don’t want gelatin, you can skip it and add 4 oz (115 g) mascarpone to firm up the filling, or use 1 tablespoon instant vanilla pudding mix for gentle hold.
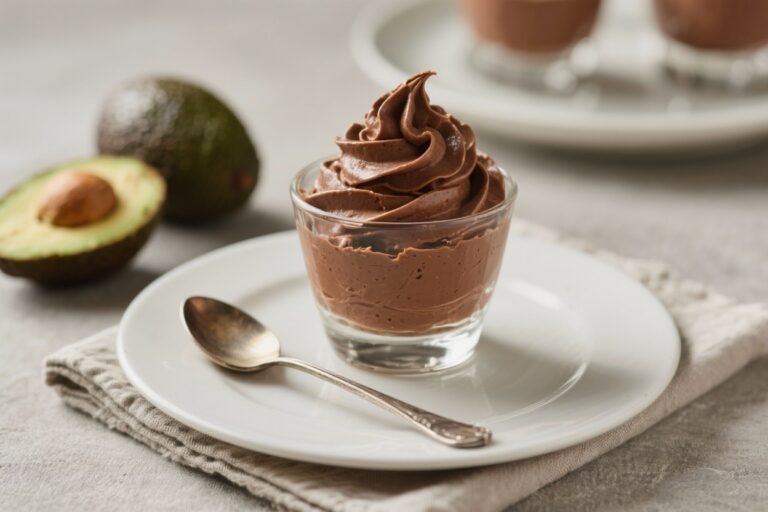
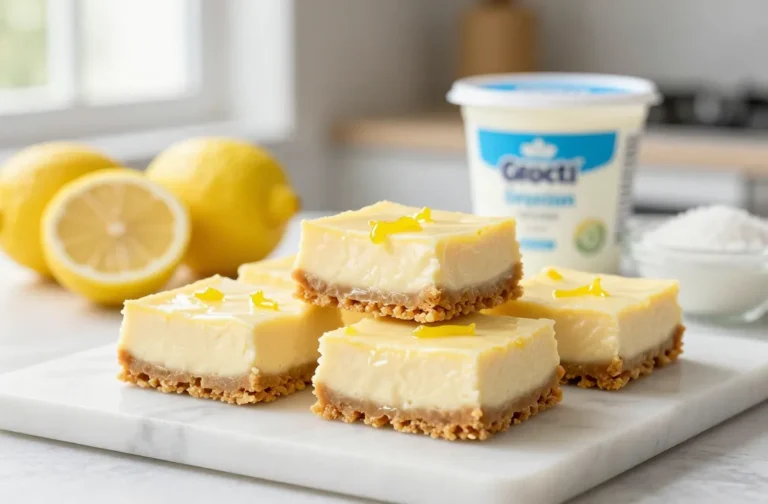
- Dairy variations: Swap part of the cream cheese with Greek yogurt or mascarpone for a lighter or tangier taste. Keep total weight the same.
- Flavor twists: Add 1 teaspoon almond extract, swirl in 1/2 cup lemon curd, or fold in a handful of mini chocolate chips.
Keep mix-ins small so slices stay neat.
- Mini cheesecakes: Make in a muffin tin with liners. Press in a tablespoon of crust, top with filling, and chill. Great for parties and portion control.
FAQ
Can I make this without gelatin?
Yes.
The cheesecake will still set from the whipped cream and chilling, though it will be a bit softer. For cleaner slices without gelatin, chill overnight and serve cold. You can also add a little mascarpone to help stabilize.
What if I don’t have a springform pan?
Use a deep 9-inch pie dish or a 9-inch square pan lined with a parchment sling.
You won’t get the same tall sides, but it will taste just as good and cut neatly.
How do I prevent a soggy crust?
Pack the crust firmly and chill it before adding the filling. If you live in a humid climate, you can bake the crust at 350°F (175°C) for 8–10 minutes and let it cool completely. It’s still a mostly no-bake dessert but gives extra crispness.
Can I reduce the sugar?
Yes.
Reduce each sugar by about 2 tablespoons without hurting texture. If you cut more than that, the cheesecake may taste flat, so add a bit more vanilla or a fruit topping to balance.
How long should I chill it?
At least 6 hours, but overnight is best. The texture improves and the slices look cleaner the longer it chills, up to 24 hours.
What’s the best vanilla to use?
Pure vanilla extract or vanilla bean paste gives the best flavor.
Vanilla paste adds pretty specks and a slightly stronger taste. Avoid imitation if you can.
Why is my filling lumpy?
Cold cream cheese or skipping a good mix is usually the issue. Beat the cream cheese until completely smooth before adding anything else.
If lumps remain, press the mixture through a fine mesh sieve.
Can I make it ahead?
Absolutely. It’s an ideal make-ahead dessert. Make it up to 2 days in advance, keep it covered and chilled, and add toppings just before serving.
Wrapping Up
This no bake vanilla cheesecake is simple, elegant, and endlessly adaptable.
With a crisp cookie crust and a smooth, softly set filling, it’s a reliable dessert for any occasion. Keep a few pantry staples on hand, and you’re always a few steps away from something special. Top it how you like, chill it well, and enjoy every creamy bite.
Printable Recipe Card
Want just the essential recipe details without scrolling through the article? Get our printable recipe card with just the ingredients and instructions.