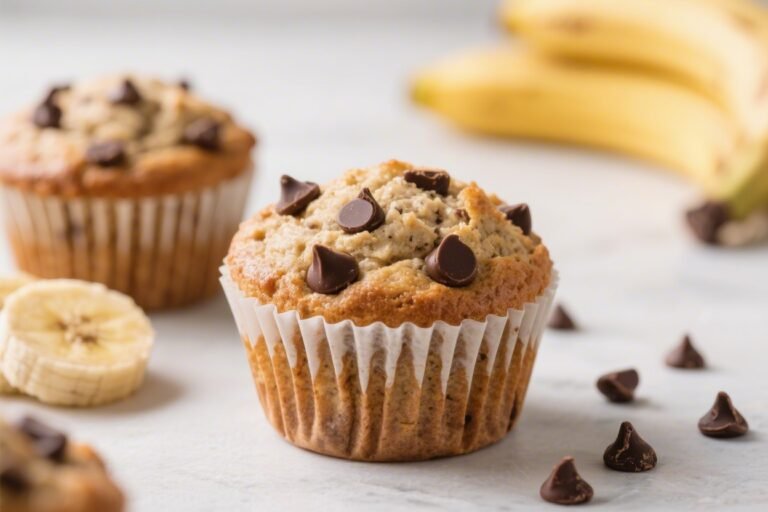
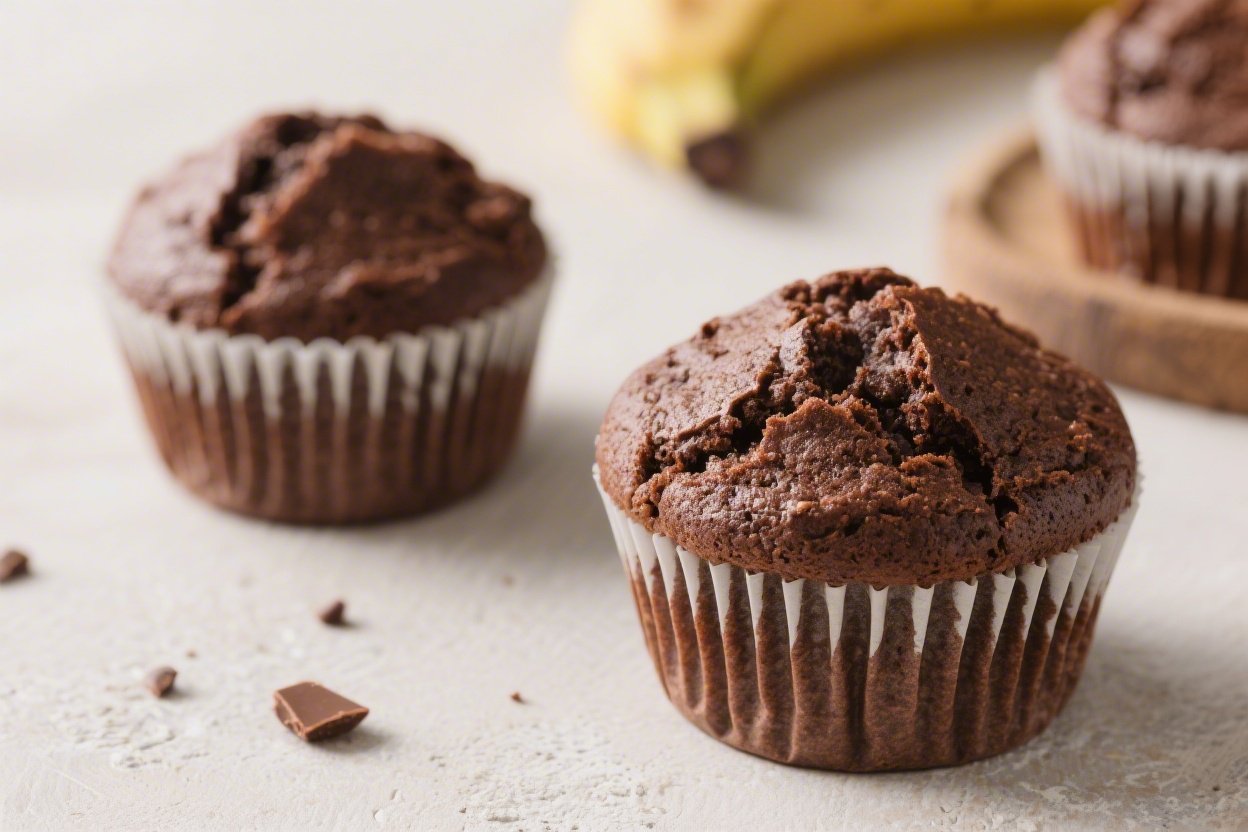
Healthy Chocolate Banana Muffins – Easy, Moist, and Naturally Sweet
If you’re craving something chocolatey that still feels good to eat, these healthy chocolate banana muffins are a win. They’re tender, rich, and naturally sweetened with ripe bananas and a touch of maple syrup. You can whip them up in one bowl, with pantry staples, in under an hour.
FREE 7-Day Easy Dinner Reset
Get 7 healthy, family-friendly dinners complete with recipes and simple meal plans delivered straight to your inbox.
They’re great for busy mornings, after-school snacks, or a not-too-sweet dessert. Kids love them, adults stash them, and no one misses the extra sugar.
Ingredients
Method
- Prep the pan and oven: Heat the oven to 350°F (175°C). Line a 12-cup muffin tin with paper liners or lightly grease each cup.
- Mash the bananas: In a large bowl, mash ripe bananas until mostly smooth with a few small lumps.
- Whisk in wet ingredients: Add eggs, maple syrup, Greek yogurt, oil, and vanilla. Whisk until the mixture looks glossy and well combined.
- Combine dry ingredients: In a separate bowl, whisk flour(s), cocoa powder, baking powder, baking soda, and salt to break up any lumps.
- Bring it together: Add the dry mixture to the wet. Stir gently with a spatula until just combined. If the batter seems very thick, fold in 2–3 tablespoons of milk to loosen. Do not overmix.
- Add mix-ins: Fold in chocolate chips or nuts if using. Keep a few chips aside to sprinkle on top.
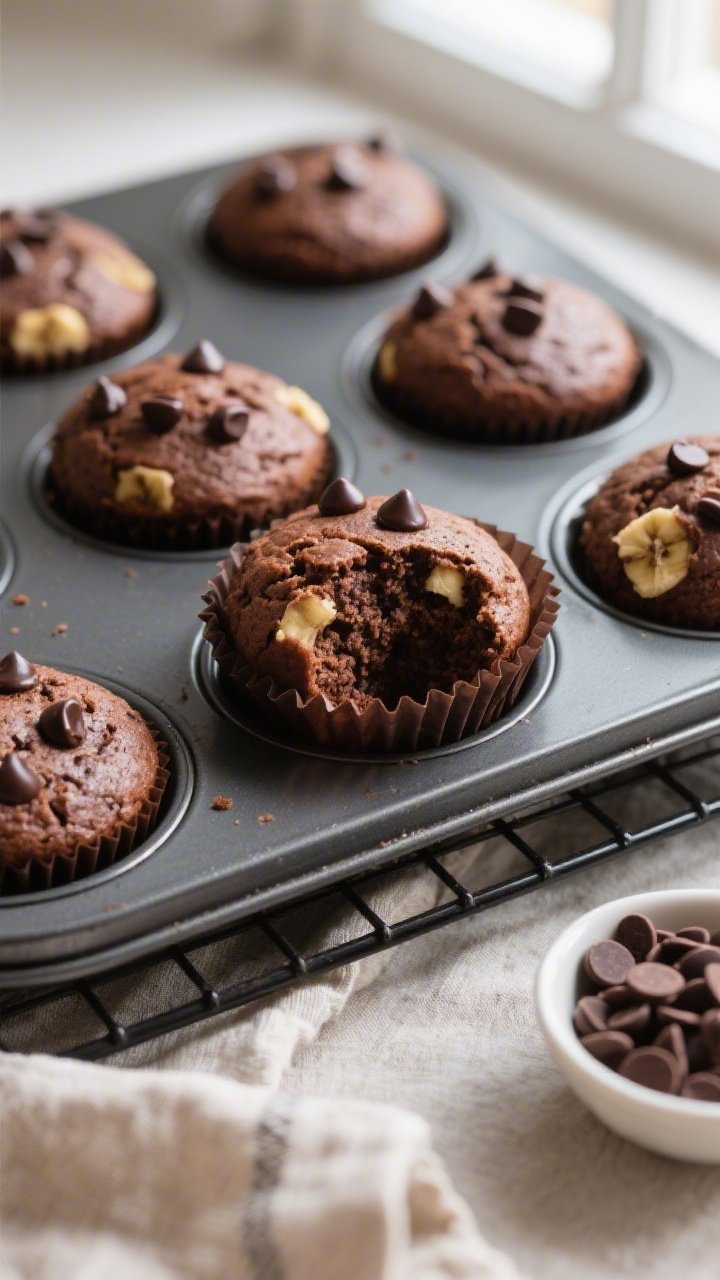
- Fill the cups: Divide batter evenly among the 12 muffin cups, about three-quarters full. Sprinkle extra chips on top for a bakery look.
- Bake: Bake 16–20 minutes, until the tops are set and a toothpick inserted in the center comes out with a few moist crumbs.
- Cool: Let muffins cool in the pan for 5 minutes, then move to a wire rack to cool completely. The crumb sets as they cool.
What Makes This Special
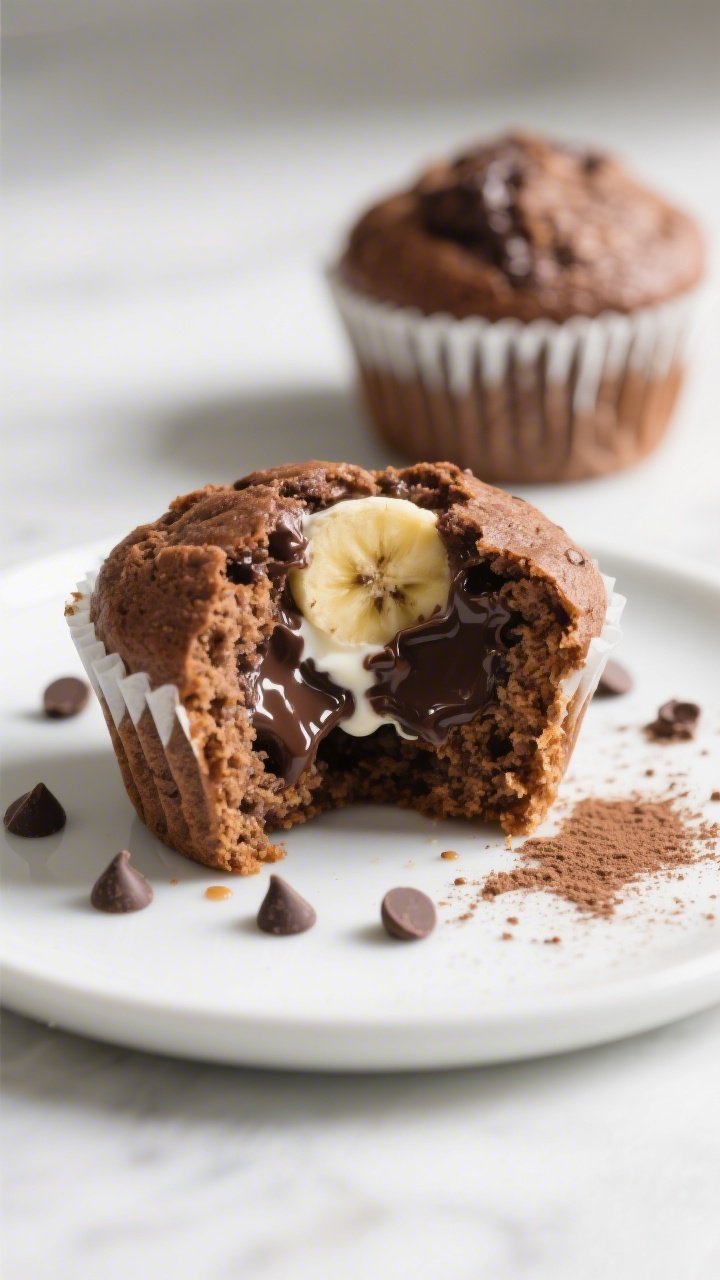
These muffins deliver real chocolate flavor without a long ingredient list. They use cocoa powder for depth, mashed bananas for moisture, and whole-grain flour for extra fiber.
You’ll get a soft, cake-like crumb without butter or refined sugar. Best of all, they’re flexible—dairy-free and nut-free options are easy, and you can add mix-ins like walnuts or dark chocolate chips without losing the “healthy” spirit.
Ingredients
- 3 medium ripe bananas, well-mashed (about 1 1/4 cups)
- 2 large eggs, at room temperature
- 1/3 cup maple syrup or honey
- 1/3 cup plain Greek yogurt (or dairy-free yogurt)
- 1/4 cup olive oil or melted coconut oil
- 1 teaspoon vanilla extract
- 1 cup white whole wheat flour (or half whole wheat, half all-purpose)
- 1/2 cup oat flour (store-bought or finely ground oats)
- 1/2 cup unsweetened cocoa powder
- 1 teaspoon baking powder
- 1/2 teaspoon baking soda
- 1/4 teaspoon fine sea salt
- 1/2 cup dark chocolate chips (optional, mini chips work well)
- 2–3 tablespoons milk (dairy or non-dairy), if needed to loosen the batter
Instructions
- Prep the pan and oven: Heat the oven to 350°F (175°C). Line a 12-cup muffin tin with paper liners or lightly grease each cup.
- Mash the bananas: In a large bowl, mash ripe bananas until mostly smooth with a few small lumps.
- Whisk in wet ingredients: Add eggs, maple syrup, Greek yogurt, oil, and vanilla.
Whisk until the mixture looks glossy and well combined.
- Combine dry ingredients: In a separate bowl, whisk flour(s), cocoa powder, baking powder, baking soda, and salt to break up any lumps.
- Bring it together: Add the dry mixture to the wet. Stir gently with a spatula until just combined. If the batter seems very thick, fold in 2–3 tablespoons of milk to loosen.
Do not overmix.
- Add mix-ins: Fold in chocolate chips or nuts if using. Keep a few chips aside to sprinkle on top.
- Fill the cups: Divide batter evenly among the 12 muffin cups, about three-quarters full. Sprinkle extra chips on top for a bakery look.
- Bake: Bake 16–20 minutes, until the tops are set and a toothpick inserted in the center comes out with a few moist crumbs.
- Cool: Let muffins cool in the pan for 5 minutes, then move to a wire rack to cool completely.
The crumb sets as they cool.
How to Store
- Room temperature: Store in an airtight container for up to 2 days. Add a paper towel under and over the muffins to absorb moisture.
- Refrigerator: Keep up to 5 days. Warm briefly in the microwave to soften before serving.
- Freezer: Freeze in a single layer until solid, then transfer to a freezer bag.
They keep well for up to 3 months. Thaw at room temp or microwave 20–30 seconds.
Health Benefits
- Whole grains for fiber: Using white whole wheat and oat flour boosts fiber, which supports digestion and helps you stay full longer.
- Lower added sugar: Bananas and a modest amount of maple syrup keep sweetness in check compared to typical chocolate muffins.
- Better fats: Olive or coconut oil provides healthier fat than butter, and a small amount keeps the muffins moist without greasiness.
- Antioxidants from cocoa: Unsweetened cocoa offers flavanols that support heart health.
- Protein from yogurt and eggs: These add structure and a little extra staying power for breakfast or snacks.
Pitfalls to Watch Out For
- Overmixing the batter: This can make the muffins tough. Stir just until the dry streaks disappear.
- Using underripe bananas: Green or barely yellow bananas won’t add enough sweetness or moisture.
Spotty bananas are best.
- Skipping the milk adjustment: Depending on your flour and bananas, the batter can run thick. A splash of milk helps with rise and texture.
- Overbaking: Dry muffins happen fast. Start checking at 16 minutes and look for moist crumbs on the tester.
- Old leaveners: Flat muffins often come from expired baking powder or soda.
Check dates and replace if needed.
Recipe Variations
- Peanut butter swirl: Dollop 1–2 teaspoons natural peanut butter on each muffin and swirl with a toothpick before baking.
- Double chocolate crunch: Add 1/4 cup cacao nibs for texture and deeper cocoa flavor.
- Mocha muffins: Stir in 1 teaspoon instant espresso powder with the dry ingredients to boost chocolate notes.
- Gluten-free: Use a 1:1 gluten-free flour blend in place of the white whole wheat and oat flour.
- Dairy-free: Swap Greek yogurt for a thick coconut or almond-milk yogurt and use non-dairy milk and chocolate chips.
- Nutty banana: Fold in 1/2 cup chopped walnuts or pecans for crunch and healthy fats.
- Zucchini boost: Add 1/2 cup finely grated, well-squeezed zucchini to the batter to sneak in extra veggies.
FAQ
Can I use only all-purpose flour?
Never Wonder What's For Dinner Again
Get 7 healthy, family-friendly dinners complete with recipes, grocery lists, and simple meal plans delivered straight to your inbox.
Yes. Use 1 1/2 cups all-purpose flour in place of the white whole wheat and oat flour. The muffins will be a bit lighter with slightly less fiber.
Do I need the yogurt?
It adds moisture and a tender crumb.
If you don’t have it, you can use applesauce or mashed banana for a similar result, though the muffins may be slightly denser.
How ripe should the bananas be?
Look for bananas with plenty of brown spots and a strong banana scent. The riper they are, the sweeter and more moist the muffins will be.
Can I cut the sweetener further?
You can reduce the maple syrup to 1/4 cup if your bananas are very ripe. Expect a slightly less sweet, more bread-like muffin.
What if I don’t have cocoa powder?
Cocoa powder is key for chocolate flavor.
If you’re out, you can melt 2 ounces of dark chocolate and whisk it into the wet ingredients, but the flavor and texture will vary.
How do I make mini muffins?
Use a mini muffin pan and bake 10–12 minutes. Start checking early; mini muffins dry out faster.
Why did my muffins sink in the middle?
This usually means underbaking or too much liquid. Make sure they bake until the centers spring back and a tester shows moist crumbs, not wet batter.
Can I add protein powder?
Yes, but replace only up to 1/4 cup of the flour with an unsweetened protein powder and add a splash more milk if the batter is very thick.
Are they freezer-friendly?
Absolutely.
Freeze on a sheet pan, then store in a sealed bag for up to 3 months. Reheat from frozen in the microwave or a low oven.
In Conclusion
These healthy chocolate banana muffins bring together big chocolate flavor, natural sweetness, and simple prep. They’re easy to customize, friendly to different diets, and practical for weekly meal prep.
Keep a batch on hand for quick breakfasts, lunchbox treats, or a better-for-you chocolate fix. Once you try them, they’ll become a staple in your baking rotation.
Printable Recipe Card
Want just the essential recipe details without scrolling through the article? Get our printable recipe card with just the ingredients and instructions.
Loved This Recipe?
If you're looking for more simple, healthy dinners your family will actually eat, grab my FREE 7-Day Easy Dinner Reset. You'll get 7 easy dinner recipes, simple grocery lists, and a done-for-you plan that takes the stress out of mealtime.