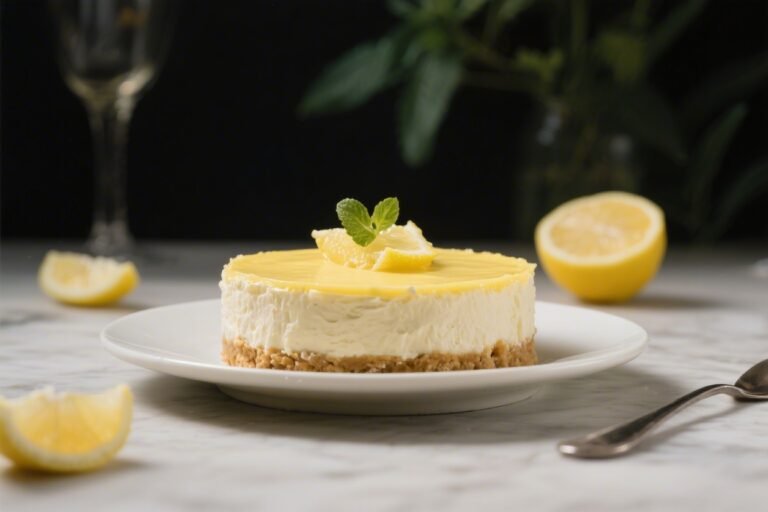
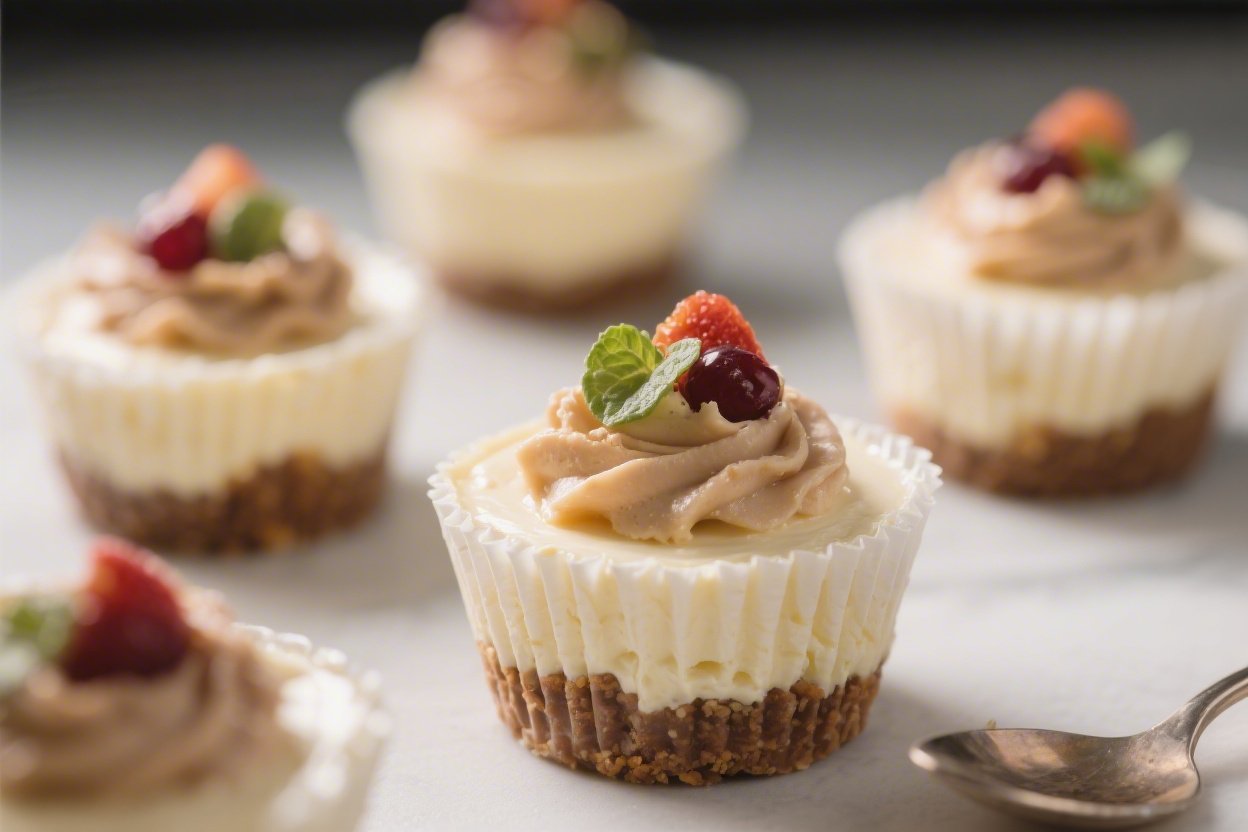
No Bake High Protein Cheesecake Cups – Creamy, Simple, and Satisfying
No oven, no hassle—just creamy cheesecake flavor with a protein boost. These No Bake High Protein Cheesecake Cups are perfect for busy days when you want something sweet that actually keeps you full. They’re smooth, lightly tangy, and easy to customize with toppings you love.
FREE 7-Day Easy Dinner Reset
Get 7 healthy, family-friendly dinners complete with recipes and simple meal plans delivered straight to your inbox.
Make a batch on Sunday and you’ve got snacks or dessert all week. They’re as good post-workout as they are after dinner.
Ingredients
Method
- Prep your cups. Set out 8–10 small jars, ramekins, or a muffin tin lined with silicone or paper liners. Clear space in the fridge for chilling.
- Make the crust. In a bowl, mix the crushed crackers, melted coconut oil or butter, sweetener, and a pinch of salt until it resembles damp sand. Press 1–2 tablespoons into the bottom of each cup. Use the back of a spoon to compact. Set aside.
- Soften the cream cheese. In a mixing bowl, beat the light cream cheese with a hand mixer until smooth and fluffy. This prevents lumps later.
- Add yogurt and flavor. Beat in the Greek yogurt, vanilla, lemon juice, and salt until silky. Taste and adjust lemon or vanilla as needed.
- Fold in protein and sweetener. Sprinkle in the protein powder and your sweetener. Mix on low at first to avoid clumps, then increase speed until fully smooth. If it looks too thick, add 1–2 tablespoons milk or water. If too thin, add 1–2 teaspoons more protein powder.
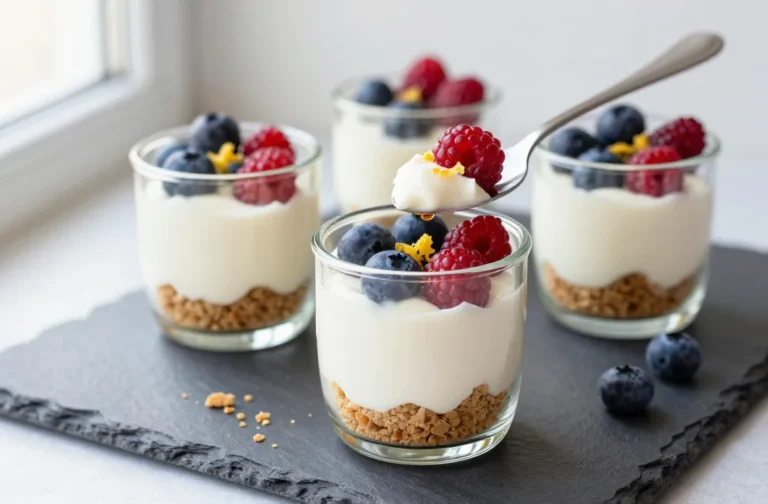
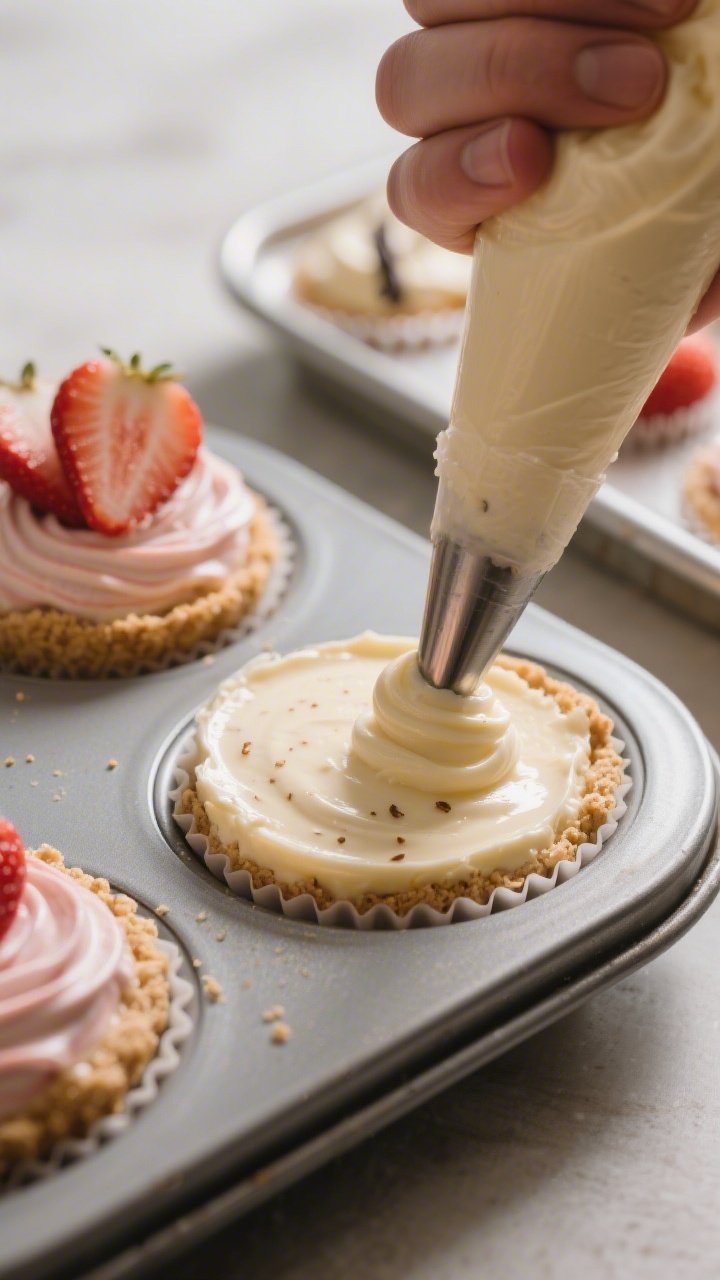
- Assemble the cups. Spoon or pipe the cheesecake filling over the crusts, dividing evenly. Smooth the tops with the back of a spoon.
- Chill to set. Cover and refrigerate for at least 2 hours, preferably 4. The protein and dairy firm up as they chill, creating that classic cheesecake texture.
- Add toppings. Just before serving, top with berries, compote, chocolate shavings, or nuts for crunch and color.
- Serve and enjoy. These are best cool but not ice-cold. Let them sit at room temperature for 5–10 minutes for the creamiest bite.
What Makes This Special
This recipe gives you the classic cheesecake experience without the heavy sugar or baking drama. The texture is rich and silky, thanks to Greek yogurt and a light cream cheese blend.
A simple, crunchy crust anchors each cup, but you can skip it if you’re low-carb. Best of all, each cup packs serious protein, so you get a dessert that also supports your goals. It’s fast, flexible, and surprisingly filling.
Ingredients
- For the crust (optional but tasty):
- 1 cup crushed graham crackers or high-fiber biscuits
- 2 tablespoons melted coconut oil or unsalted butter
- 1 tablespoon maple syrup or honey (optional for extra stickiness)
- Pinch of salt
- For the filling:
- 8 ounces light cream cheese, softened
- 1 cup plain nonfat or low-fat Greek yogurt
- 1 scoop (25–30 g) vanilla whey or casein protein powder (or a neutral plant-based protein)
- 3–4 tablespoons powdered sweetener of choice (maple syrup, honey, or powdered stevia/monk fruit blend to taste)
- 1–2 teaspoons fresh lemon juice
- 1 teaspoon vanilla extract
- Pinch of salt
- For topping (choose your favorite):
- Fresh berries or sliced fruit
- 2–3 tablespoons fruit compote or sugar-free jam
- Shaved dark chocolate or mini chocolate chips
- Crushed nuts or seeds
How to Make It
- Prep your cups. Set out 8–10 small jars, ramekins, or a muffin tin lined with silicone or paper liners.
Clear space in the fridge for chilling.
- Make the crust. In a bowl, mix the crushed crackers, melted coconut oil or butter, sweetener, and a pinch of salt until it resembles damp sand. Press 1–2 tablespoons into the bottom of each cup. Use the back of a spoon to compact.
Set aside.
- Soften the cream cheese. In a mixing bowl, beat the light cream cheese with a hand mixer until smooth and fluffy. This prevents lumps later.
- Add yogurt and flavor. Beat in the Greek yogurt, vanilla, lemon juice, and salt until silky. Taste and adjust lemon or vanilla as needed.
- Fold in protein and sweetener. Sprinkle in the protein powder and your sweetener.
Mix on low at first to avoid clumps, then increase speed until fully smooth. If it looks too thick, add 1–2 tablespoons milk or water. If too thin, add 1–2 teaspoons more protein powder.
- Assemble the cups. Spoon or pipe the cheesecake filling over the crusts, dividing evenly.
Smooth the tops with the back of a spoon.
- Chill to set. Cover and refrigerate for at least 2 hours, preferably 4. The protein and dairy firm up as they chill, creating that classic cheesecake texture.
- Add toppings. Just before serving, top with berries, compote, chocolate shavings, or nuts for crunch and color.
- Serve and enjoy. These are best cool but not ice-cold. Let them sit at room temperature for 5–10 minutes for the creamiest bite.
Keeping It Fresh
Store the cups covered in the refrigerator for up to 5 days.
If you’re using juicy fruit toppings, add them right before serving so they don’t weep into the filling. For longer storage, freeze without toppings for up to 1 month. Thaw in the fridge overnight or on the counter for 30–45 minutes until creamy again.
Benefits of This Recipe
- High protein, satisfying. Each cup keeps you fuller longer than a typical dessert.
- No bake, low effort. Perfect for warm days or small kitchens with limited equipment.
- Customizable. Works with dairy or plant-based proteins and endless toppings.
- Balanced sweetness. You control the sugar level and can use natural or low-calorie sweeteners.
- Meal-prep friendly. Make-ahead cups handle busy weeks with ease.
Common Mistakes to Avoid
- Skipping the softening step. Cold cream cheese leads to lumpy filling.
Let it sit at room temp 20–30 minutes before mixing.
- Overloading protein powder. Too much can make the texture chalky. Start with one scoop and adjust by a teaspoon if needed.
- Using a gritty protein. Some plant proteins are coarse. If so, blend the filling briefly or choose a finer, neutral-tasting powder.
- Not chilling long enough. The set comes from time.
Give it at least 2 hours for clean, creamy scoops.
- Wet crusts. If your crust won’t hold, add a bit more melted fat or press more firmly. For very humid climates, briefly chill the crust before adding filling.
Recipe Variations
Never Wonder What's For Dinner Again
Get 7 healthy, family-friendly dinners complete with recipes, grocery lists, and simple meal plans delivered straight to your inbox.
- Strawberry Swirl. Fold in 2–3 tablespoons strawberry jam or puree to the filling for a ripple effect. Top with fresh slices.
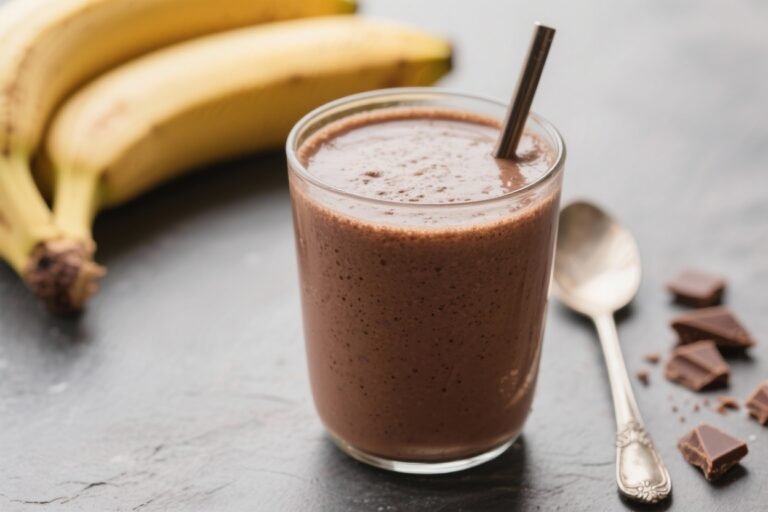
- Chocolate Dream. Use chocolate protein powder and add 1 tablespoon cocoa powder.
Finish with shaved dark chocolate and a pinch of sea salt.
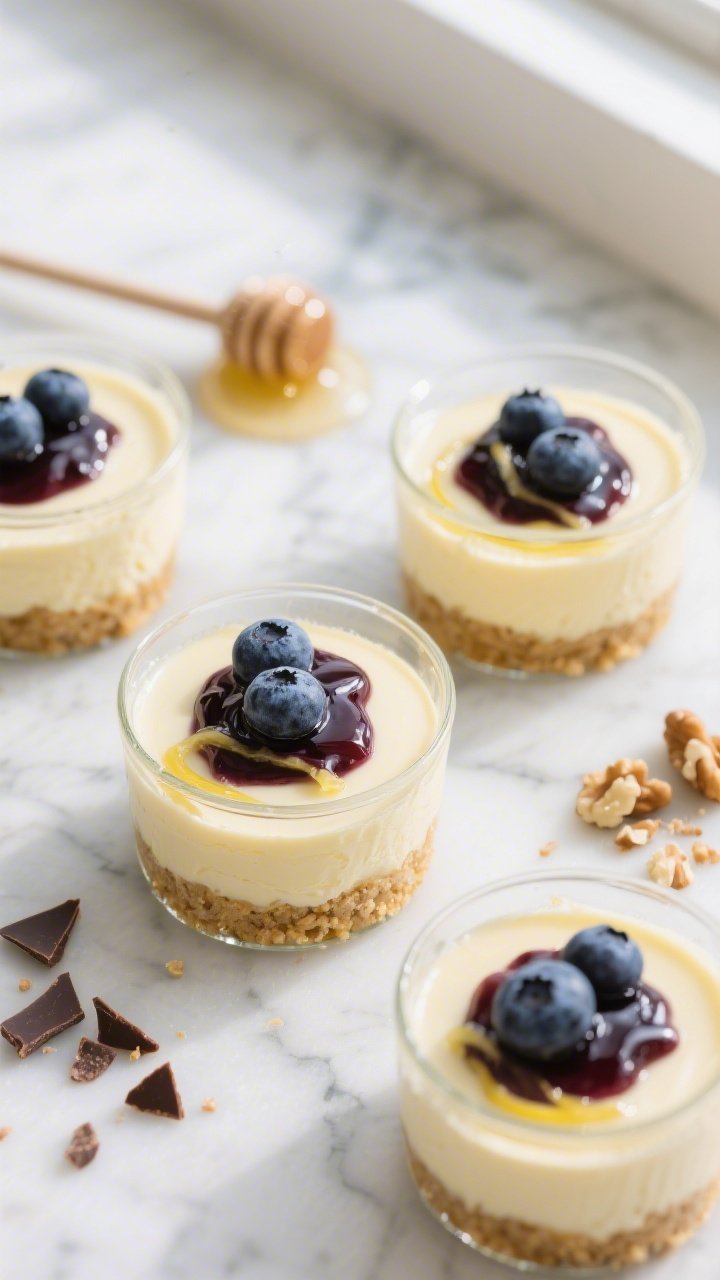
- Lemon Blueberry. Increase lemon juice to 1 tablespoon and add 1 teaspoon lemon zest. Top with blueberries and a light drizzle of honey.
- Peanut Butter Cup. Stir 2 tablespoons powdered peanut butter into the filling and add mini chocolate chips on top. Use a chocolate cookie crust if you like.
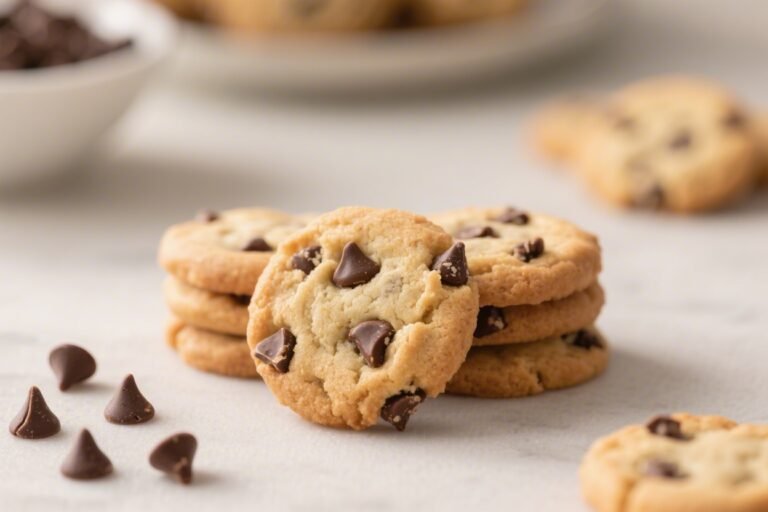
- Cookie Crumble. Skip the crust and sprinkle crushed high-protein cookies over the top right before serving.
- Low-Carb/Gluten-Free. Use almond flour crust: 1 cup almond flour, 2 tablespoons melted butter or coconut oil, pinch of salt, sweetener to taste.
- Dairy-Free. Swap cream cheese for a thick dairy-free cream cheese and Greek-style coconut yogurt.
Use a plant-based protein with a smooth texture.
FAQ
How much protein is in each cup?
It depends on your protein powder and portion size, but most batches yield about 8–10 cups with roughly 10–15 grams of protein each. Check your specific protein label and divide by servings to be precise.
Can I make this without the crust?
Yes. The filling sets well on its own.
For a little texture, add a sprinkle of crushed nuts or high-protein granola before serving.
What if my filling is too thick?
Whisk in 1–2 tablespoons milk, almond milk, or water until it loosens to a creamy consistency. Add liquids slowly so it doesn’t turn runny.
What if my filling is too runny?
Add 1–2 teaspoons more protein powder or a spoon of powdered milk, then chill longer. Cold time helps it firm up.
Can I use flavored yogurt?
Yes, but reduce added sweetener since flavored yogurts are sweet.
Vanilla or lemon yogurt can be great here.
Is there a way to make it lower sugar?
Use an unsweetened protein powder and a zero-calorie powdered sweetener. Choose low-sugar toppings like fresh berries.
How long do they need to chill?
At least 2 hours, but 4 hours makes them firmer and more cheesecake-like. Overnight is ideal for easy grab-and-go cups.
Can I scale this for a crowd?
Yes.
Double or triple the recipe, and assemble in a 9×9-inch pan for bars or in mini cups for parties. Just keep the same chill time or a bit longer.
In Conclusion
No Bake High Protein Cheesecake Cups give you the best of both worlds: dessert satisfaction and steady, protein-backed energy. They’re simple to assemble, easy to tailor to your taste, and perfect for make-ahead snacking.
Keep a few in the fridge, switch up the toppings, and enjoy a creamy treat that fits your day—no oven required.
Printable Recipe Card
Want just the essential recipe details without scrolling through the article? Get our printable recipe card with just the ingredients and instructions.
Loved This Recipe?
If you're looking for more simple, healthy dinners your family will actually eat, grab my FREE 7-Day Easy Dinner Reset. You'll get 7 easy dinner recipes, simple grocery lists, and a done-for-you plan that takes the stress out of mealtime.