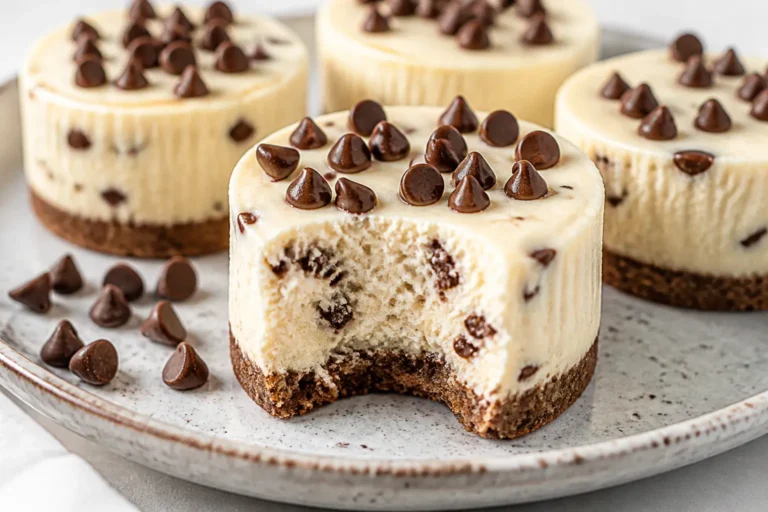
High Protein Low Carb Coconut Cream Cheesecake – Light, Creamy, And Satisfying
This cheesecake hits that sweet spot: lush and creamy, but with a smart macro profile that actually fits your goals. It’s rich with coconut flavor, packed with protein, and keeps carbs in check without tasting “diet.” The texture is silky, the crust is crisp, and the coconut cream topping makes it feel special enough for guests. Still, the prep is simple, the ingredients are easy to find, and the result feels indulgent without the crash.
If you’ve been missing dessert on a low-carb plan, this one brings it back—no compromise needed.
High Protein Low Carb Coconut Cream Cheesecake - Light, Creamy, And Satisfying
Ingredients
Method
- Prep your pan: Line the bottom of a 9-inch springform pan with parchment and lightly grease the sides. Preheat the oven to 325°F (160°C).
- Mix the crust: In a bowl, combine almond flour, shredded coconut, sweetener, and salt. Stir in melted butter and vanilla until the mixture looks like damp sand and holds when pressed.
- Press and par-bake: Firmly press the crust mixture into the bottom of the pan. Bake for 10–12 minutes, until lightly golden and fragrant. Cool while you make the filling.
- Beat the cream cheese: In a large bowl or stand mixer, beat softened cream cheese on medium speed for 1–2 minutes until smooth. Scrape the bowl well.
- Add yogurt and sweetener: Beat in Greek yogurt, granulated sweetener, vanilla, coconut extract (if using), and salt. Mix just until combined and silky.
- Blend in coconut milk: Slowly stream in the coconut milk with the mixer on low. The batter should be smooth and pourable, not runny.
- Add eggs last: Beat in eggs one at a time on low speed, just until incorporated. Avoid overmixing to prevent excess air bubbles.
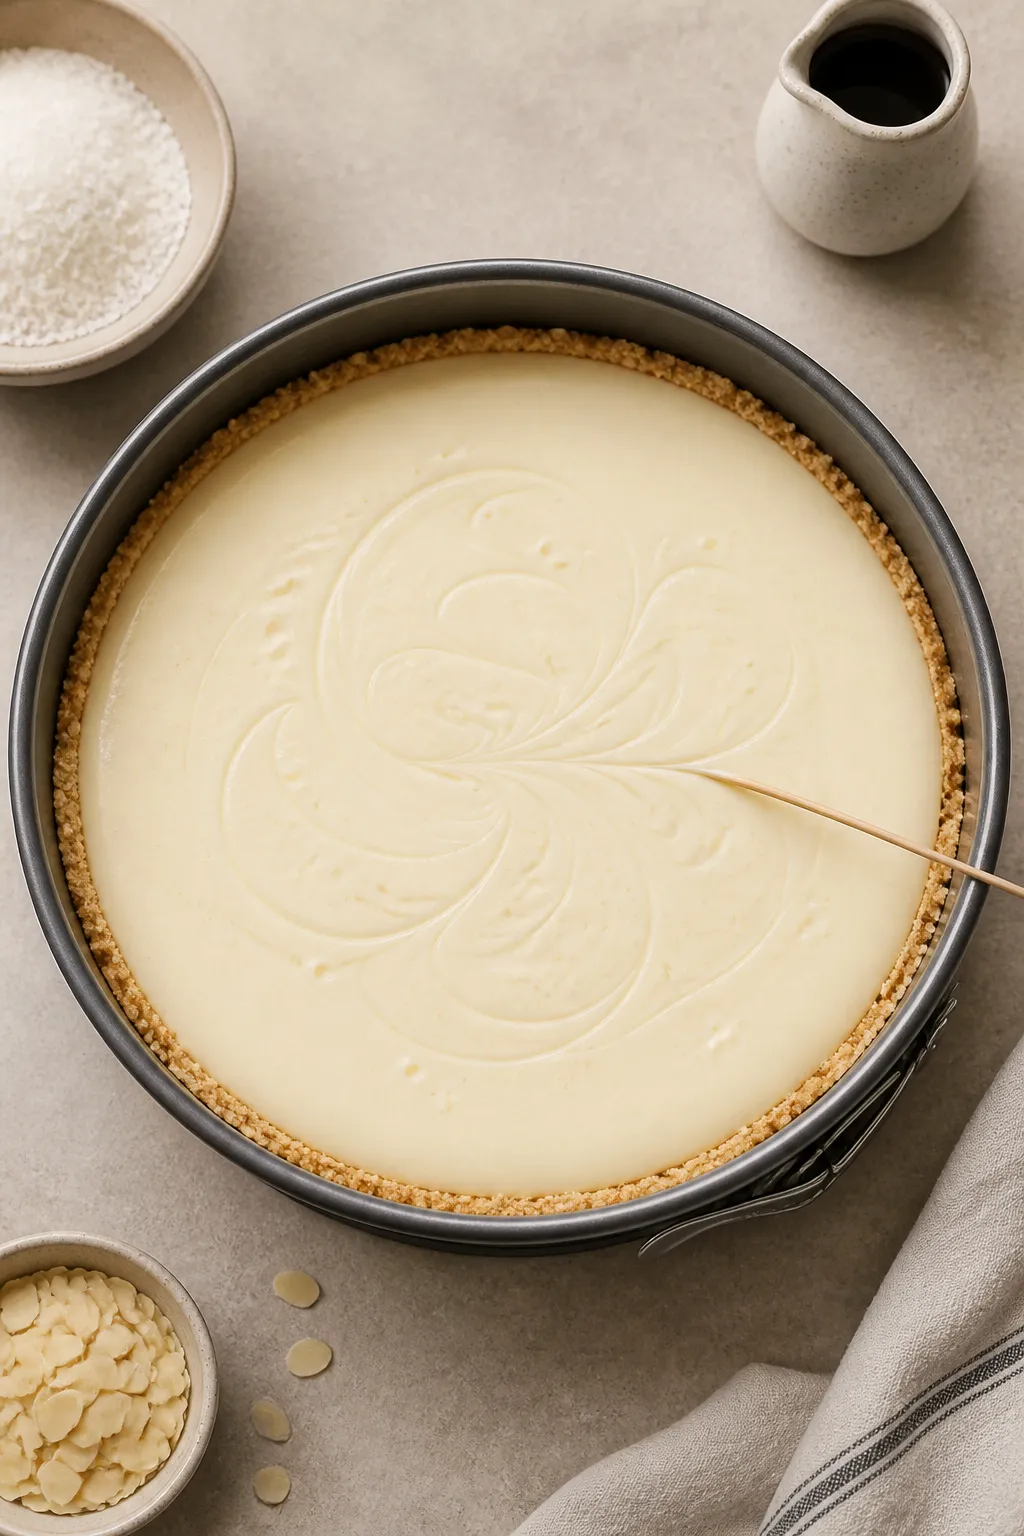
- Prepare for baking: Pour the filling over the cooled crust. Tap the pan gently on the counter to release air bubbles. Run a knife or skewer through the batter in a few swirls to help pop any trapped bubbles.
- Bake gently: Bake at 325°F for 45–55 minutes, until edges are set and the center has a slight wobble (like gelatin). If the top browns too quickly, tent loosely with foil.
- Cool slowly: Turn off the oven, crack the door, and let the cheesecake sit inside for 30 minutes. Move to a rack and cool to room temperature, then refrigerate at least 6 hours, preferably overnight.
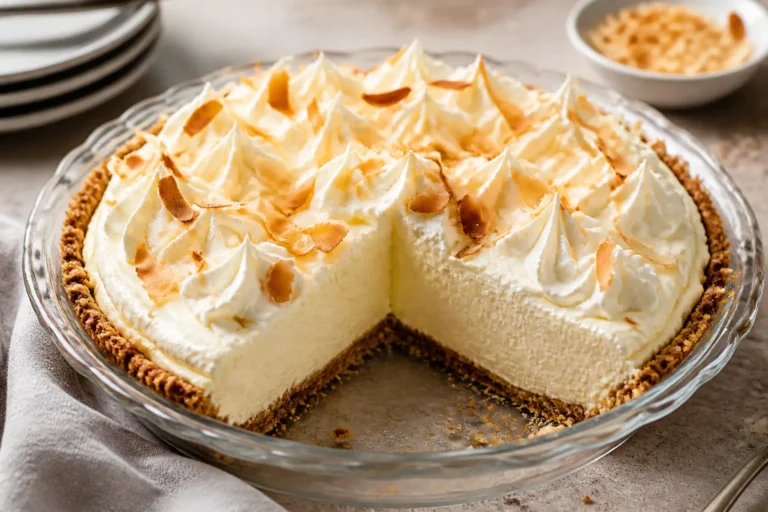
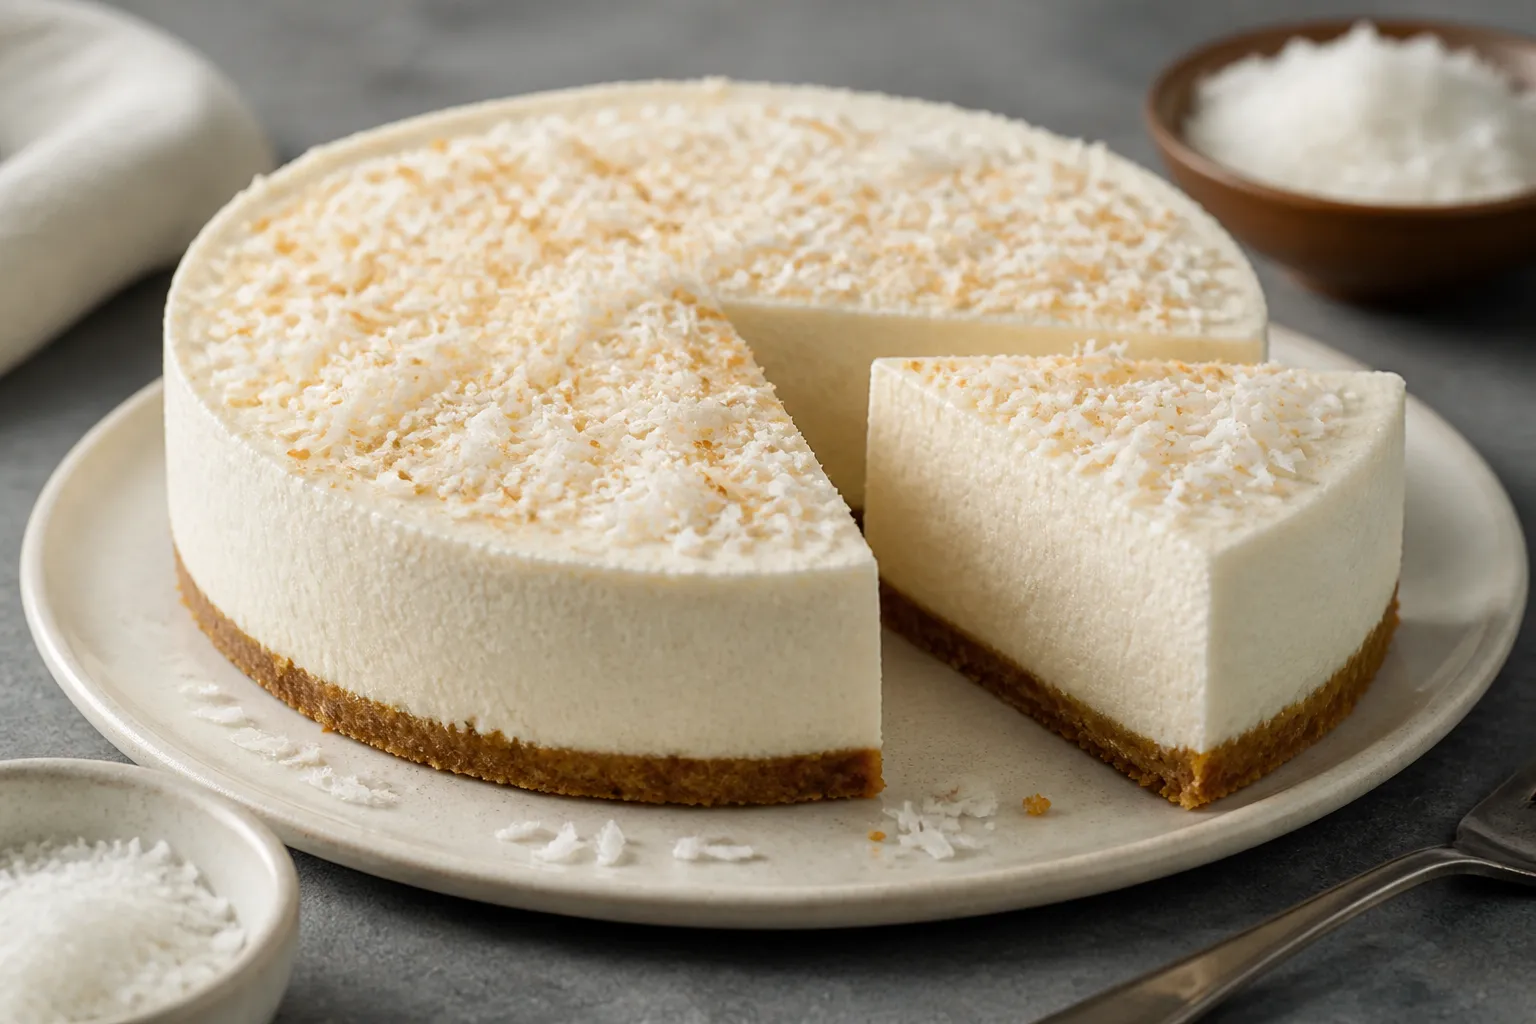
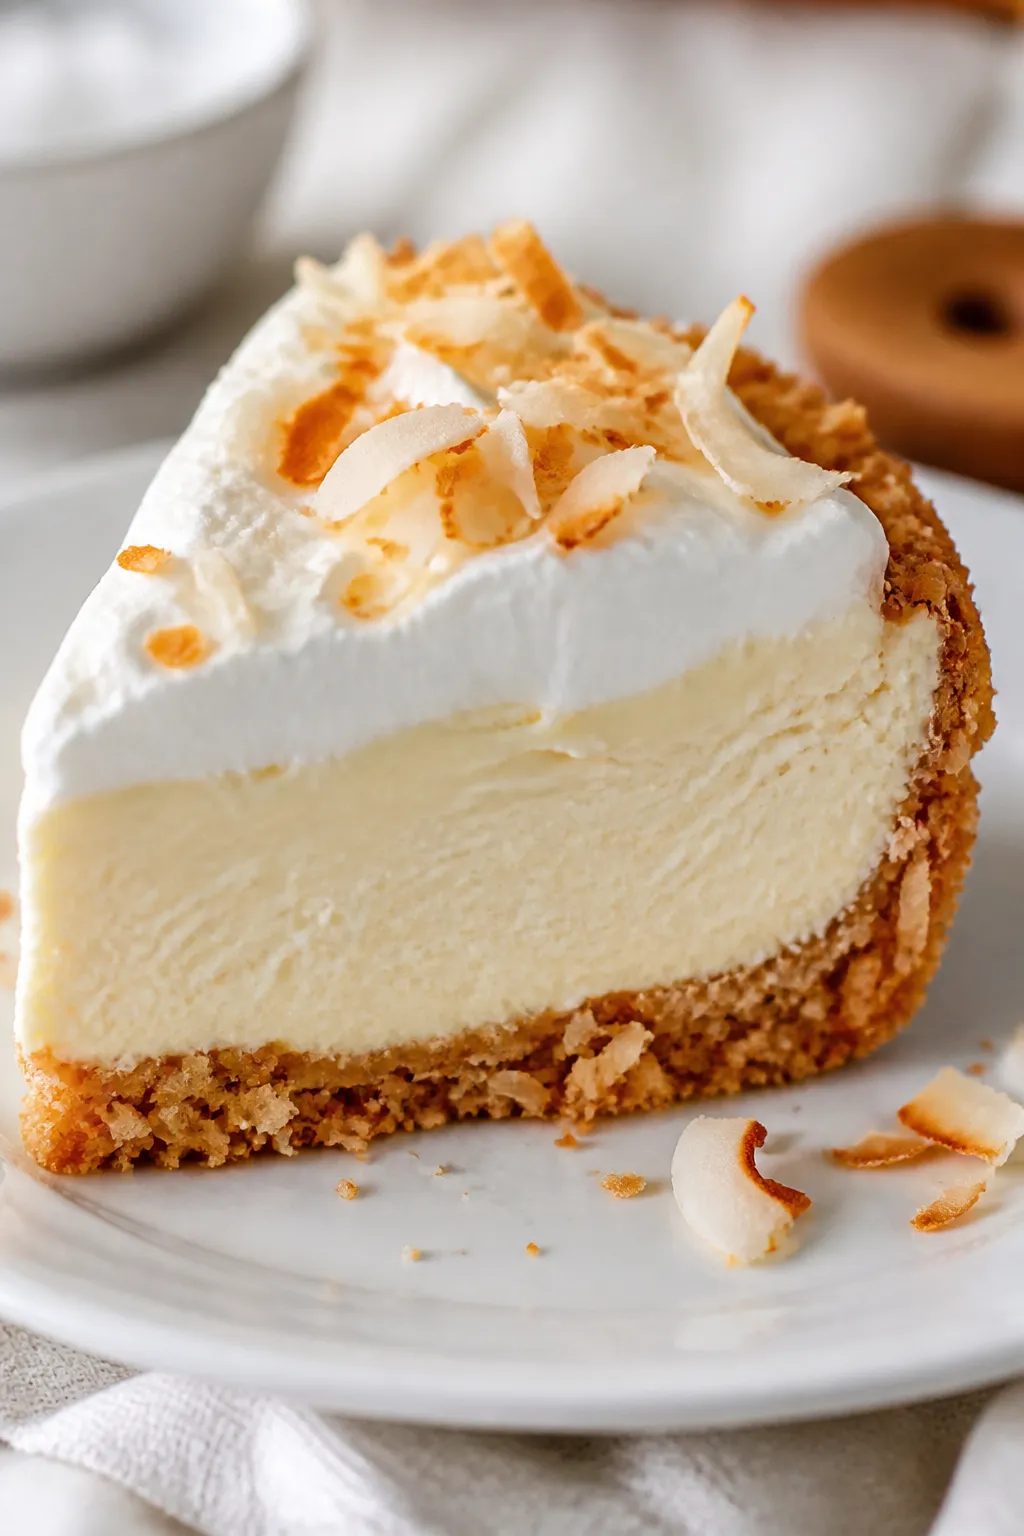
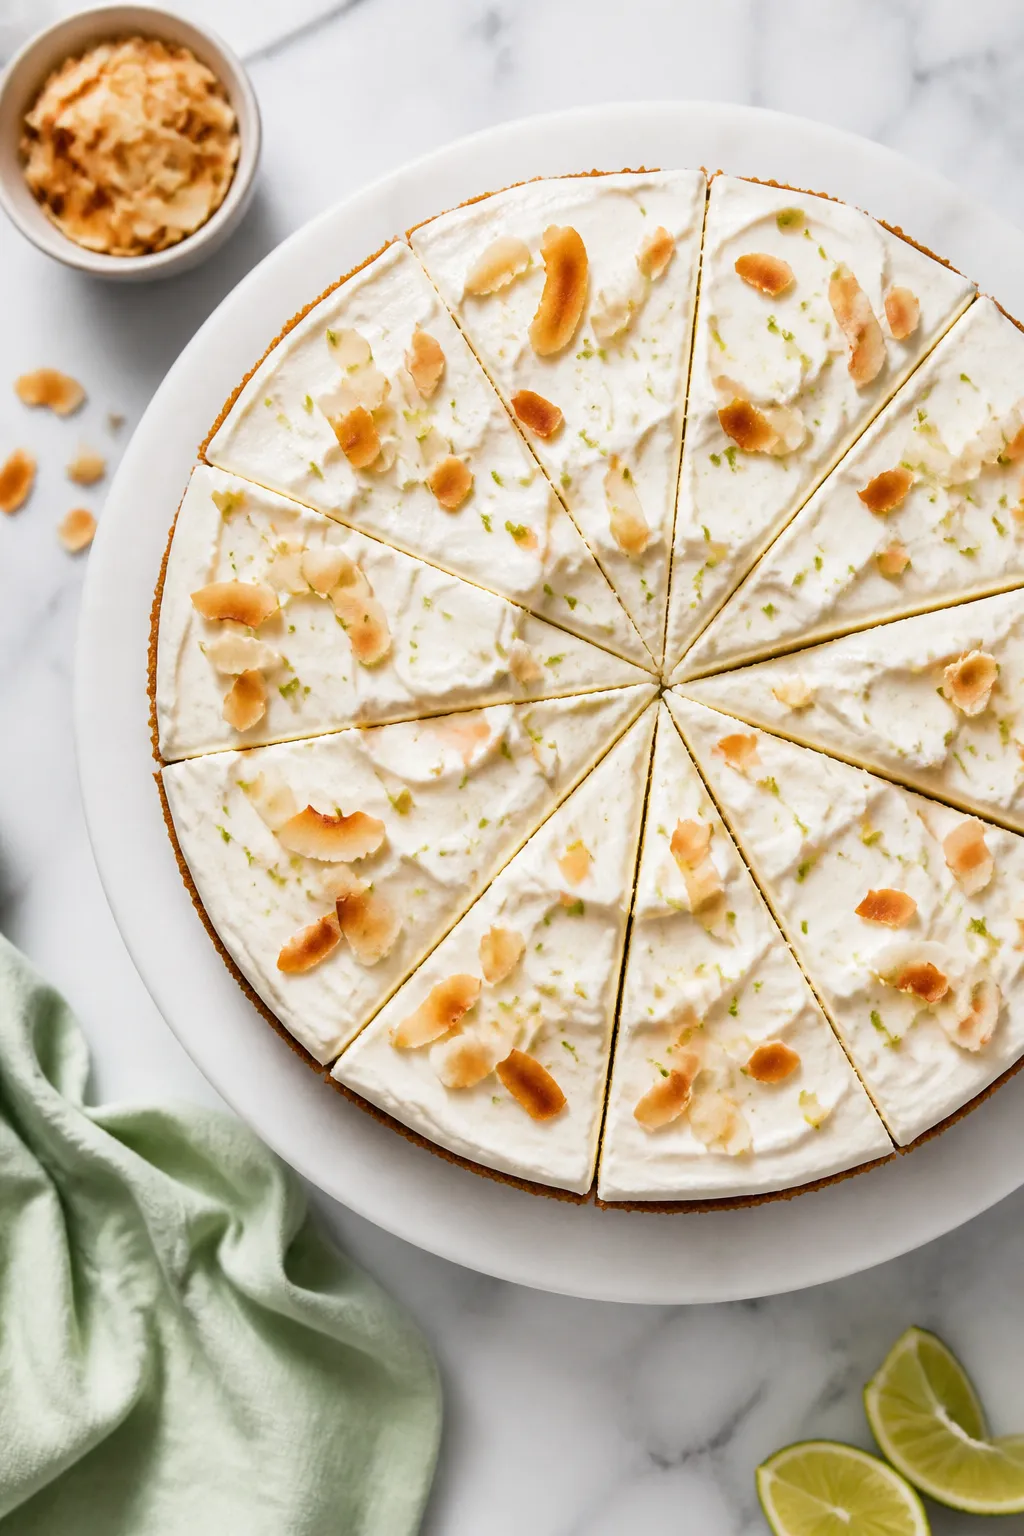
- Make the topping: Whisk coconut cream, powdered sweetener, and vanilla until smooth and thick. Spread over the chilled cheesecake. Sprinkle with toasted coconut flakes if you like.
- Slice and serve: Run a thin knife around the edge of the pan, release the springform, slice with a warm knife, and enjoy.

Why This Recipe Works
- Protein-forward base: Greek yogurt and light cream cheese add protein while keeping the filling velvety.
- Low-carb sweetening: Erythritol or allulose gives clean sweetness without spiking blood sugar or leaving an aftertaste when balanced with vanilla and coconut.
- Almond-coconut crust: Almond flour and shredded coconut toast up for a flavorful, gluten-free crust that holds together nicely.
- Coconut two ways: Coconut milk in the filling and coconut cream on top deliver big flavor and a luscious finish.
- Oven method that prevents cracks: A moderate bake and a slow cool-down keep the surface smooth and custardy.
Ingredients
For the crust:
- 1 1/2 cups fine almond flour
- 1/2 cup unsweetened shredded coconut
- 3 tablespoons granulated erythritol or allulose
- 1/4 teaspoon fine sea salt
- 4 tablespoons unsalted butter, melted
- 1 teaspoon vanilla extract
For the filling:
- 16 ounces light cream cheese, softened to room temperature
- 1 cup plain 2% or nonfat Greek yogurt
- 1 cup full-fat coconut milk (well-stirred)
- 3 large eggs, room temperature
- 2/3 to 3/4 cup granulated erythritol or allulose (adjust to taste)
- 2 teaspoons vanilla extract
- 1 teaspoon coconut extract (optional but boosts flavor)
- 1/4 teaspoon fine sea salt
For the topping:
- 1 cup coconut cream (scoop the thick part from a can of chilled coconut milk)
- 2–3 tablespoons powdered erythritol or allulose
- 1 teaspoon vanilla extract
- Toasted unsweetened coconut flakes, for garnish (optional)
How to Make It
- Prep your pan: Line the bottom of a 9-inch springform pan with parchment and lightly grease the sides. Preheat the oven to 325°F (160°C).
- Mix the crust: In a bowl, combine almond flour, shredded coconut, sweetener, and salt. Stir in melted butter and vanilla until the mixture looks like damp sand and holds when pressed.
- Press and par-bake: Firmly press the crust mixture into the bottom of the pan.
Bake for 10–12 minutes, until lightly golden and fragrant. Cool while you make the filling.
- Beat the cream cheese: In a large bowl or stand mixer, beat softened cream cheese on medium speed for 1–2 minutes until smooth. Scrape the bowl well.
- Add yogurt and sweetener: Beat in Greek yogurt, granulated sweetener, vanilla, coconut extract (if using), and salt.
Mix just until combined and silky.
- Blend in coconut milk: Slowly stream in the coconut milk with the mixer on low. The batter should be smooth and pourable, not runny.
- Add eggs last: Beat in eggs one at a time on low speed, just until incorporated. Avoid overmixing to prevent excess air bubbles.
- Prepare for baking: Pour the filling over the cooled crust.
Tap the pan gently on the counter to release air bubbles. Run a knife or skewer through the batter in a few swirls to help pop any trapped bubbles.
- Bake gently: Bake at 325°F for 45–55 minutes, until edges are set and the center has a slight wobble (like gelatin). If the top browns too quickly, tent loosely with foil.
- Cool slowly: Turn off the oven, crack the door, and let the cheesecake sit inside for 30 minutes.
Move to a rack and cool to room temperature, then refrigerate at least 6 hours, preferably overnight.
- Make the topping: Whisk coconut cream, powdered sweetener, and vanilla until smooth and thick. Spread over the chilled cheesecake. Sprinkle with toasted coconut flakes if you like.
- Slice and serve: Run a thin knife around the edge of the pan, release the springform, slice with a warm knife, and enjoy.
How to Store
- Refrigerate: Cover and chill for up to 5 days.
Keep the topping separate until serving if you prefer a firmer finish.
- Freeze: Freeze slices without topping, tightly wrapped, for up to 2 months. Thaw overnight in the fridge, then add topping.
- Meal prep tip: Portion into single-serve containers for an easy, high-protein dessert or snack.
Health Benefits
- Higher protein, better satiety: Greek yogurt and cream cheese contribute a solid protein hit that keeps you fuller longer and supports muscle recovery.
- Lower carbs, steady energy: Using low-carb sweeteners and an almond-coconut crust helps reduce blood sugar swings compared to traditional cheesecakes.
- Healthy fats from coconut and almonds: These fats support flavor, texture, and satisfaction, which can reduce the urge to overeat later.
- Gluten-free by default: Almond flour replaces wheat, making this friendly for gluten-sensitive eaters.
Pitfalls to Watch Out For
- Overmixing the batter: Too much air leads to cracks. Mix on low and stop as soon as ingredients combine.
- Overbaking: A perfectly baked cheesecake still jiggles in the center.
If you bake until firm, it will turn dry.
- Skipping the cool-down: Rapid temperature changes cause cracks. Let it rest in the oven with the door cracked, then cool completely before chilling.
- Using cold ingredients: Room-temperature cream cheese and eggs blend smoother and prevent lumps.
- Wrong sweetener: Some blends are much sweeter than sugar. If using monk fruit blends, start with less and taste as you go.
Recipe Variations
- Chocolate-coconut swirl: Melt 2 ounces sugar-free dark chocolate.
Swirl into half the batter before baking for a Mounds-style vibe.
- Lime twist: Add 2 tablespoons fresh lime juice and 1 teaspoon lime zest to the filling. Top with extra zest.
- Toasted macadamia crust: Replace half the almond flour with finely chopped macadamias for a buttery crunch.
- Extra protein boost: Whisk 1–2 scoops unflavored or vanilla whey isolate into the batter with the sweetener. Add an extra 2–3 tablespoons coconut milk if it thickens too much.
- Mini cheesecakes: Bake in a lined muffin pan for 18–22 minutes.
Great for portion control and faster chilling.
FAQ
Can I use full-fat cream cheese instead of light?
Yes. Full-fat cream cheese makes the texture richer and even creamier. The recipe still stays low in carbs; the main tradeoff is slightly higher calories and fat.
What sweetener works best?
Erythritol and allulose both bake well.
Allulose browns more and tastes closer to sugar; erythritol stays a bit cooler on the tongue. You can also use a monk fruit blend, but reduce the amount since many blends are sweeter than sugar.
Do I need a water bath?
Not for this method. A moderate oven and slow cool limit cracking.
If you want ultra-smooth results, you can wrap the pan in foil and bake in a water bath for 60–70 minutes, checking for the same gentle jiggle.
How do I prevent a soggy crust?
Par-bake the crust until lightly golden and let it cool before adding the filling. If condensation is an issue, avoid covering the warm cheesecake; let it cool uncovered, then chill.
Can I make this dairy-free?
Yes, but the texture changes. Use dairy-free cream cheese and a thick coconut yogurt.
Taste and adjust sweetener and extracts since some dairy-free products are tangier.
How many carbs and protein per slice?
It varies by brands and portion size. A rough estimate for 12 slices using light cream cheese, 2% Greek yogurt, and allulose is about 8–10g net carbs and 12–15g protein per slice. For accuracy, plug your exact ingredients into a nutrition calculator.
Why did my cheesecake crack?
Cracks often come from overbaking, overmixing, or cooling too fast.
Next time, mix on low, pull it when the center still wobbles, and cool gradually. A coconut cream topping hides small cracks beautifully.
Final Thoughts
This High Protein Low Carb Coconut Cream Cheesecake proves you don’t have to choose between health goals and dessert. It’s creamy, lush, and reliably satisfying, with a coconut finish that feels like a treat.
Follow the gentle bake and slow cool, and you’ll get a smooth, sliceable cheesecake every time. Keep a few slices in the freezer for those nights when you want something sweet that still supports your plan. It’s the kind of recipe you’ll come back to again and again.
Printable Recipe Card
Want just the essential recipe details without scrolling through the article? Get our printable recipe card with just the ingredients and instructions.