No Bake Cheesecake With Oreo Crust – Creamy, Quick, and Crowd-Pleasing
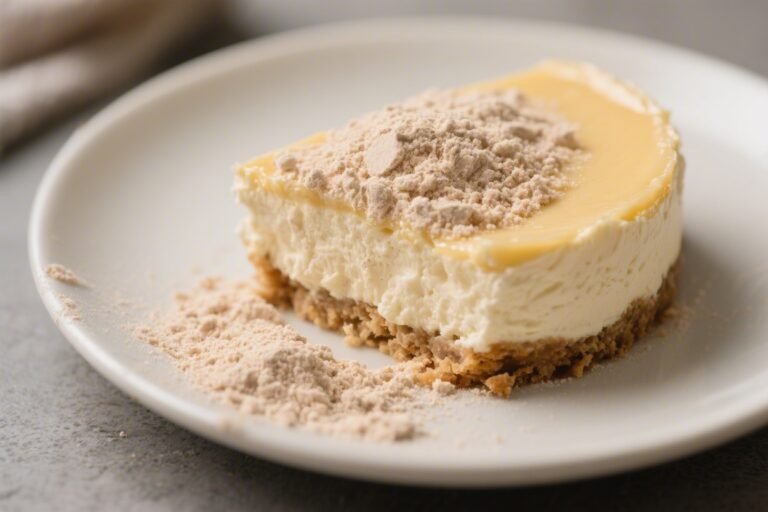
This no bake cheesecake with Oreo crust is the kind of dessert that disappears fast. It’s creamy, cool, and full of vanilla flavor, all on top of a crunchy chocolate cookie base. No oven, no water bath, no stress.
If you can stir and press, you can make this. It’s perfect for birthdays, BBQs, or any time you want a classic treat without heating up the kitchen.
Ingredients
Method
- Prepare the pan: Lightly grease a 9-inch springform pan, then line the bottom with parchment paper. This makes clean slices and easy removal.
- Crush the Oreos: Add cookies to a food processor and pulse to fine crumbs. If you don’t have a processor, seal in a zip-top bag and crush with a rolling pin until sandy.
- Make the crust: Stir in melted butter and a pinch of salt until all crumbs look evenly moistened. The mixture should hold together when pressed.
- Press and chill: Firmly press the crumbs into the bottom and slightly up the sides of the pan. Use the bottom of a measuring cup to pack it tight. Chill for at least 20 minutes while you make the filling.
- Whip the cream: In a cold bowl, whip heavy cream with a pinch of salt to stiff peaks. Don’t overbeat into butter. Set aside.
- Beat the cream cheese: In a separate bowl, beat cream cheese until smooth and fluffy, about 1–2 minutes. No lumps should remain.
- Add sweetness and flavor: Beat in powdered sugar, vanilla, and lemon juice until fully combined and silky.
- Fold in whipped cream: Gently fold the whipped cream into the cream cheese mixture in two additions. Use a spatula and light strokes to keep the mixture airy.
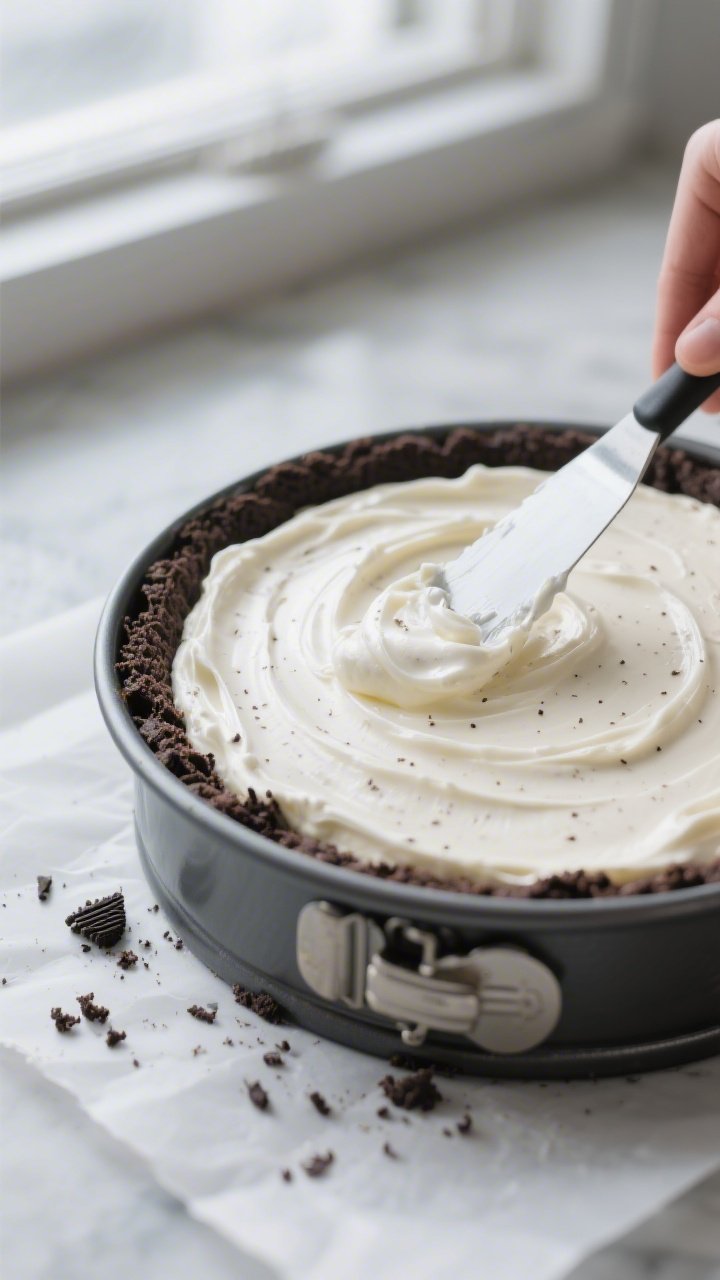
- Fill the crust: Spoon the filling into the chilled crust and smooth the top with an offset spatula. Tap the pan lightly on the counter to release air pockets.
- Chill to set: Cover and refrigerate for at least 6 hours, preferably overnight. The longer chill gives cleaner slices and a firmer set.
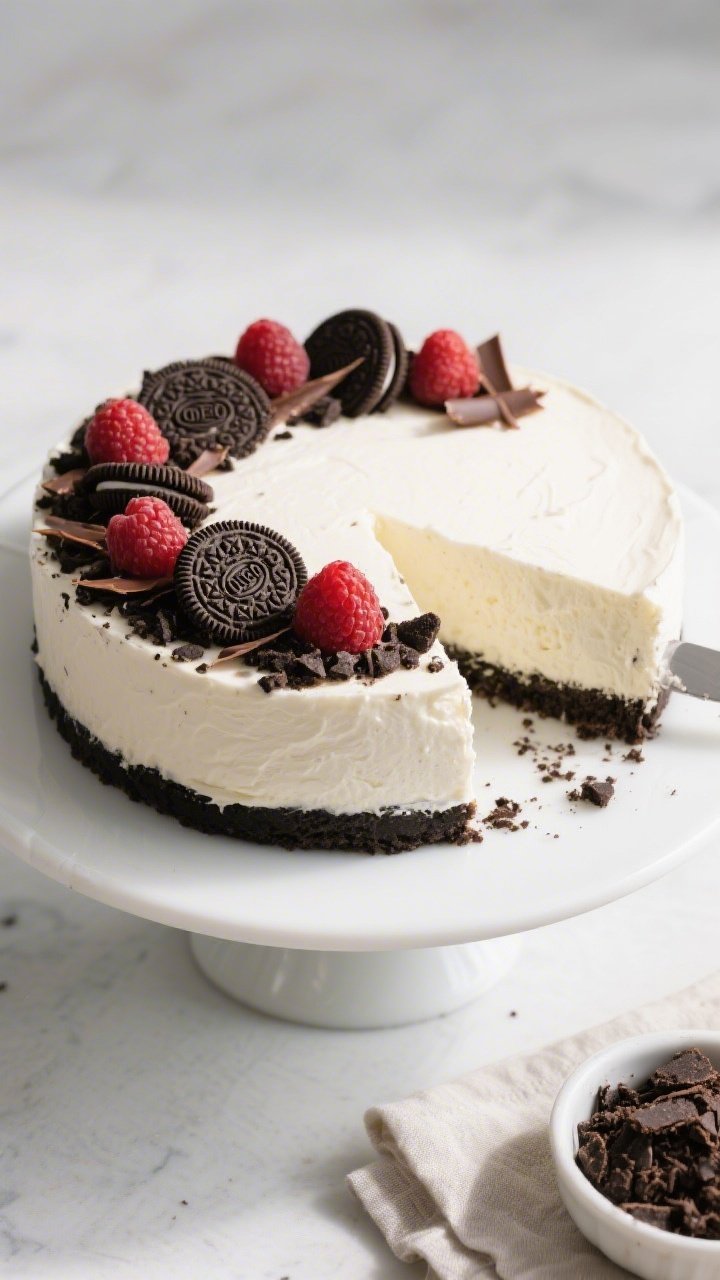
- Garnish and serve: Run a thin knife around the edge and release the springform. Top with crushed Oreos, berries, or chocolate shavings. Slice with a hot, clean knife for neat edges.
Overeating is a pattern. This helps you fix that problem. A quick reset for cravings, snacking, and “I’ll start tomorrow” moments.
Built for busy home cooks who want real-life structure. Simple steps that fit meal prep, family dinners, and late-night snack attacks.
What Makes This Recipe So Good
- Zero baking required: The crust sets in the fridge, not the oven. Great for hot days or busy schedules.
- Ultra-creamy texture: Whipped cream lightens the cheesecake, while cream cheese brings that rich, tangy flavor.
- Reliable set: A touch of powdered sugar and cold time helps the filling firm up without gelatin.
- Easy ingredients: Pantry staples and one pack of Oreos are all you need.
- Customizable: Add lemon zest, chocolate chips, or swirl in jam.
It’s a solid base for your favorite flavors.
Ingredients
- For the Oreo crust:
- 24–28 Oreo cookies (regular, not Double Stuf), finely crushed
- 6 tablespoons unsalted butter, melted
- Pinch of salt (optional, helps balance sweetness)
- For the cheesecake filling:
- 16 ounces (450 g) cream cheese, softened to room temperature
- 2/3 cup powdered sugar, sifted
- 1 teaspoon pure vanilla extract
- 1 tablespoon lemon juice (fresh, optional but brightens the flavor)
- 1 cup heavy whipping cream, very cold
- 1/8 teaspoon fine salt
- For topping (optional):
- Crushed Oreos, mini Oreos, or Oreo halves
- Fresh berries or a spoonful of berry jam
- Chocolate shavings or drizzle
Step-by-Step Instructions
- Prepare the pan: Lightly grease a 9-inch springform pan, then line the bottom with parchment paper. This makes clean slices and easy removal.
- Crush the Oreos: Add cookies to a food processor and pulse to fine crumbs. If you don’t have a processor, seal in a zip-top bag and crush with a rolling pin until sandy.
- Make the crust: Stir in melted butter and a pinch of salt until all crumbs look evenly moistened.
The mixture should hold together when pressed.
- Press and chill: Firmly press the crumbs into the bottom and slightly up the sides of the pan. Use the bottom of a measuring cup to pack it tight. Chill for at least 20 minutes while you make the filling.
- Whip the cream: In a cold bowl, whip heavy cream with a pinch of salt to stiff peaks.
Don’t overbeat into butter. Set aside.
- Beat the cream cheese: In a separate bowl, beat cream cheese until smooth and fluffy, about 1–2 minutes. No lumps should remain.
- Add sweetness and flavor: Beat in powdered sugar, vanilla, and lemon juice until fully combined and silky.
- Fold in whipped cream: Gently fold the whipped cream into the cream cheese mixture in two additions.
Use a spatula and light strokes to keep the mixture airy.
- Fill the crust: Spoon the filling into the chilled crust and smooth the top with an offset spatula. Tap the pan lightly on the counter to release air pockets.
- Chill to set: Cover and refrigerate for at least 6 hours, preferably overnight. The longer chill gives cleaner slices and a firmer set.
- Garnish and serve: Run a thin knife around the edge and release the springform.
Top with crushed Oreos, berries, or chocolate shavings. Slice with a hot, clean knife for neat edges.
How to Store
- Refrigerator: Cover tightly and keep up to 4 days. The crust stays crispest the first 48 hours.
- Freezer: Freeze whole or in slices, well-wrapped, for up to 2 months.
Thaw overnight in the fridge. Add fresh toppings after thawing to avoid weeping.
- Travel tips: Keep it cold with ice packs and serve promptly. If it softens, a quick 15–20 minutes in the fridge helps it firm back up.

Health Benefits
- Calcium and protein: Cream cheese and heavy cream offer calcium and some protein, supporting bone health and satiety.
- Portion control: Because it’s rich, smaller slices satisfy.
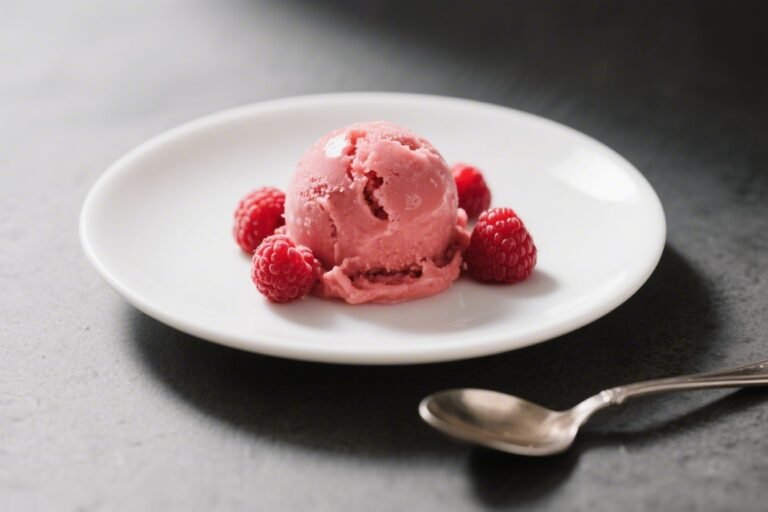
Pair with fresh berries for fiber and natural sweetness.
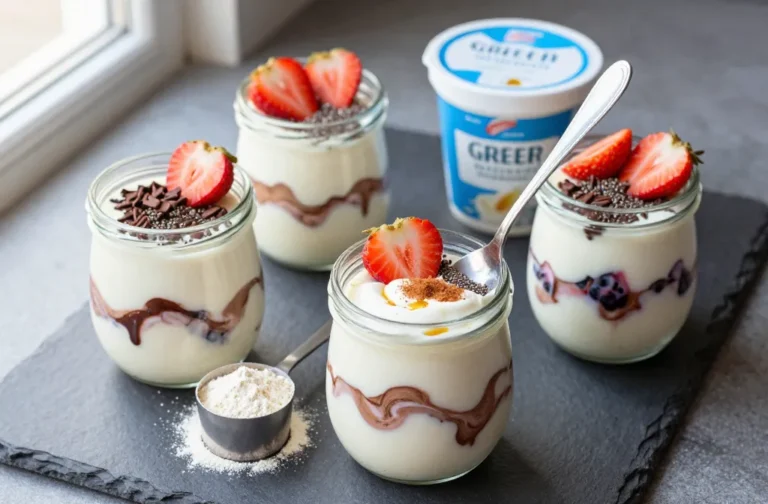
- Make it lighter: Swap part of the cream cheese with Greek yogurt, use reduced-fat cream cheese, or use coconut whipped cream if dairy-free. These tweaks reduce saturated fat while keeping creaminess.
- Mindful ingredients: Using lemon juice adds brightness, which can help you feel satisfied with less sugar overall.
What Not to Do
- Don’t skip softening the cream cheese: Cold cream cheese leaves lumps and makes mixing tough.
- Don’t overwhip the cream: Overbeaten cream turns grainy and can separate, affecting the texture of the filling.
- Don’t rush the chill time: Cutting too soon leads to messy slices and a soft center.
- Don’t use Double Stuf for the crust: Extra filling can make the crust greasy and loose.
- Don’t pack a warm crust with warm filling: Let the crust chill and the filling stay cool to help it set properly.
Variations You Can Try
- Mint chocolate: Add 1/2 teaspoon peppermint extract to the filling and top with chopped mint chocolate.
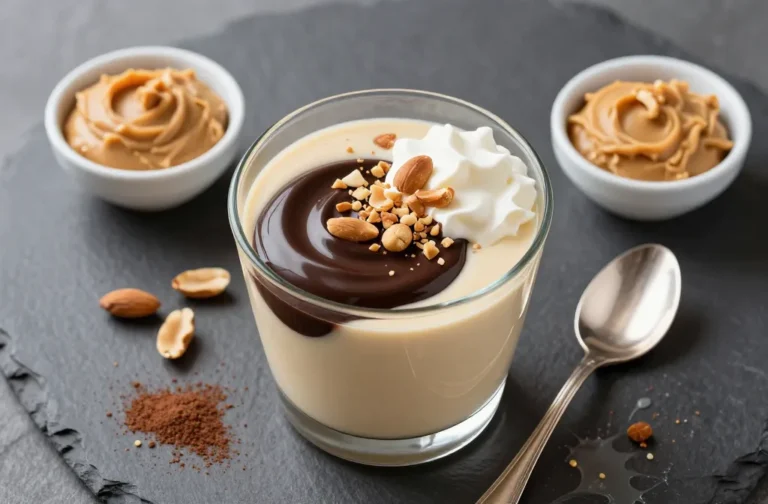
- Peanut butter swirl: Warm 1/3 cup peanut butter until pourable and swirl it into the filling before chilling. Top with chopped peanuts.
- Lemon-berry: Add 1–2 teaspoons lemon zest to the filling and top with fresh raspberries and a light powdered sugar dusting.
- Mocha Oreo: Dissolve 1 tablespoon instant espresso in 1 tablespoon hot water.
Cool, then beat into the cream cheese with the vanilla.
- Salted caramel: Drizzle caramel over the top and sprinkle with flaky sea salt just before serving.
- Gluten-free: Use certified gluten-free chocolate sandwich cookies for the crust.
- Dairy-free: Use dairy-free cream cheese and coconut whipped cream. Check that your cookies are dairy-free too.
FAQ
Can I make this a day ahead?
Yes. In fact, it’s better.
An overnight chill gives the cleanest slices and the best set. Add toppings right before serving.
Why is my filling runny?
It may need more chill time, or the whipped cream was too soft. Ensure stiff peaks before folding, and don’t add warm ingredients.
If it’s still too soft, freeze briefly to help it firm up.
Can I use a store-bought Oreo crust?
You can, but a homemade crust is thicker and sturdier. If using store-bought, avoid overfilling; you might have a bit of extra cheesecake filling.
How do I crush Oreos without a food processor?
Place them in a sturdy zip-top bag, press out the air, and crush with a rolling pin or heavy pan until fine and even. Patch any bag holes as you go.
Can I reduce the sugar?
Yes.
You can drop the powdered sugar to 1/2 cup without affecting the set too much. Taste as you go and balance with a little extra vanilla or lemon if needed.
What if I don’t have a springform pan?
Use a 9-inch pie dish or an 8×8-inch square pan. Line with parchment for easy lifting.
Slices may be a bit shorter but just as tasty.
How do I get clean slices?
Use a sharp knife dipped in hot water and wiped dry between cuts. Chill the cheesecake well, and avoid heavy pressure—let the knife glide.
Can I add chopped Oreos to the filling?
Absolutely. Fold in 1–1.5 cups of chopped Oreos at the end for a cookies-and-cream version.
Keep pieces small to maintain a smooth texture.
Final Thoughts
This no bake cheesecake with Oreo crust is the kind of dessert you’ll make once and then again by request. It’s simple, forgiving, and always a crowd-pleaser. Keep the steps gentle, give it time to chill, and you’ll get that perfect creamy slice every time.
Dress it up or keep it classic—it’s hard to go wrong with this one.
Printable Recipe Card
Want just the essential recipe details without scrolling through the article? Get our printable recipe card with just the ingredients and instructions.