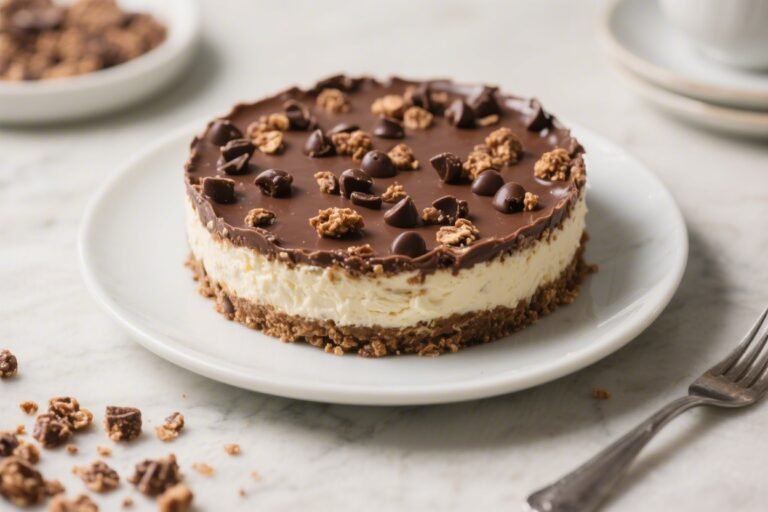
No Bake New York Style Cheesecake – Creamy, Classic, and Easy
No bake doesn’t have to mean second best. This no bake New York style cheesecake brings that familiar, rich cream cheese flavor with a silky texture and a sturdy, sliceable finish—no oven required. It tastes like the classic you love, but it’s more forgiving and faster to pull together.
You get a crisp, buttery crust, a creamy filling with just the right tang, and a clean finish that doesn’t feel heavy. It’s perfect for gatherings, make-ahead desserts, or when you want something special without turning on the oven.
Ingredients
Method
- Prep your pan: Line the bottom of a 9-inch springform pan with parchment. Lightly grease the sides. This helps with clean release and sharp edges.
- Make the crust: Stir graham cracker crumbs, 1 tablespoon sugar, and a pinch of salt in a bowl. Add melted butter and mix until the texture resembles wet sand and holds when pressed.
- Press and chill: Firmly press the crust into the bottom and slightly up the sides of the pan. Use a flat-bottomed glass to compact it well. Chill in the fridge for 20 minutes while you make the filling.
- Beat the cream cheese: In a large bowl, beat softened cream cheese with granulated sugar until completely smooth and glossy, about 2–3 minutes. Scrape down the bowl to avoid lumps.
- Add sour cream, vanilla, and lemon: Mix in sour cream, vanilla, lemon juice, and a pinch of salt until silky. Taste and adjust the lemon for brightness if you like.
- Whip the cream: In a separate chilled bowl, whip heavy cream with powdered sugar to medium-stiff peaks. Don’t overbeat; it should hold its shape but still look smooth.
- Fold it in: Gently fold the whipped cream into the cream cheese mixture in two batches. Use a spatula and a light hand to keep the mixture airy and smooth.
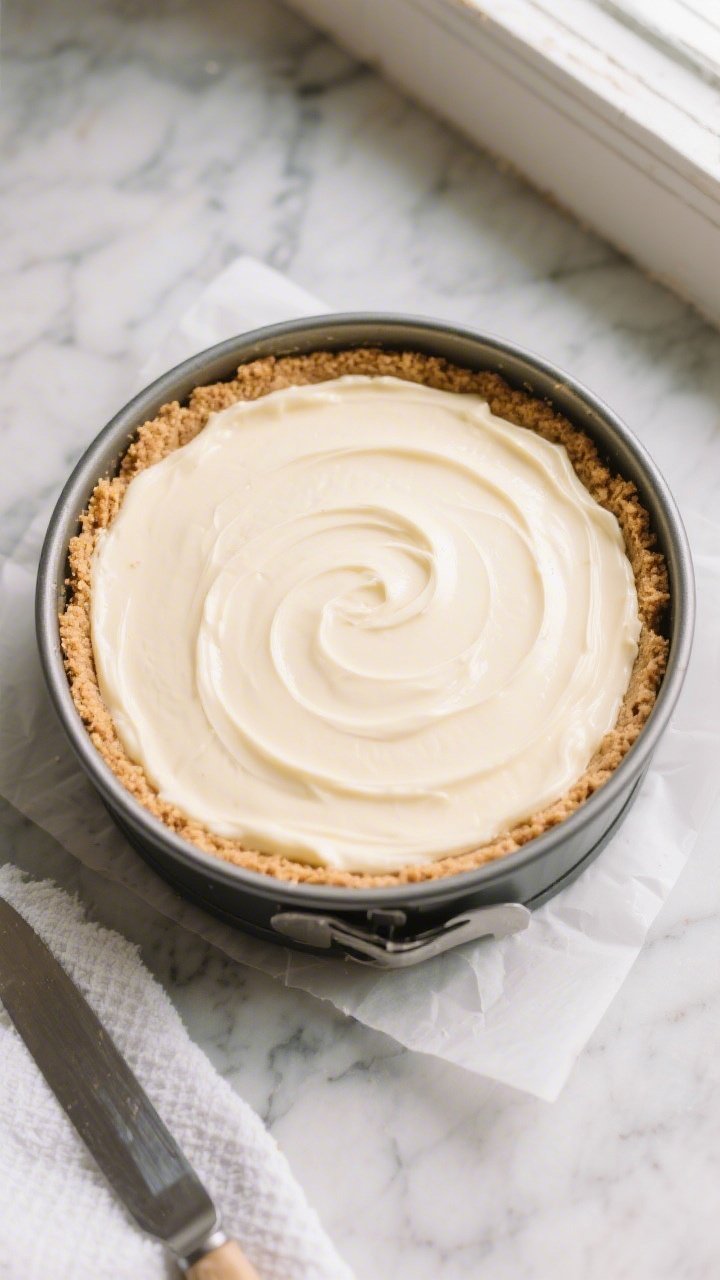
- Fill the crust: Spoon the filling over the chilled crust. Smooth the top with an offset spatula and tap the pan lightly to release air bubbles.
- Chill to set: Cover and refrigerate for at least 6 hours, preferably overnight. For the cleanest slices, aim for 12 hours.
- Unmold and serve: Run a thin knife around the edge before releasing the springform. Slice with a hot, dry knife, wiping between cuts. Add toppings right before serving.
Overeating is a pattern. This helps you fix that problem. A quick reset for cravings, snacking, and “I’ll start tomorrow” moments.
Built for busy home cooks who want real-life structure. Simple steps that fit meal prep, family dinners, and late-night snack attacks.
What Makes This Recipe So Good
- True New York flavor: A generous amount of cream cheese and a hint of sour cream keep the taste rich, tangy, and authentic.
- Sliceable texture: The filling firms up beautifully without baking, thanks to properly chilled dairy and the right setting ingredients.
- No fuss, no cracks: Skip water baths and oven timing. You’ll still get smooth, even slices that look bakery-made.
- Make-ahead friendly: This cheesecake actually improves after a long chill, making it party-perfect and stress-free.
- Easy to customize: Add lemon zest, vanilla bean, or a fruit topping and it becomes your signature dessert.
Shopping List
- Cream cheese: 24 ounces (three 8-ounce blocks), full-fat, brick style, softened
- Sour cream: 3/4 cup, full-fat
- Heavy cream: 1 cup, well chilled
- Granulated sugar: 3/4 cup, plus 1 tablespoon for the crust
- Powdered sugar: 1/3 cup (helps create a smooth filling)
- Unsalted butter: 6 tablespoons, melted
- Graham crackers: About 1 1/2 cups fine crumbs (from 10–12 full sheets)
- Vanilla extract: 2 teaspoons
- Lemon juice: 1 tablespoon, freshly squeezed
- Salt: A pinch
- Optional toppings: Fresh berries, cherry pie filling, caramel sauce, or lemon curd
Step-by-Step Instructions
- Prep your pan: Line the bottom of a 9-inch springform pan with parchment.
Lightly grease the sides. This helps with clean release and sharp edges.
- Make the crust: Stir graham cracker crumbs, 1 tablespoon sugar, and a pinch of salt in a bowl. Add melted butter and mix until the texture resembles wet sand and holds when pressed.
- Press and chill: Firmly press the crust into the bottom and slightly up the sides of the pan.
Use a flat-bottomed glass to compact it well. Chill in the fridge for 20 minutes while you make the filling.
- Beat the cream cheese: In a large bowl, beat softened cream cheese with granulated sugar until completely smooth and glossy, about 2–3 minutes. Scrape down the bowl to avoid lumps.
- Add sour cream, vanilla, and lemon: Mix in sour cream, vanilla, lemon juice, and a pinch of salt until silky.
Taste and adjust the lemon for brightness if you like.
- Whip the cream: In a separate chilled bowl, whip heavy cream with powdered sugar to medium-stiff peaks. Don’t overbeat; it should hold its shape but still look smooth.
- Fold it in: Gently fold the whipped cream into the cream cheese mixture in two batches. Use a spatula and a light hand to keep the mixture airy and smooth.
- Fill the crust: Spoon the filling over the chilled crust.
Smooth the top with an offset spatula and tap the pan lightly to release air bubbles.
- Chill to set: Cover and refrigerate for at least 6 hours, preferably overnight. For the cleanest slices, aim for 12 hours.
- Unmold and serve: Run a thin knife around the edge before releasing the springform. Slice with a hot, dry knife, wiping between cuts.
Add toppings right before serving.
How to Store
- Refrigerator: Keep covered and chilled for up to 5 days. Store plain and add toppings just before serving to prevent weeping or sogginess.
- Freezer: Freeze whole or in slices. Wrap tightly in plastic, then foil, and freeze up to 2 months.
Thaw overnight in the refrigerator.
- Transport tips: Keep it cold. Use an insulated bag with ice packs, and add toppings at your destination.

Health Benefits
- Protein and calcium: Cream cheese, sour cream, and heavy cream provide protein and calcium for bones and muscles.
- Portion control: The richness means a small slice satisfies, which can help with mindful eating.
- Customizable sweetness: You control the sugar level. You can reduce it slightly or top with fresh fruit for balance.
- Gluten-free option: Swap in gluten-free graham crackers to accommodate dietary needs without sacrificing flavor.
Pitfalls to Watch Out For
- Lumpy filling: Use room-temperature cream cheese and beat until smooth before adding other ingredients.
Scrape the bowl often.
- Loose set: Under-whipped cream or a short chill time can cause a soft center. Aim for medium-stiff peaks and at least 6–12 hours in the fridge.
- Oily crust: Too much butter or warm crust can get greasy. Measure carefully and chill the crust before adding the filling.
- Watery toppings: Juicy fruit can weep onto the surface.
Add fruit right before serving, or macerate and strain first.
- Overmixing: Once the whipped cream goes in, fold gently. Aggressive mixing can deflate the filling and make it dense.
Variations You Can Try
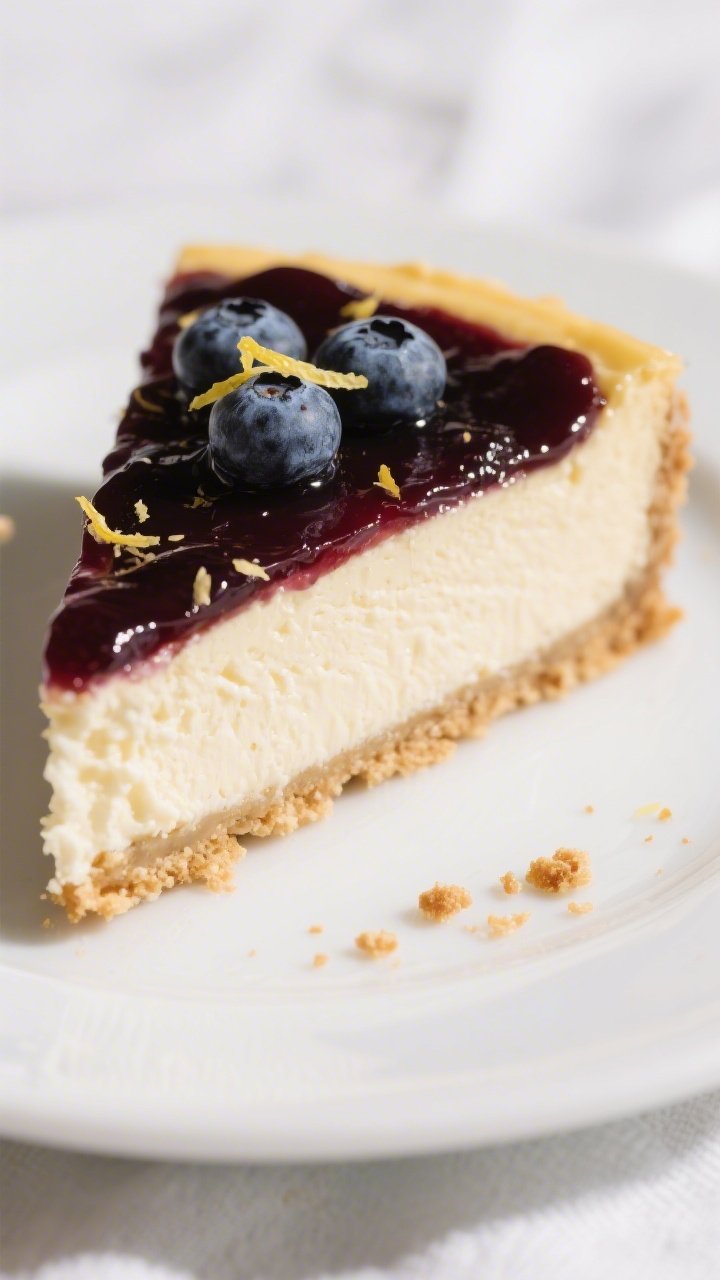
- Classic lemon: Add 1–2 teaspoons of lemon zest and an extra tablespoon of lemon juice for a brighter, tangier profile.
- Vanilla bean: Swap half the extract for seeds from one vanilla bean for a speckled, fragrant finish.
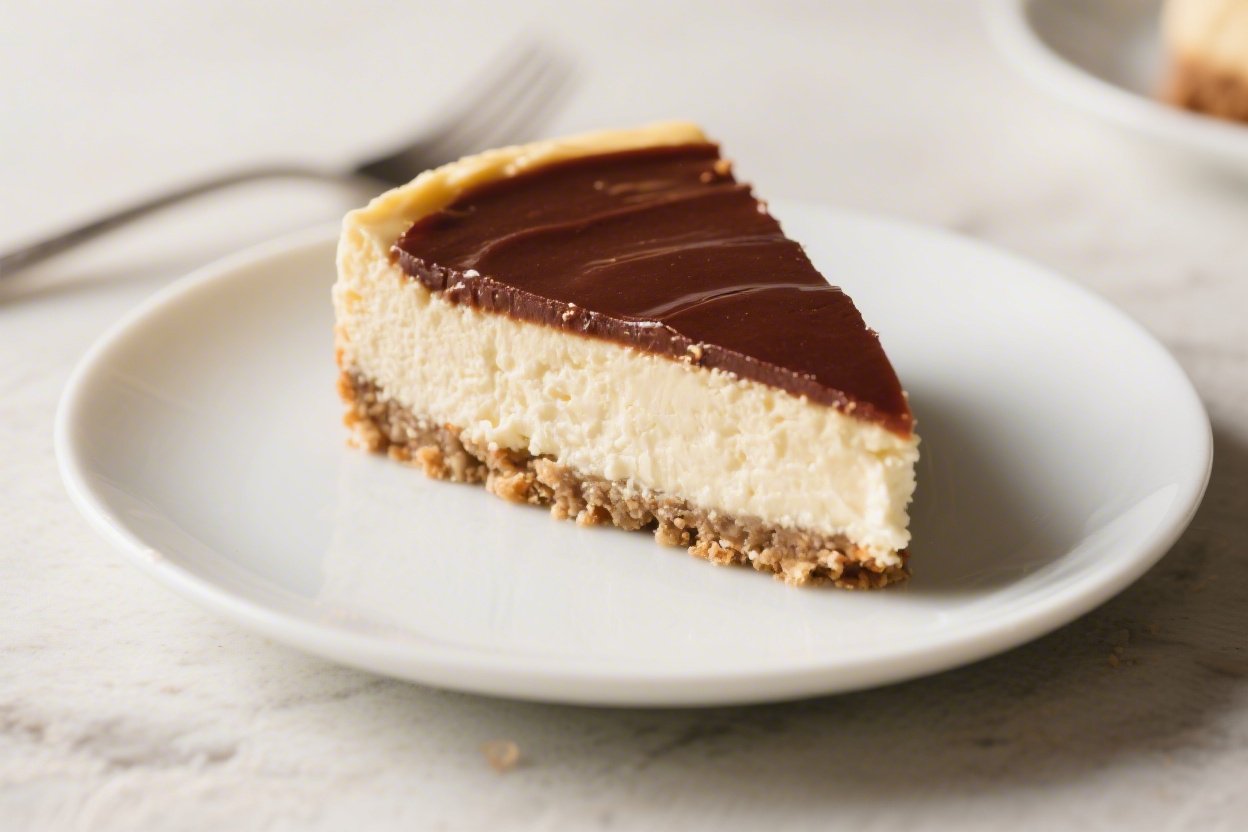
- Chocolate swirl: Fold in ribbons of cooled melted dark chocolate or chocolate ganache before chilling.
- Berry topping: Spoon on a quick berry compote made with berries, a touch of sugar, and lemon juice. Cool completely before topping.
- Nutty crust: Replace 1/3 of the graham crumbs with finely ground toasted almonds or pecans for extra depth.
- Mini cheesecakes: Press crust into lined muffin tins and fill.
Chill 4–6 hours. Great for parties and easy portioning.
- Gluten-free: Use gluten-free graham crackers or almond flour crust (almond flour, butter, pinch of sugar and salt).
FAQ
Can I use low-fat cream cheese?
Using low-fat cream cheese will change the texture and flavor. It won’t be as rich and may not set as firmly.
For the best New York style result, use full-fat brick cream cheese.
Do I need gelatin?
No. This recipe sets without gelatin, thanks to properly whipped cream and a long chill. If you want an extra-firm slice for hot weather or outdoor events, you can bloom 1 teaspoon powdered gelatin in 1 tablespoon cold water, melt gently, and mix into the filling.
Why is my crust crumbly?
It likely needs a bit more butter or firmer packing.
Measure crumbs accurately and press the mixture firmly into the pan. Chilling the crust before filling also helps it hold together.
How do I get clean slices?
Chill thoroughly, then use a long, sharp knife dipped in hot water and wiped dry for each cut. Slow, steady pressure gives the neatest edges.
Can I make it ahead?
Absolutely.
Make it one to two days in advance and keep it covered in the fridge. Add toppings right before serving for the best texture.
What if I don’t have a springform pan?
Use a deep 9-inch pie dish or an 8-inch square pan lined with parchment for easy lifting. Slices may be slightly taller or shorter depending on the pan.
Can I reduce the sugar?
Yes.
You can cut the granulated sugar in the filling by 2–3 tablespoons without affecting the set. Taste as you go and adjust to your preference.
How long should it chill?
Aim for at least 6 hours, but 12 is ideal. Overnight chilling gives the cleanest slices and the most developed flavor.
What’s the best topping?
For a true New York vibe, keep it simple: cherry topping, fresh strawberries, or a glossy blueberry compote.
A light drizzle of caramel or chocolate is great too.
Can I make it dairy-free?
You can experiment with dairy-free cream cheese and coconut cream. The flavor and set will differ, but chilling overnight and choosing brands known for baking will help.
Final Thoughts
This no bake New York style cheesecake brings you everything you want from the classic—rich flavor, clean slices, and a silky bite—without the oven drama. It’s simple to make, easy to customize, and even better the next day.
Keep the steps gentle, give it time to chill, and you’ll have a dessert that feels special with very little effort. Whether topped with berries or left plain, it’s a keeper you’ll make again and again.
Printable Recipe Card
Want just the essential recipe details without scrolling through the article? Get our printable recipe card with just the ingredients and instructions.